 Image 1 of 10
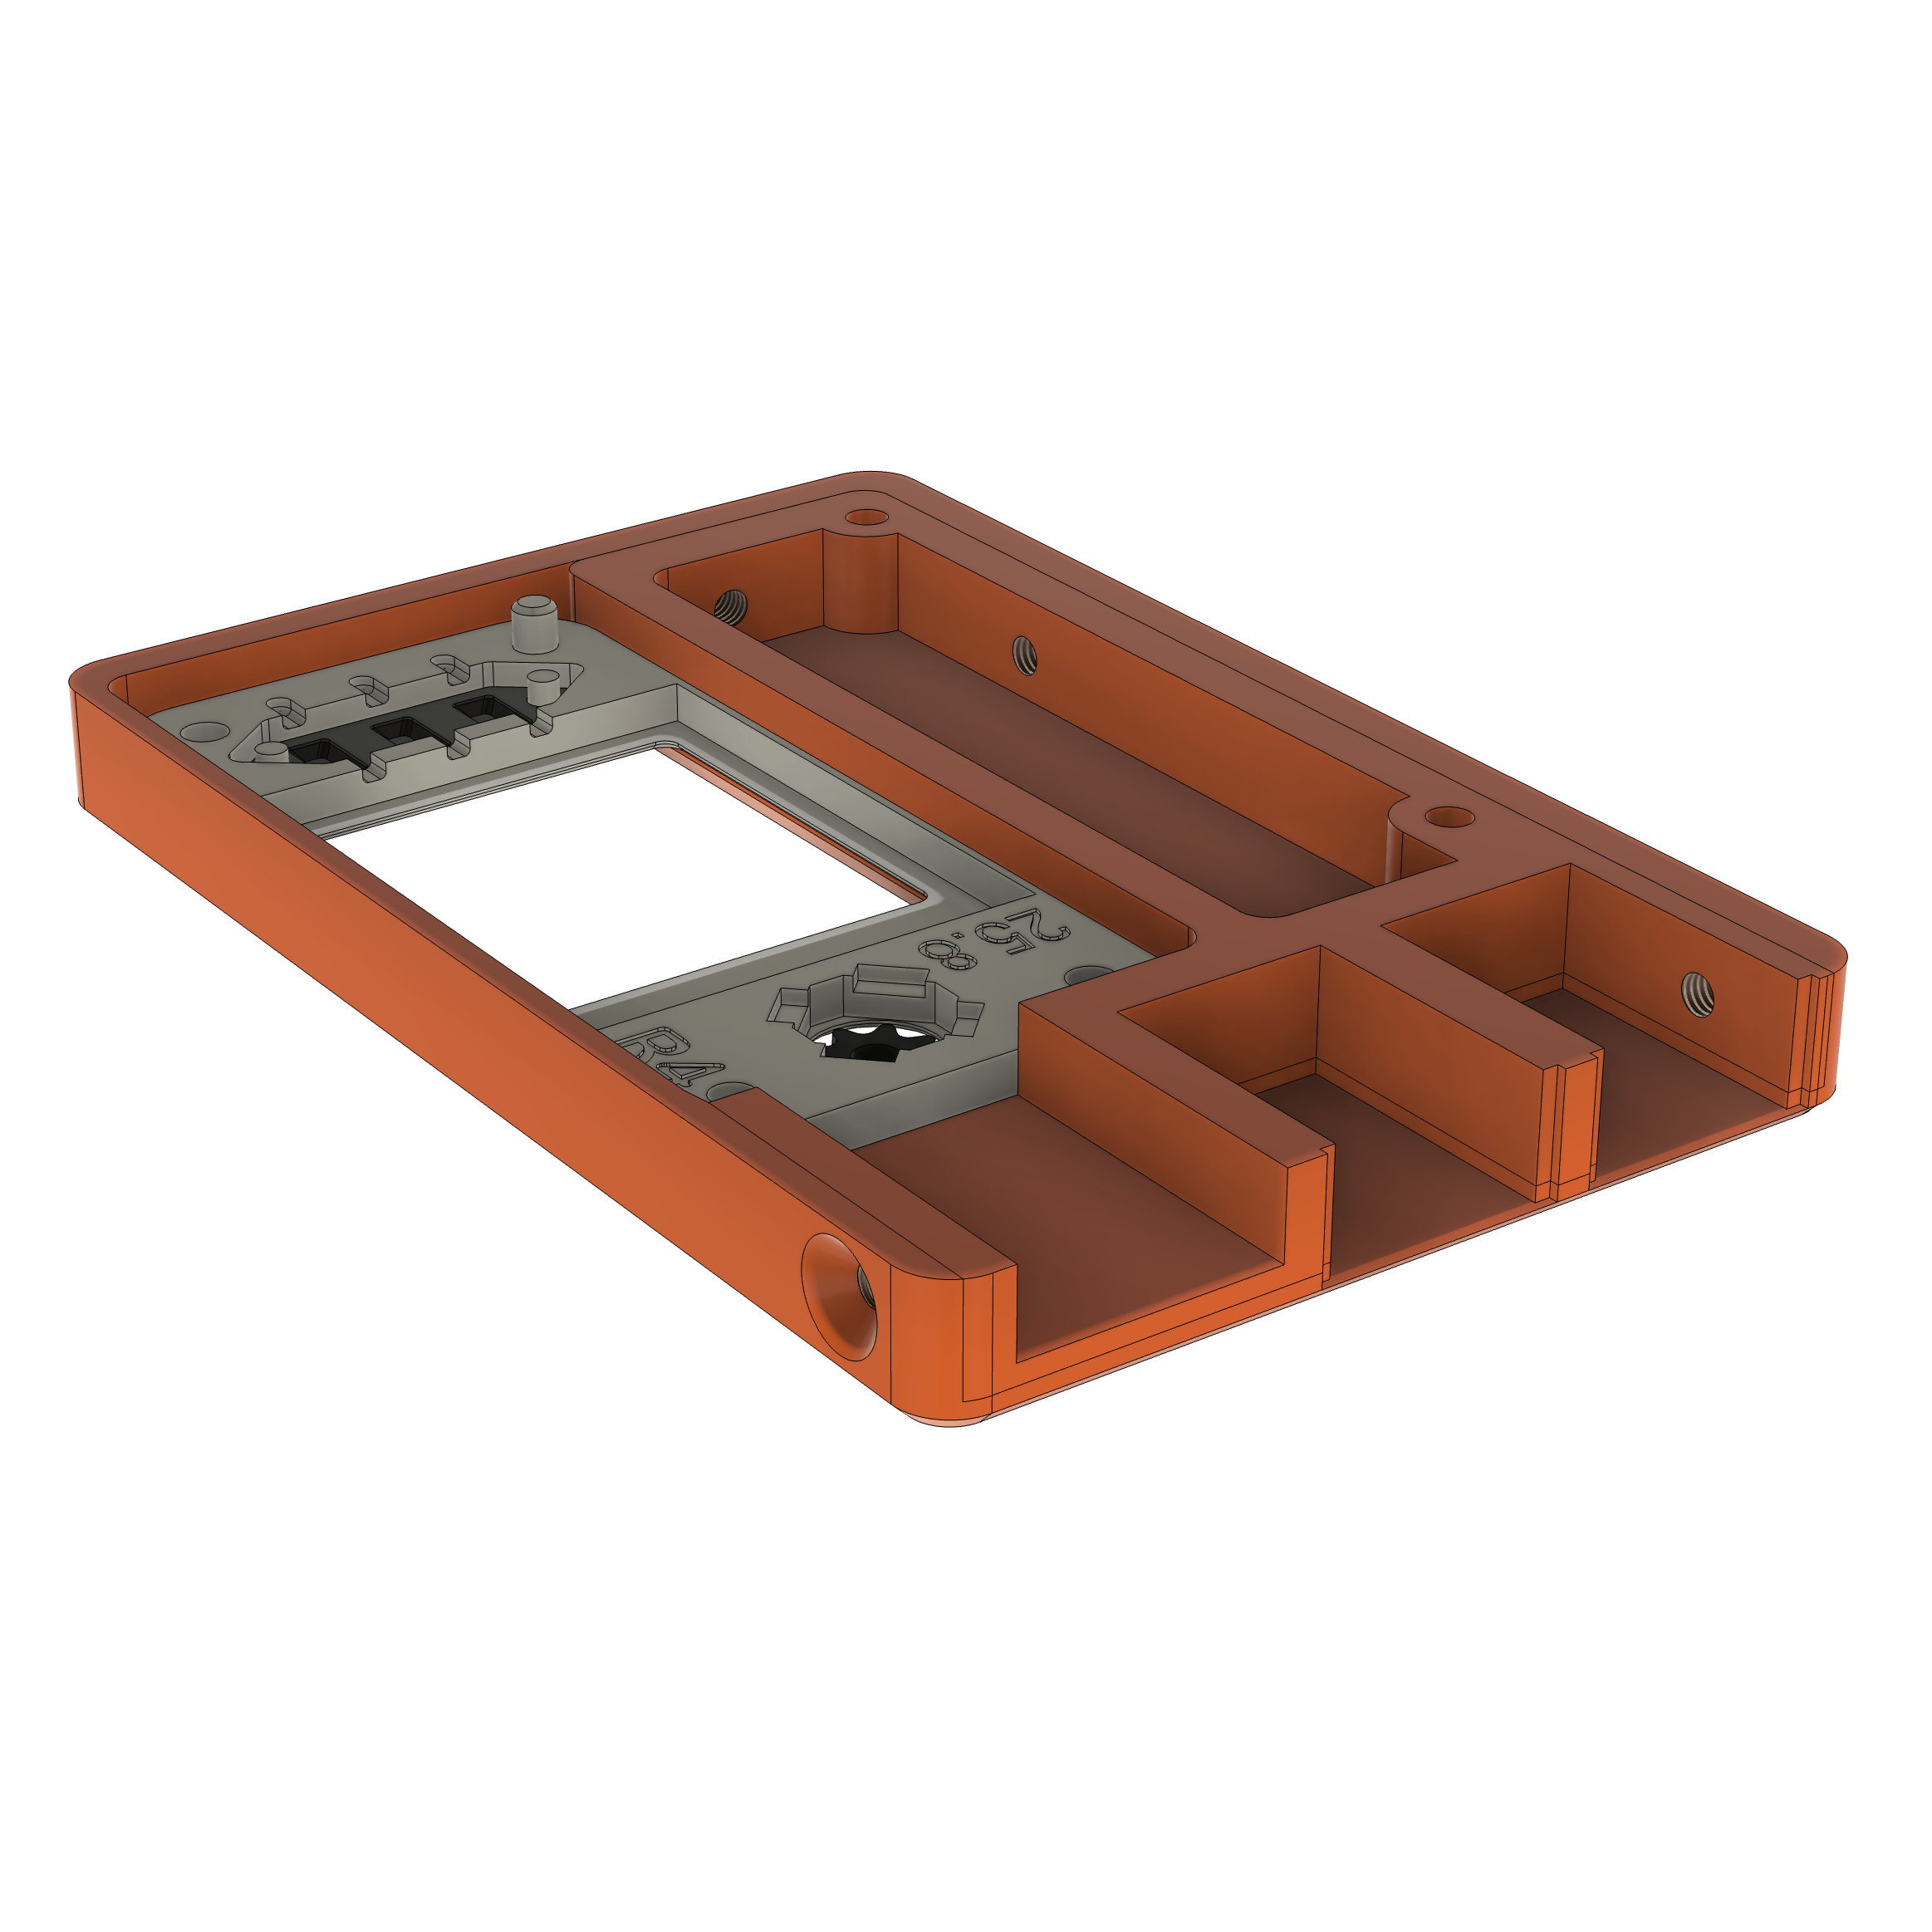 Image 2 of 10
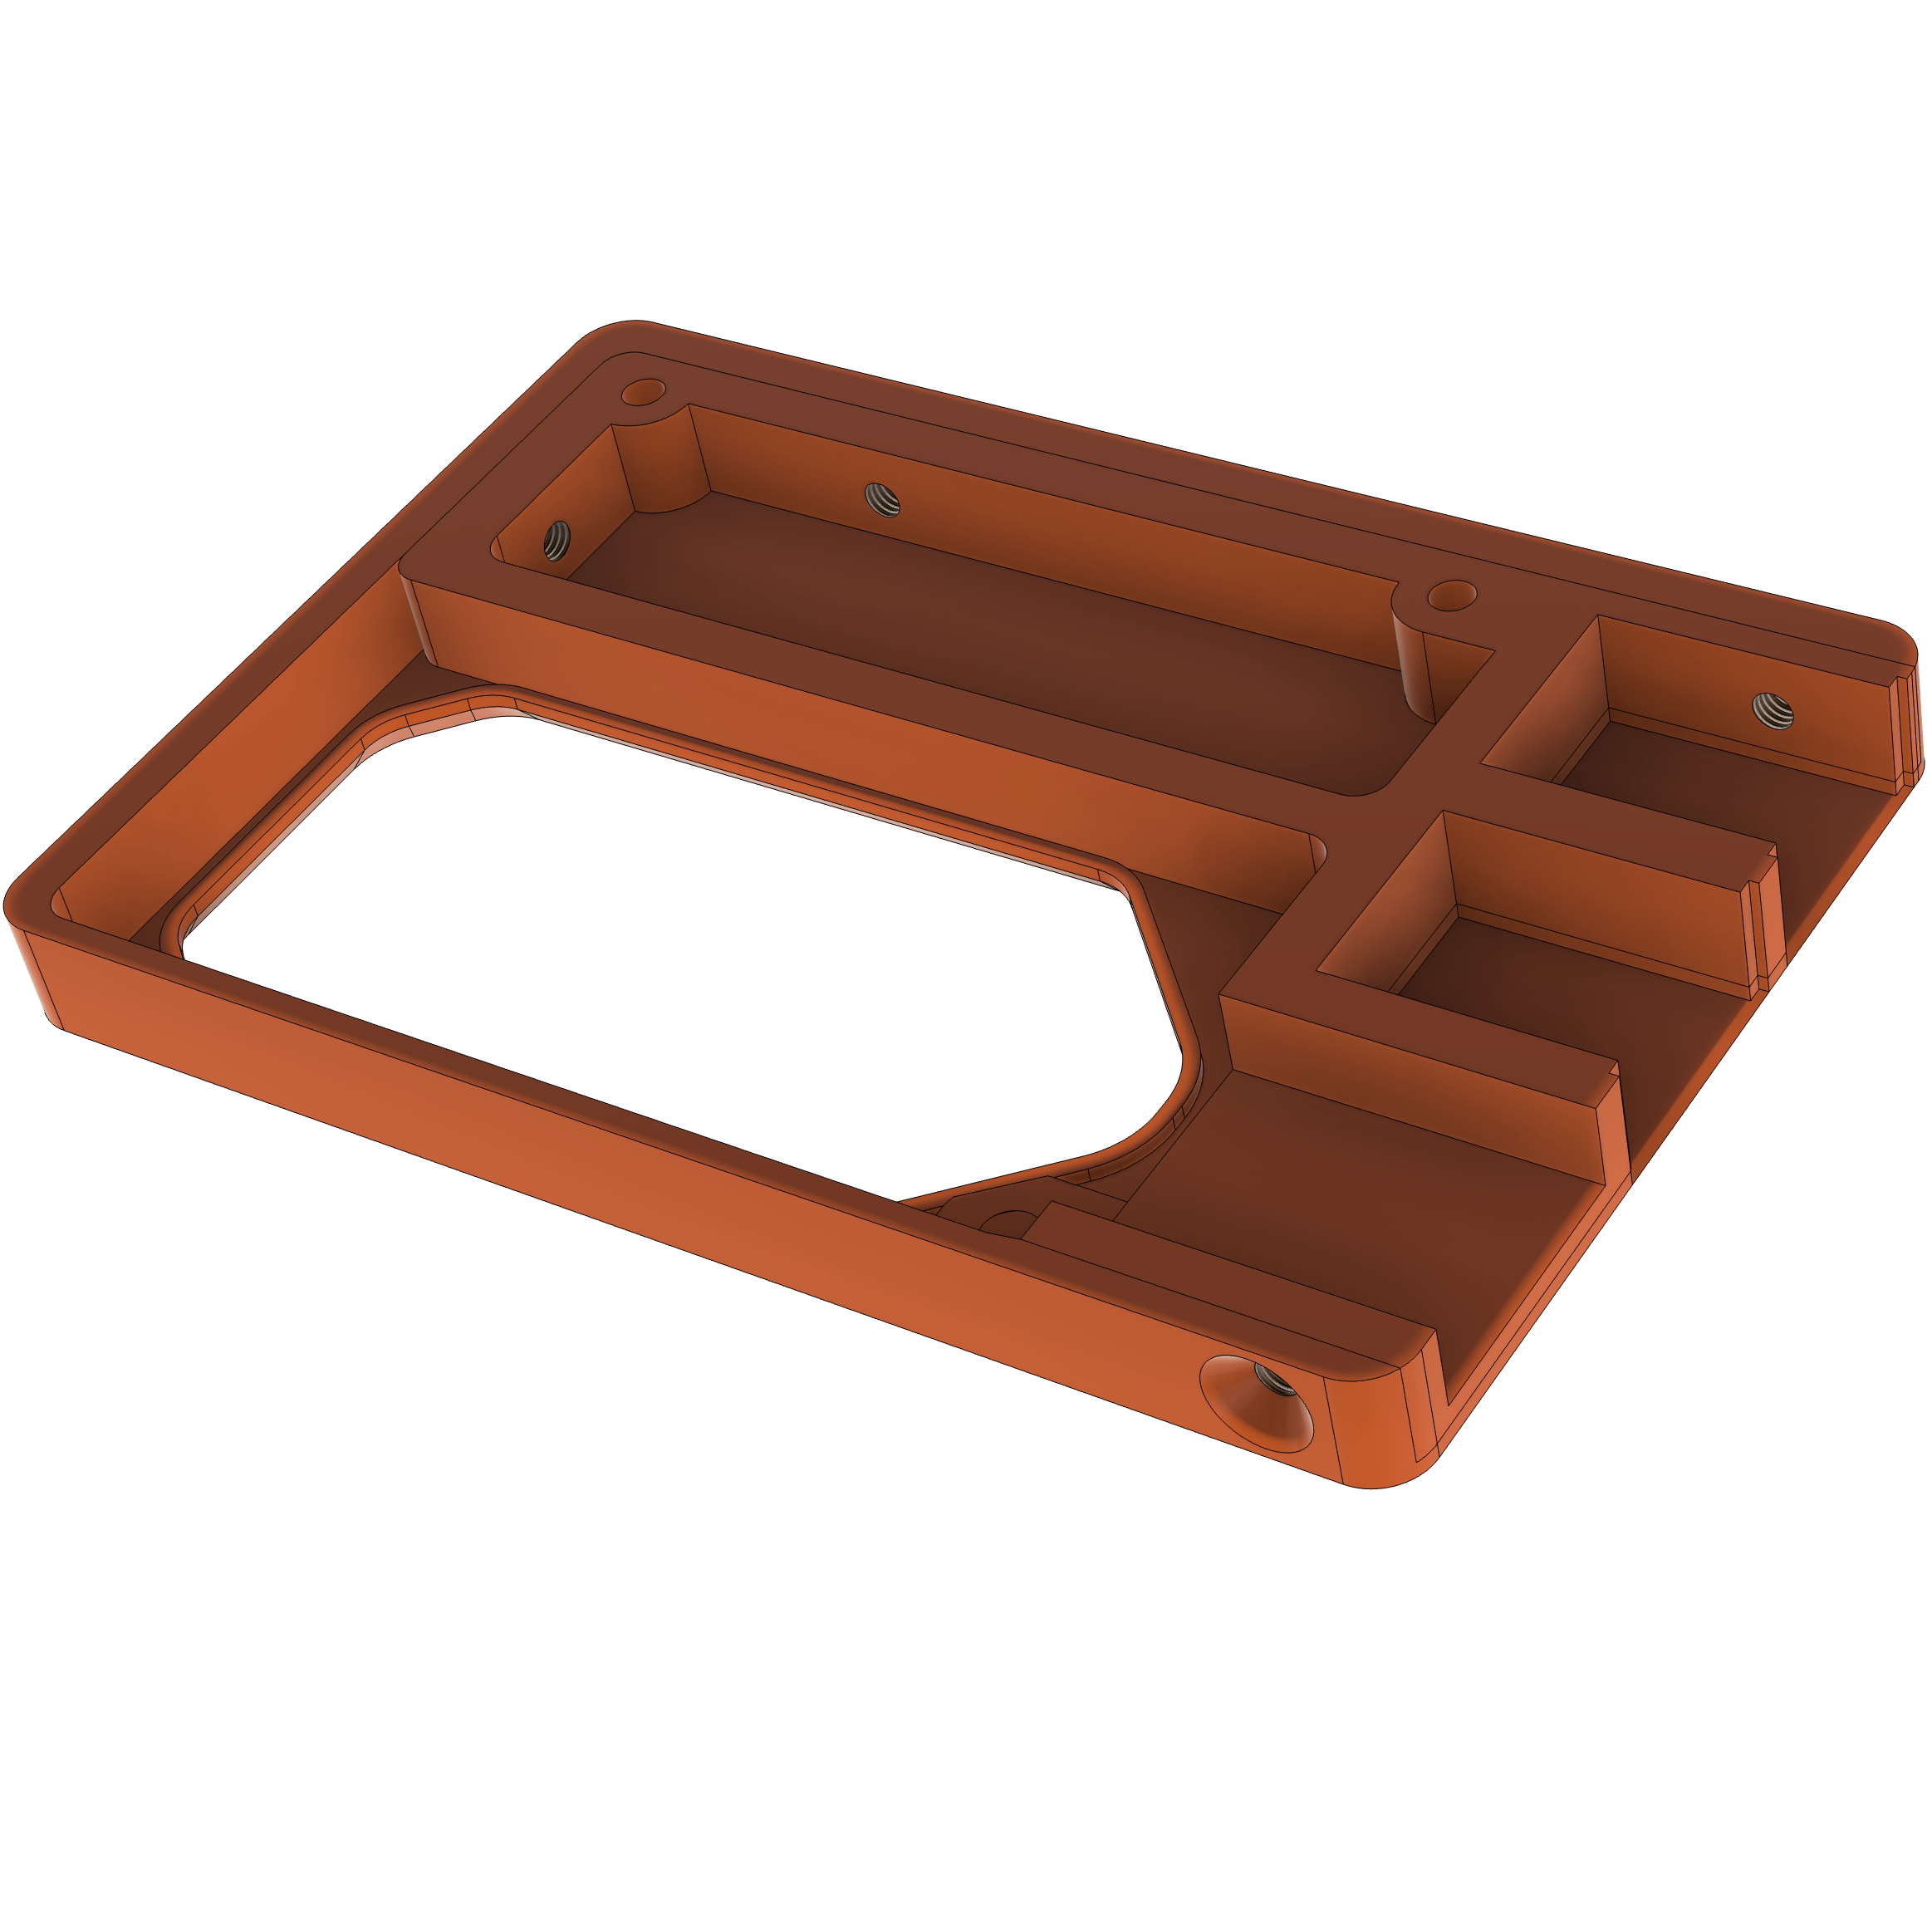 Image 3 of 10
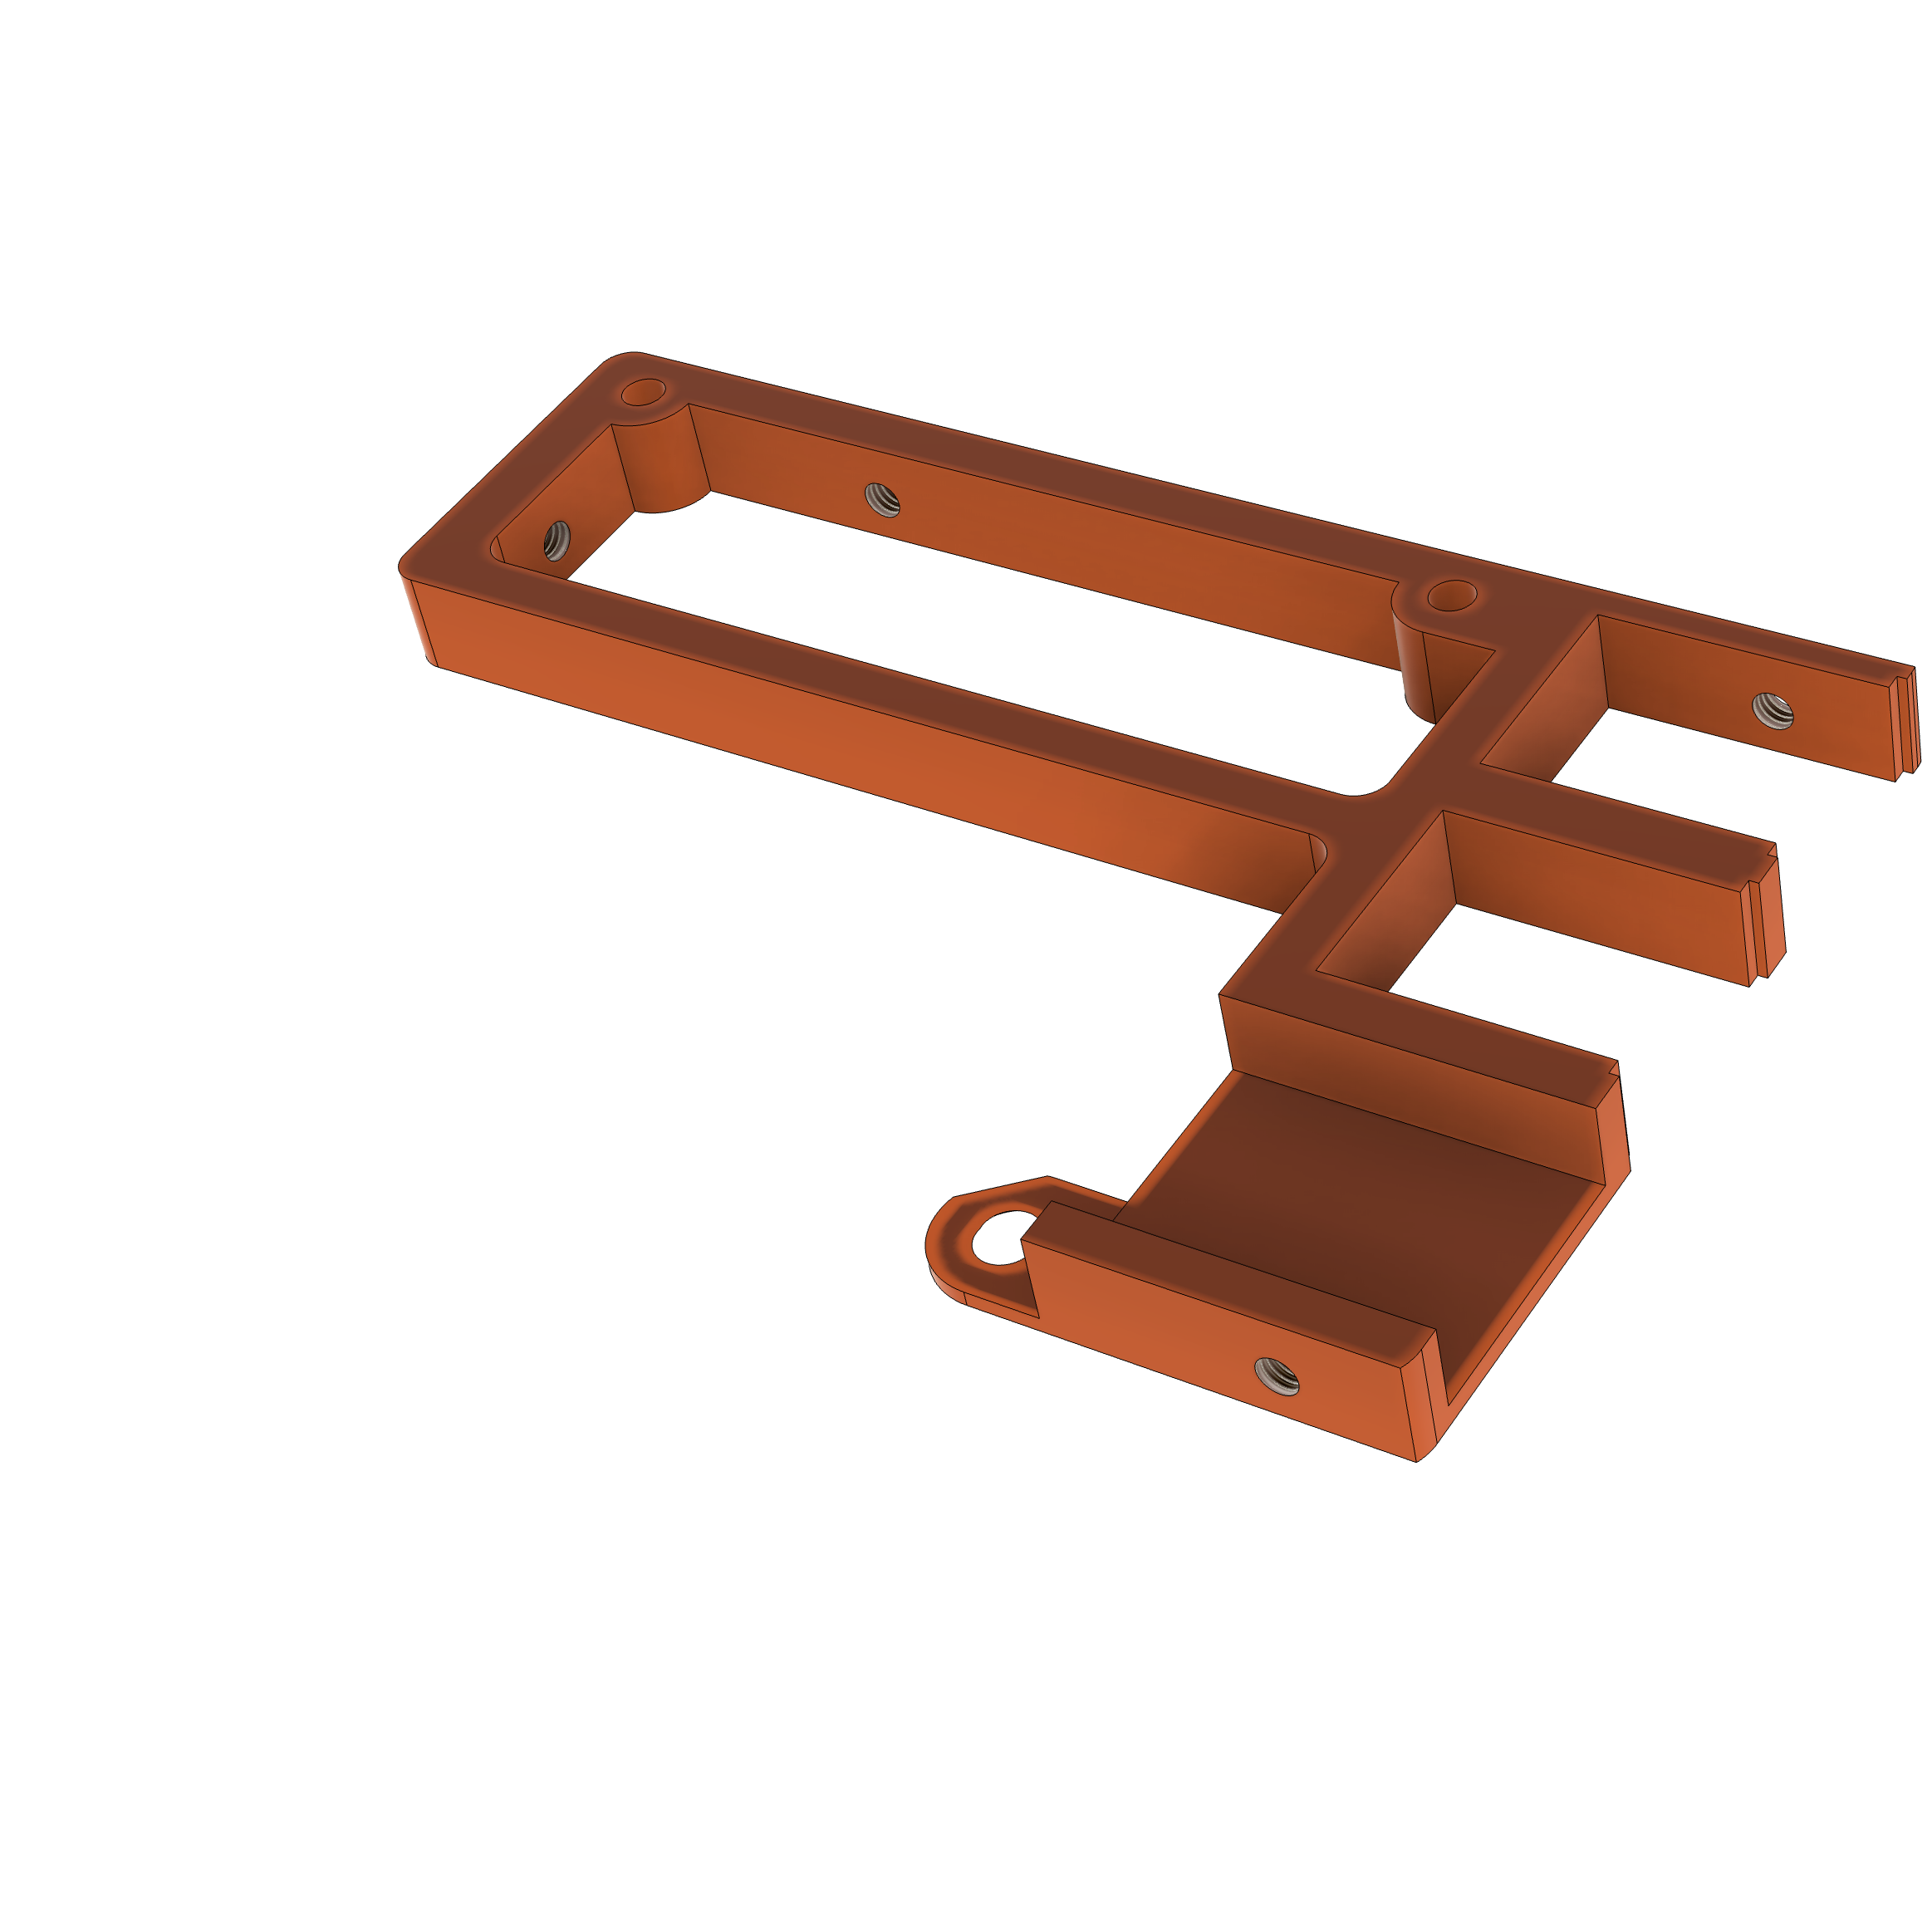 Image 4 of 10
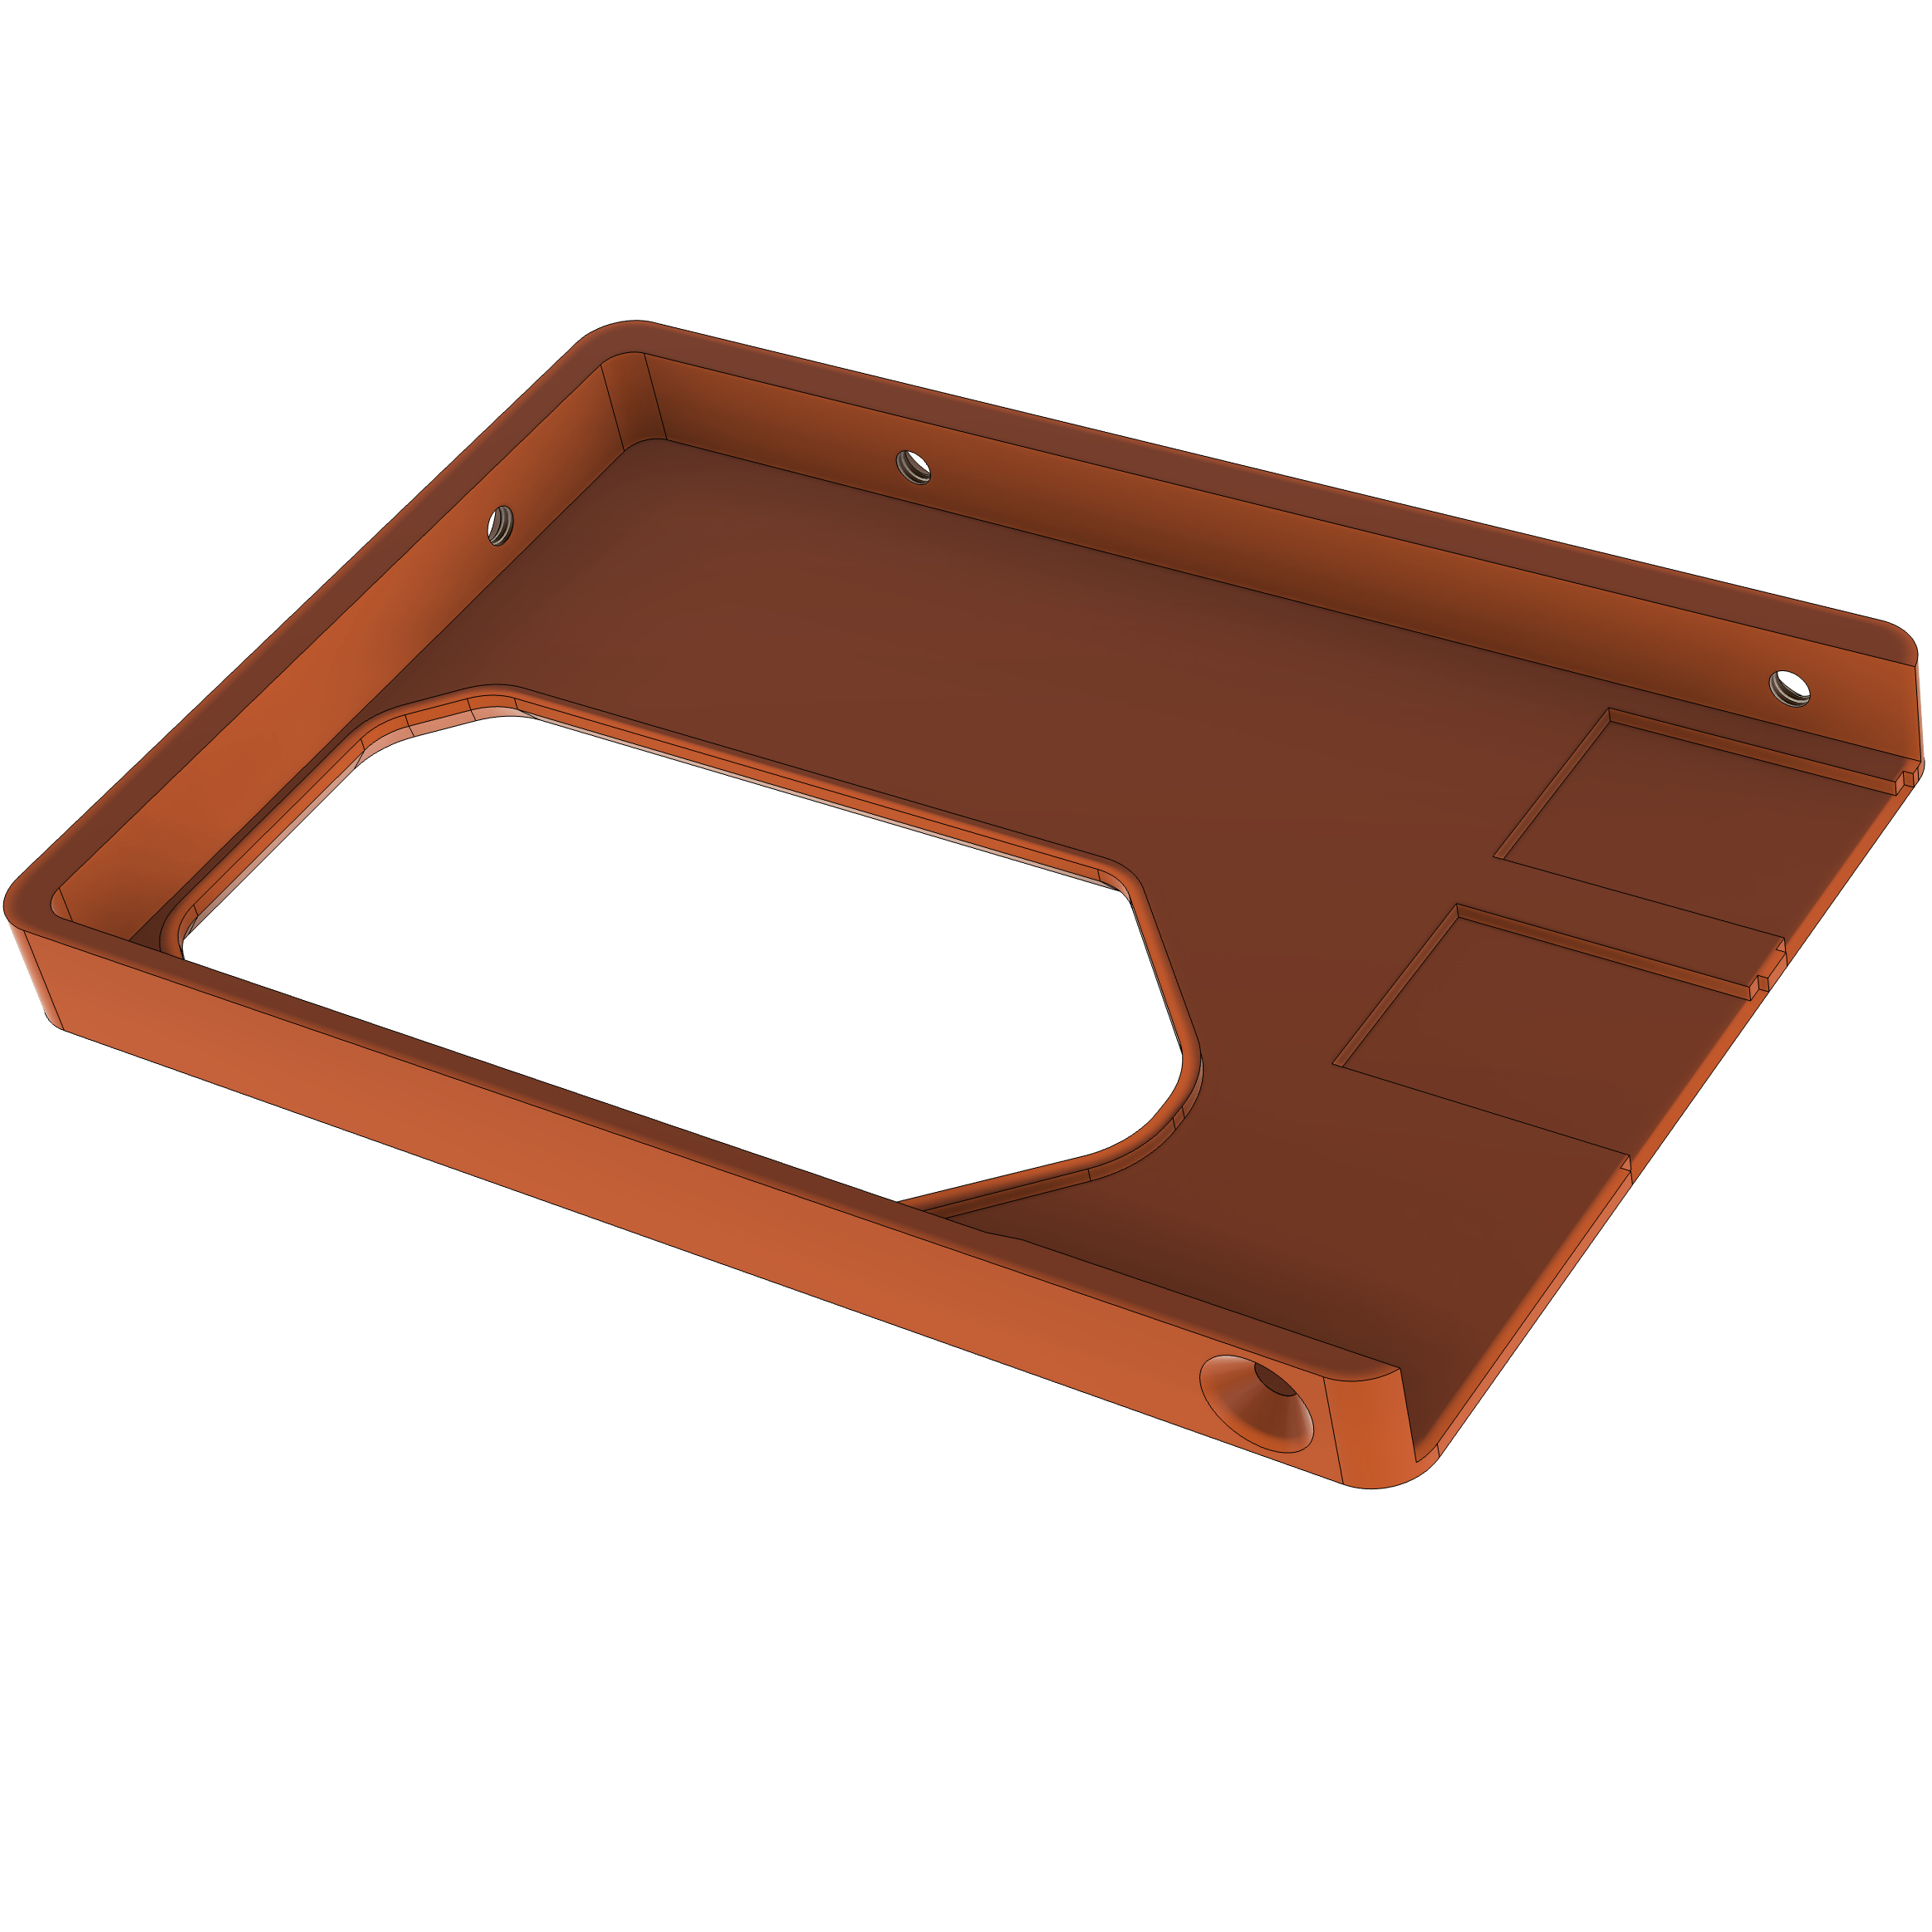 Image 5 of 10
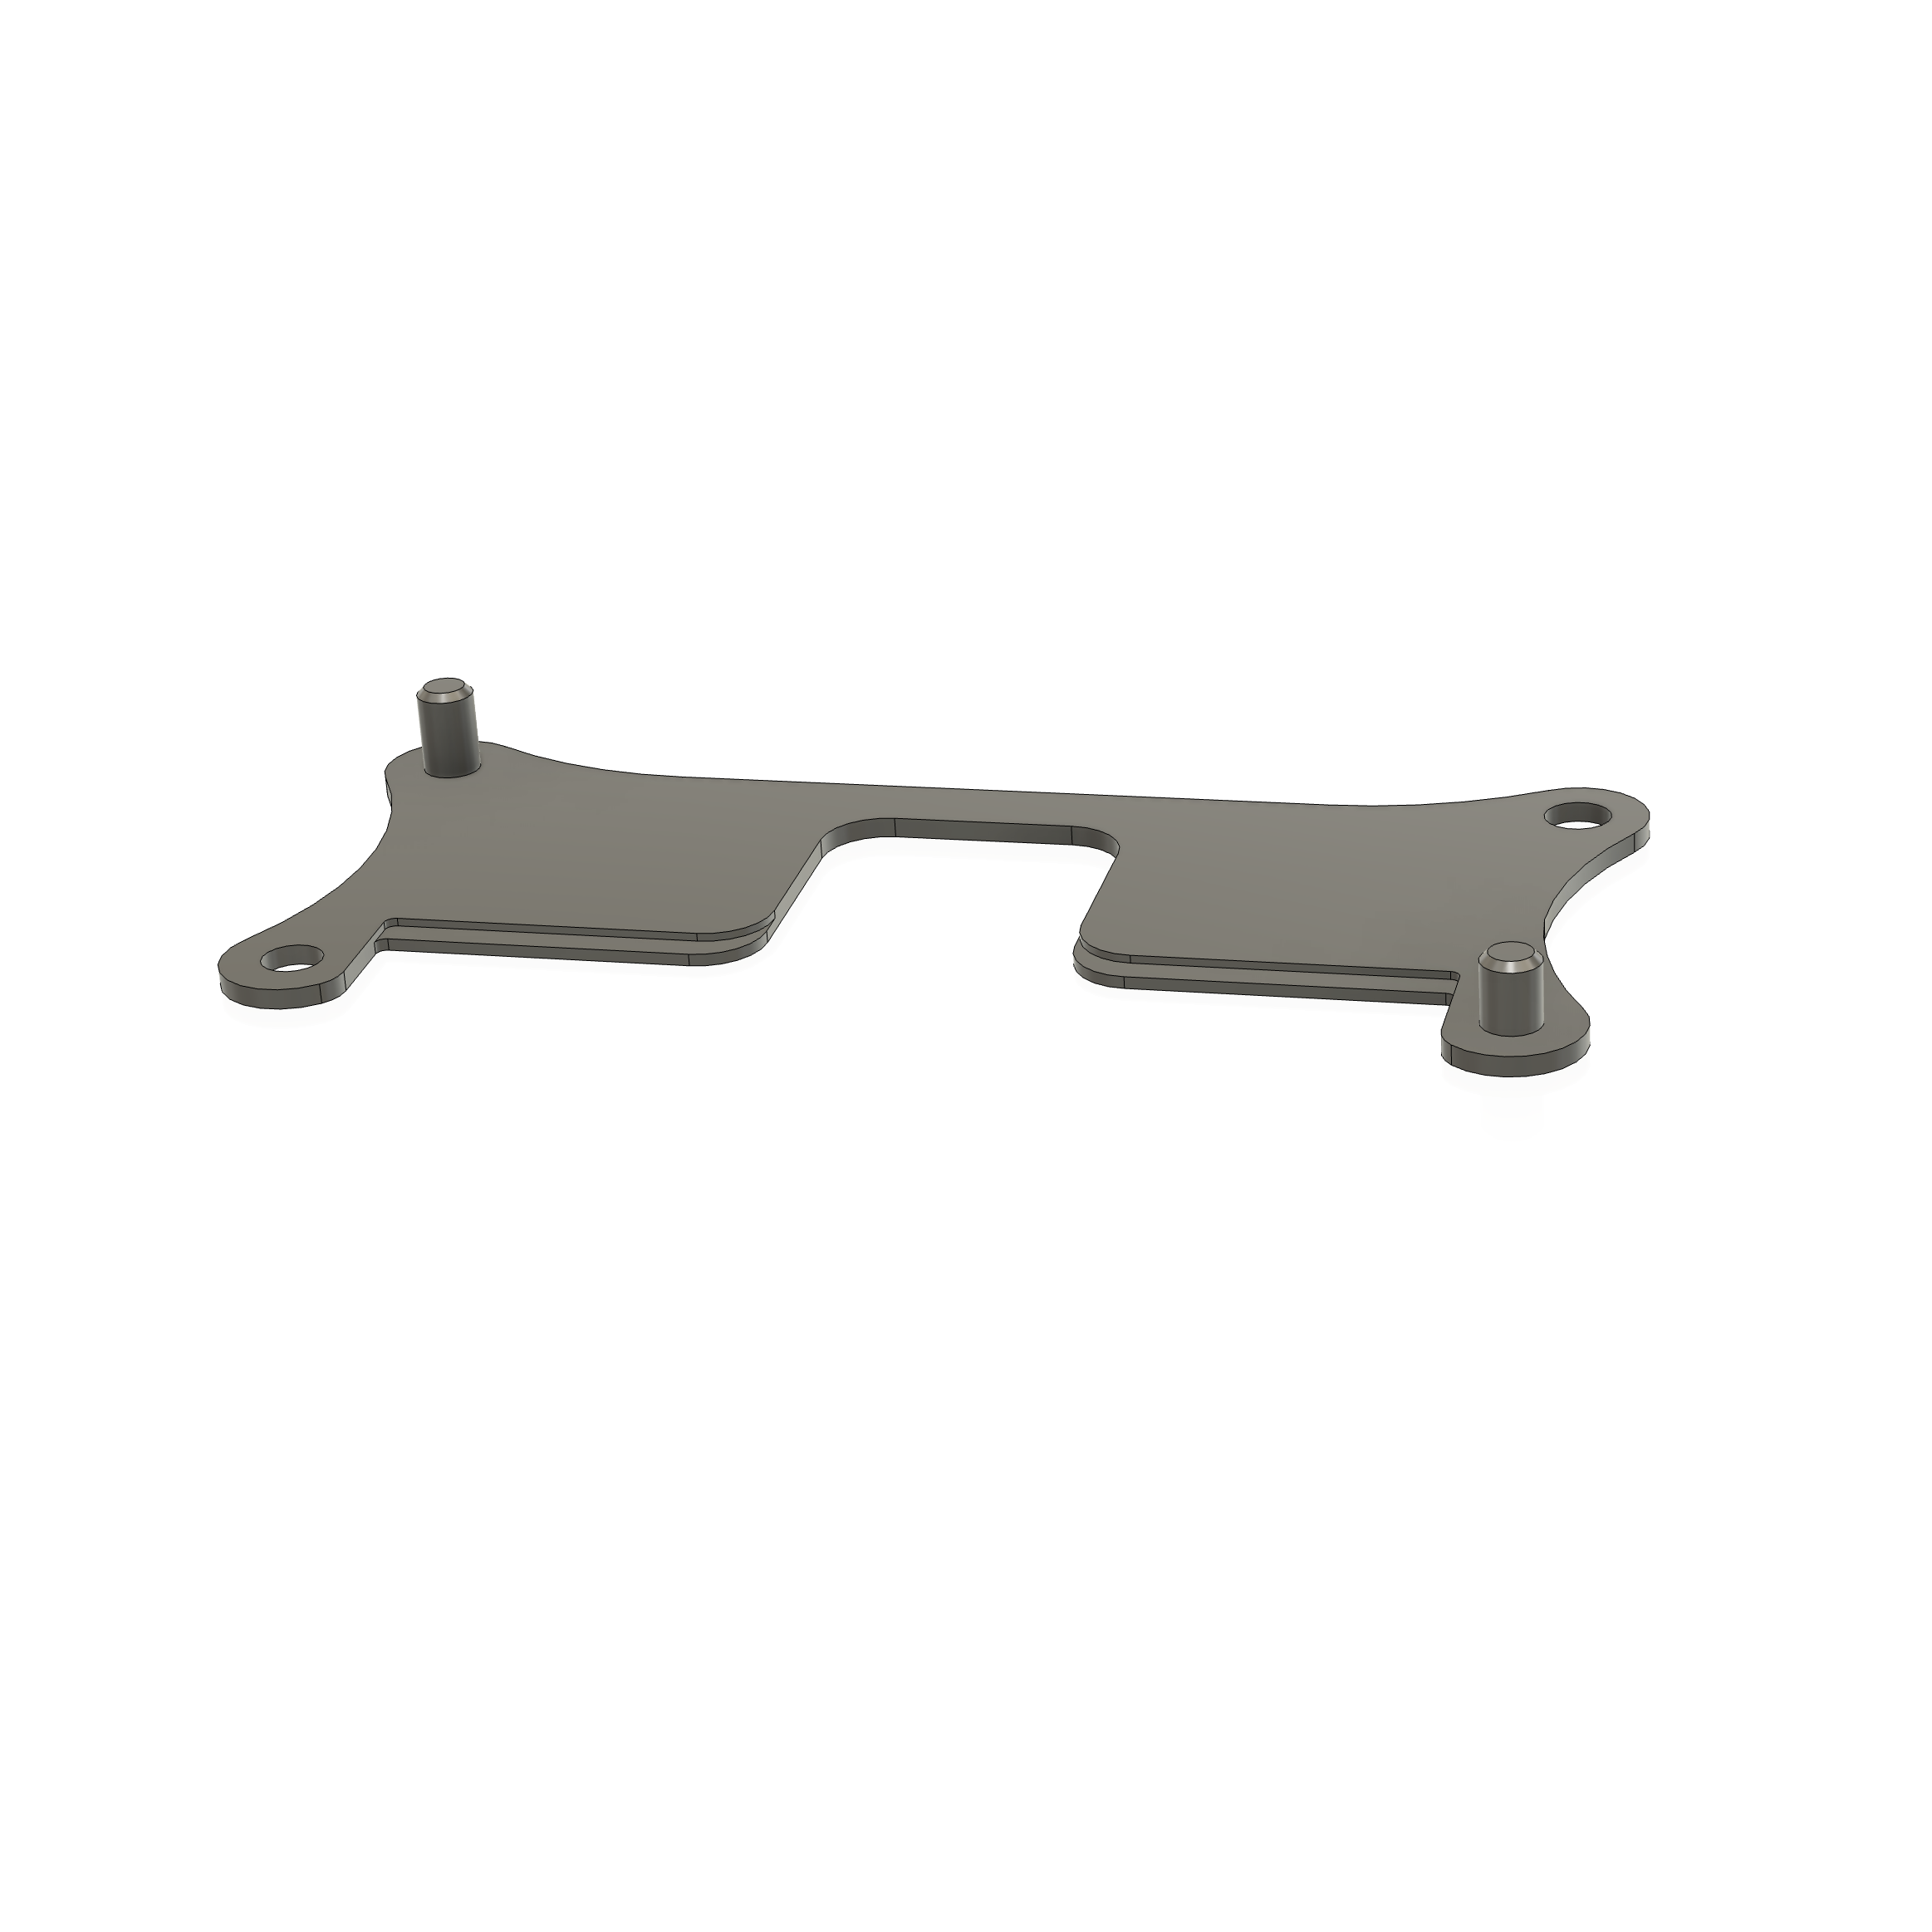 Image 6 of 10
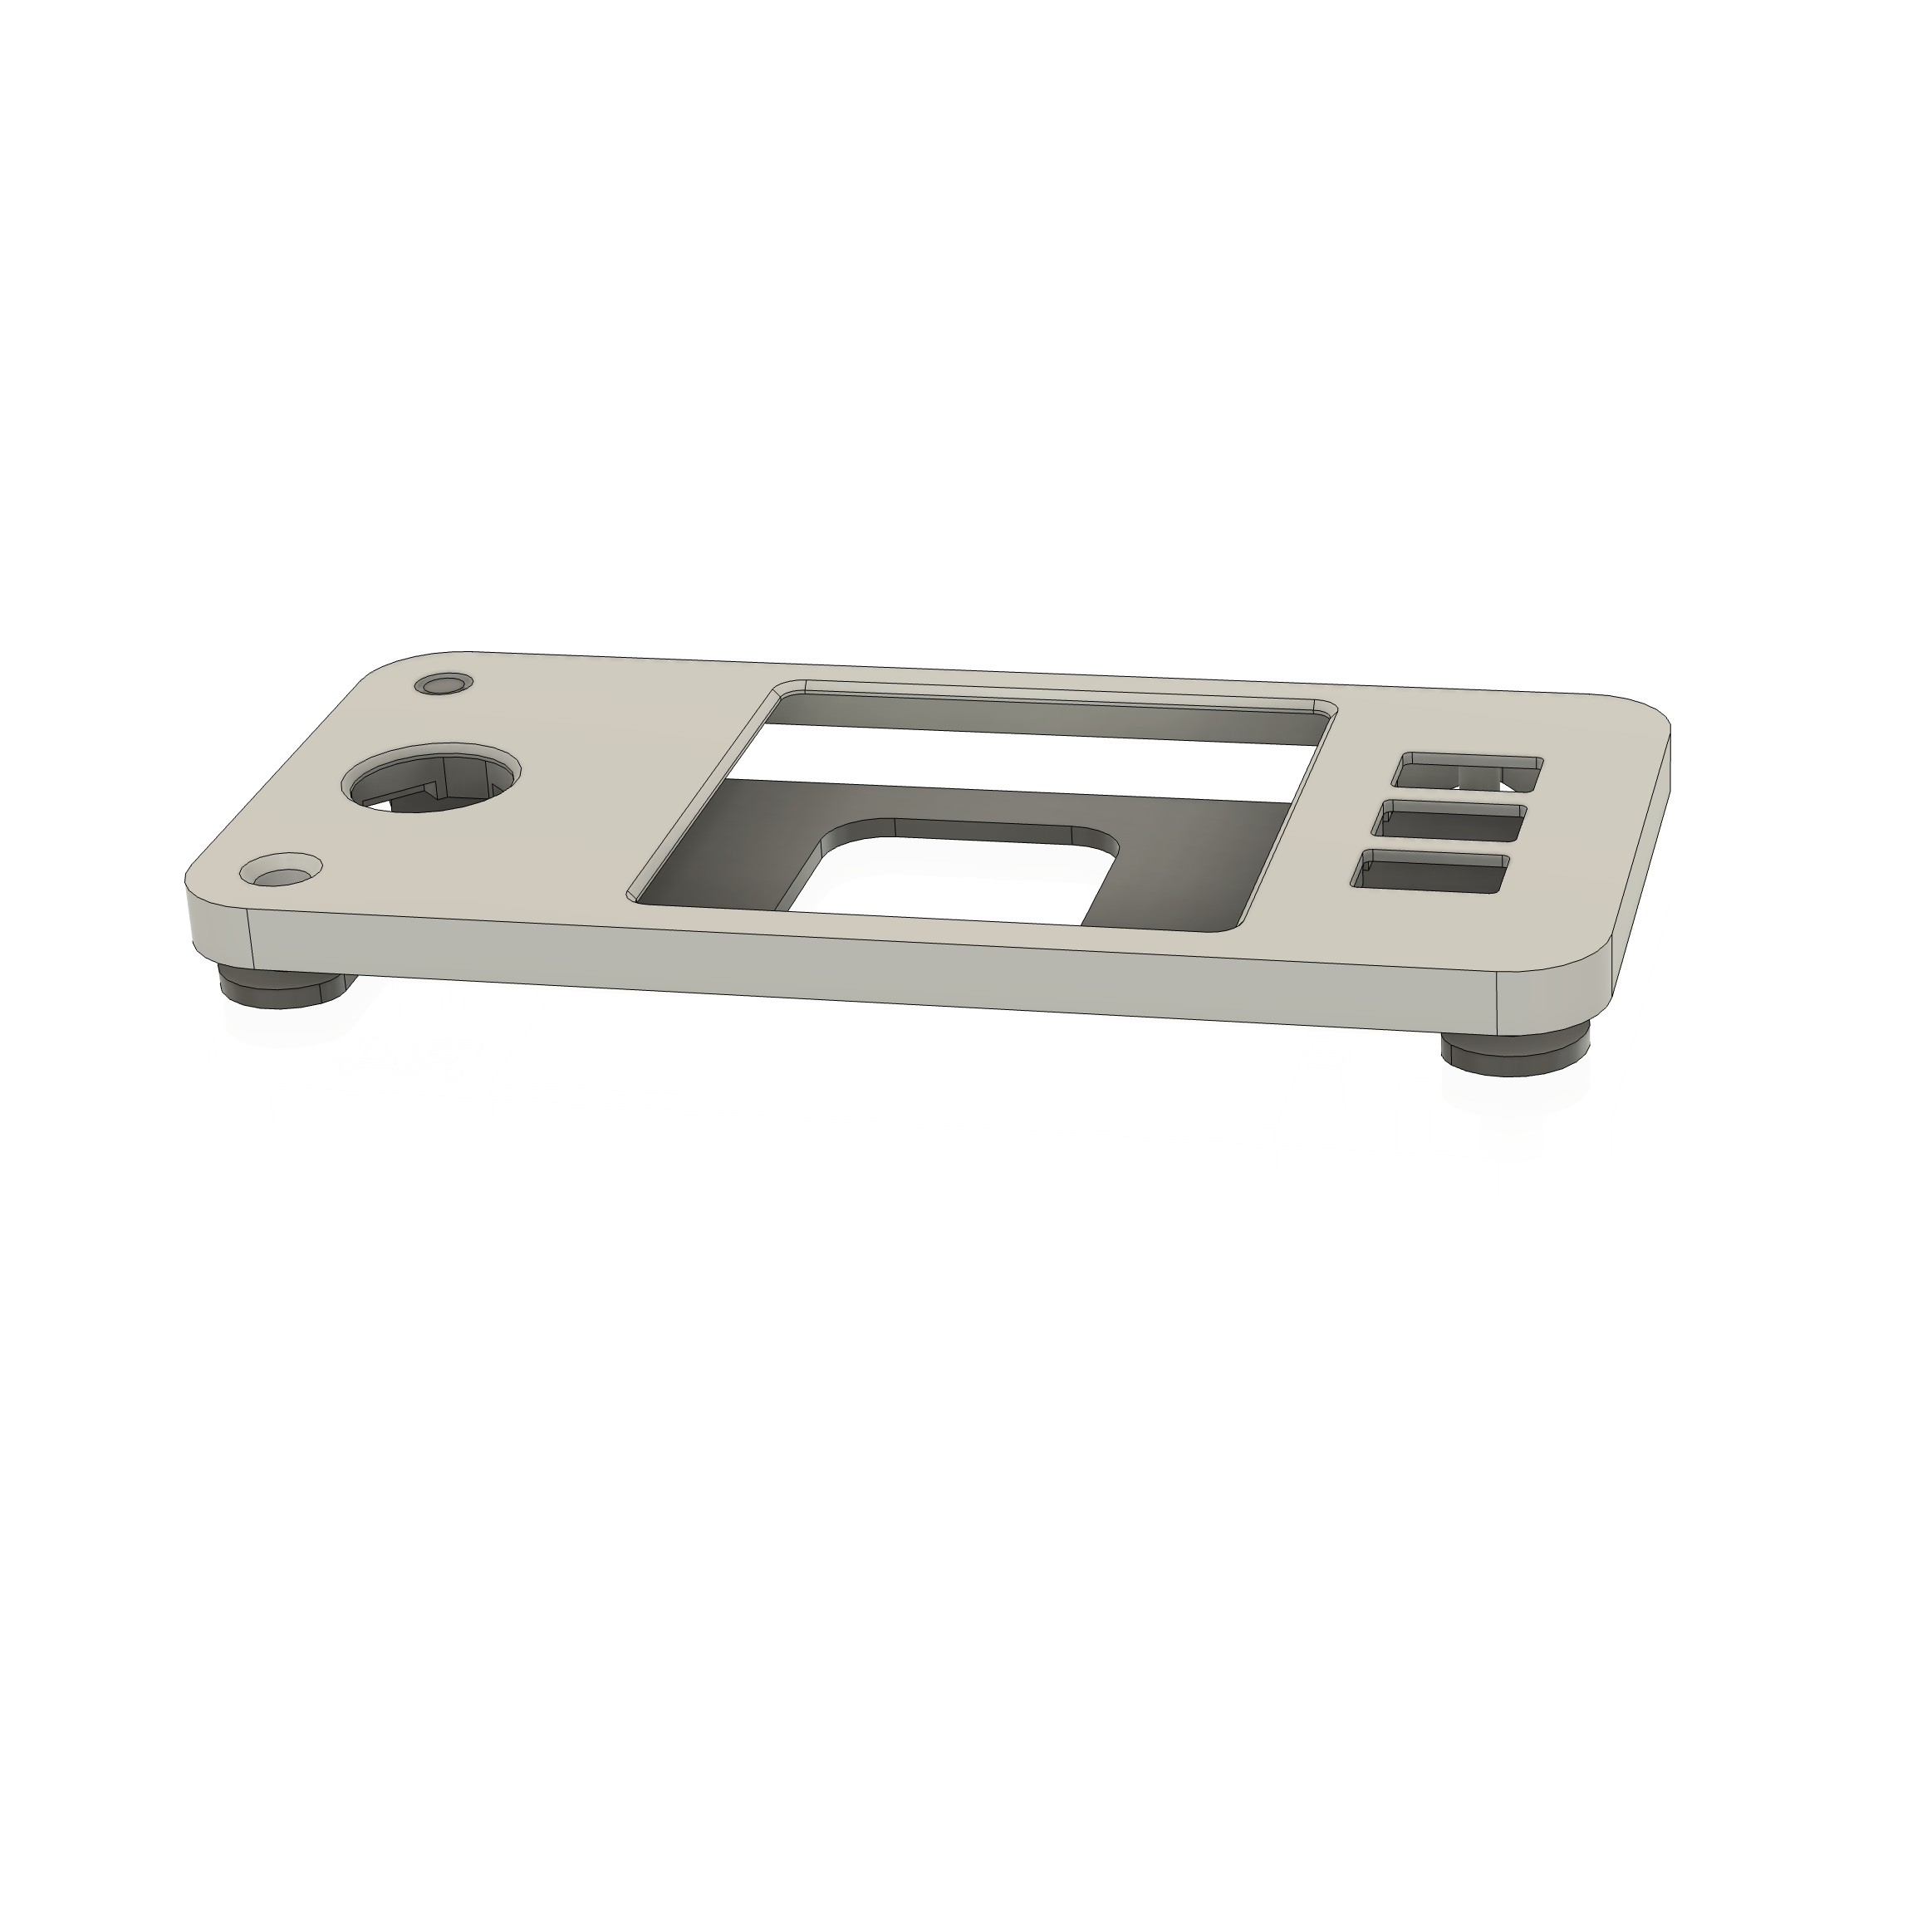 Image 7 of 10
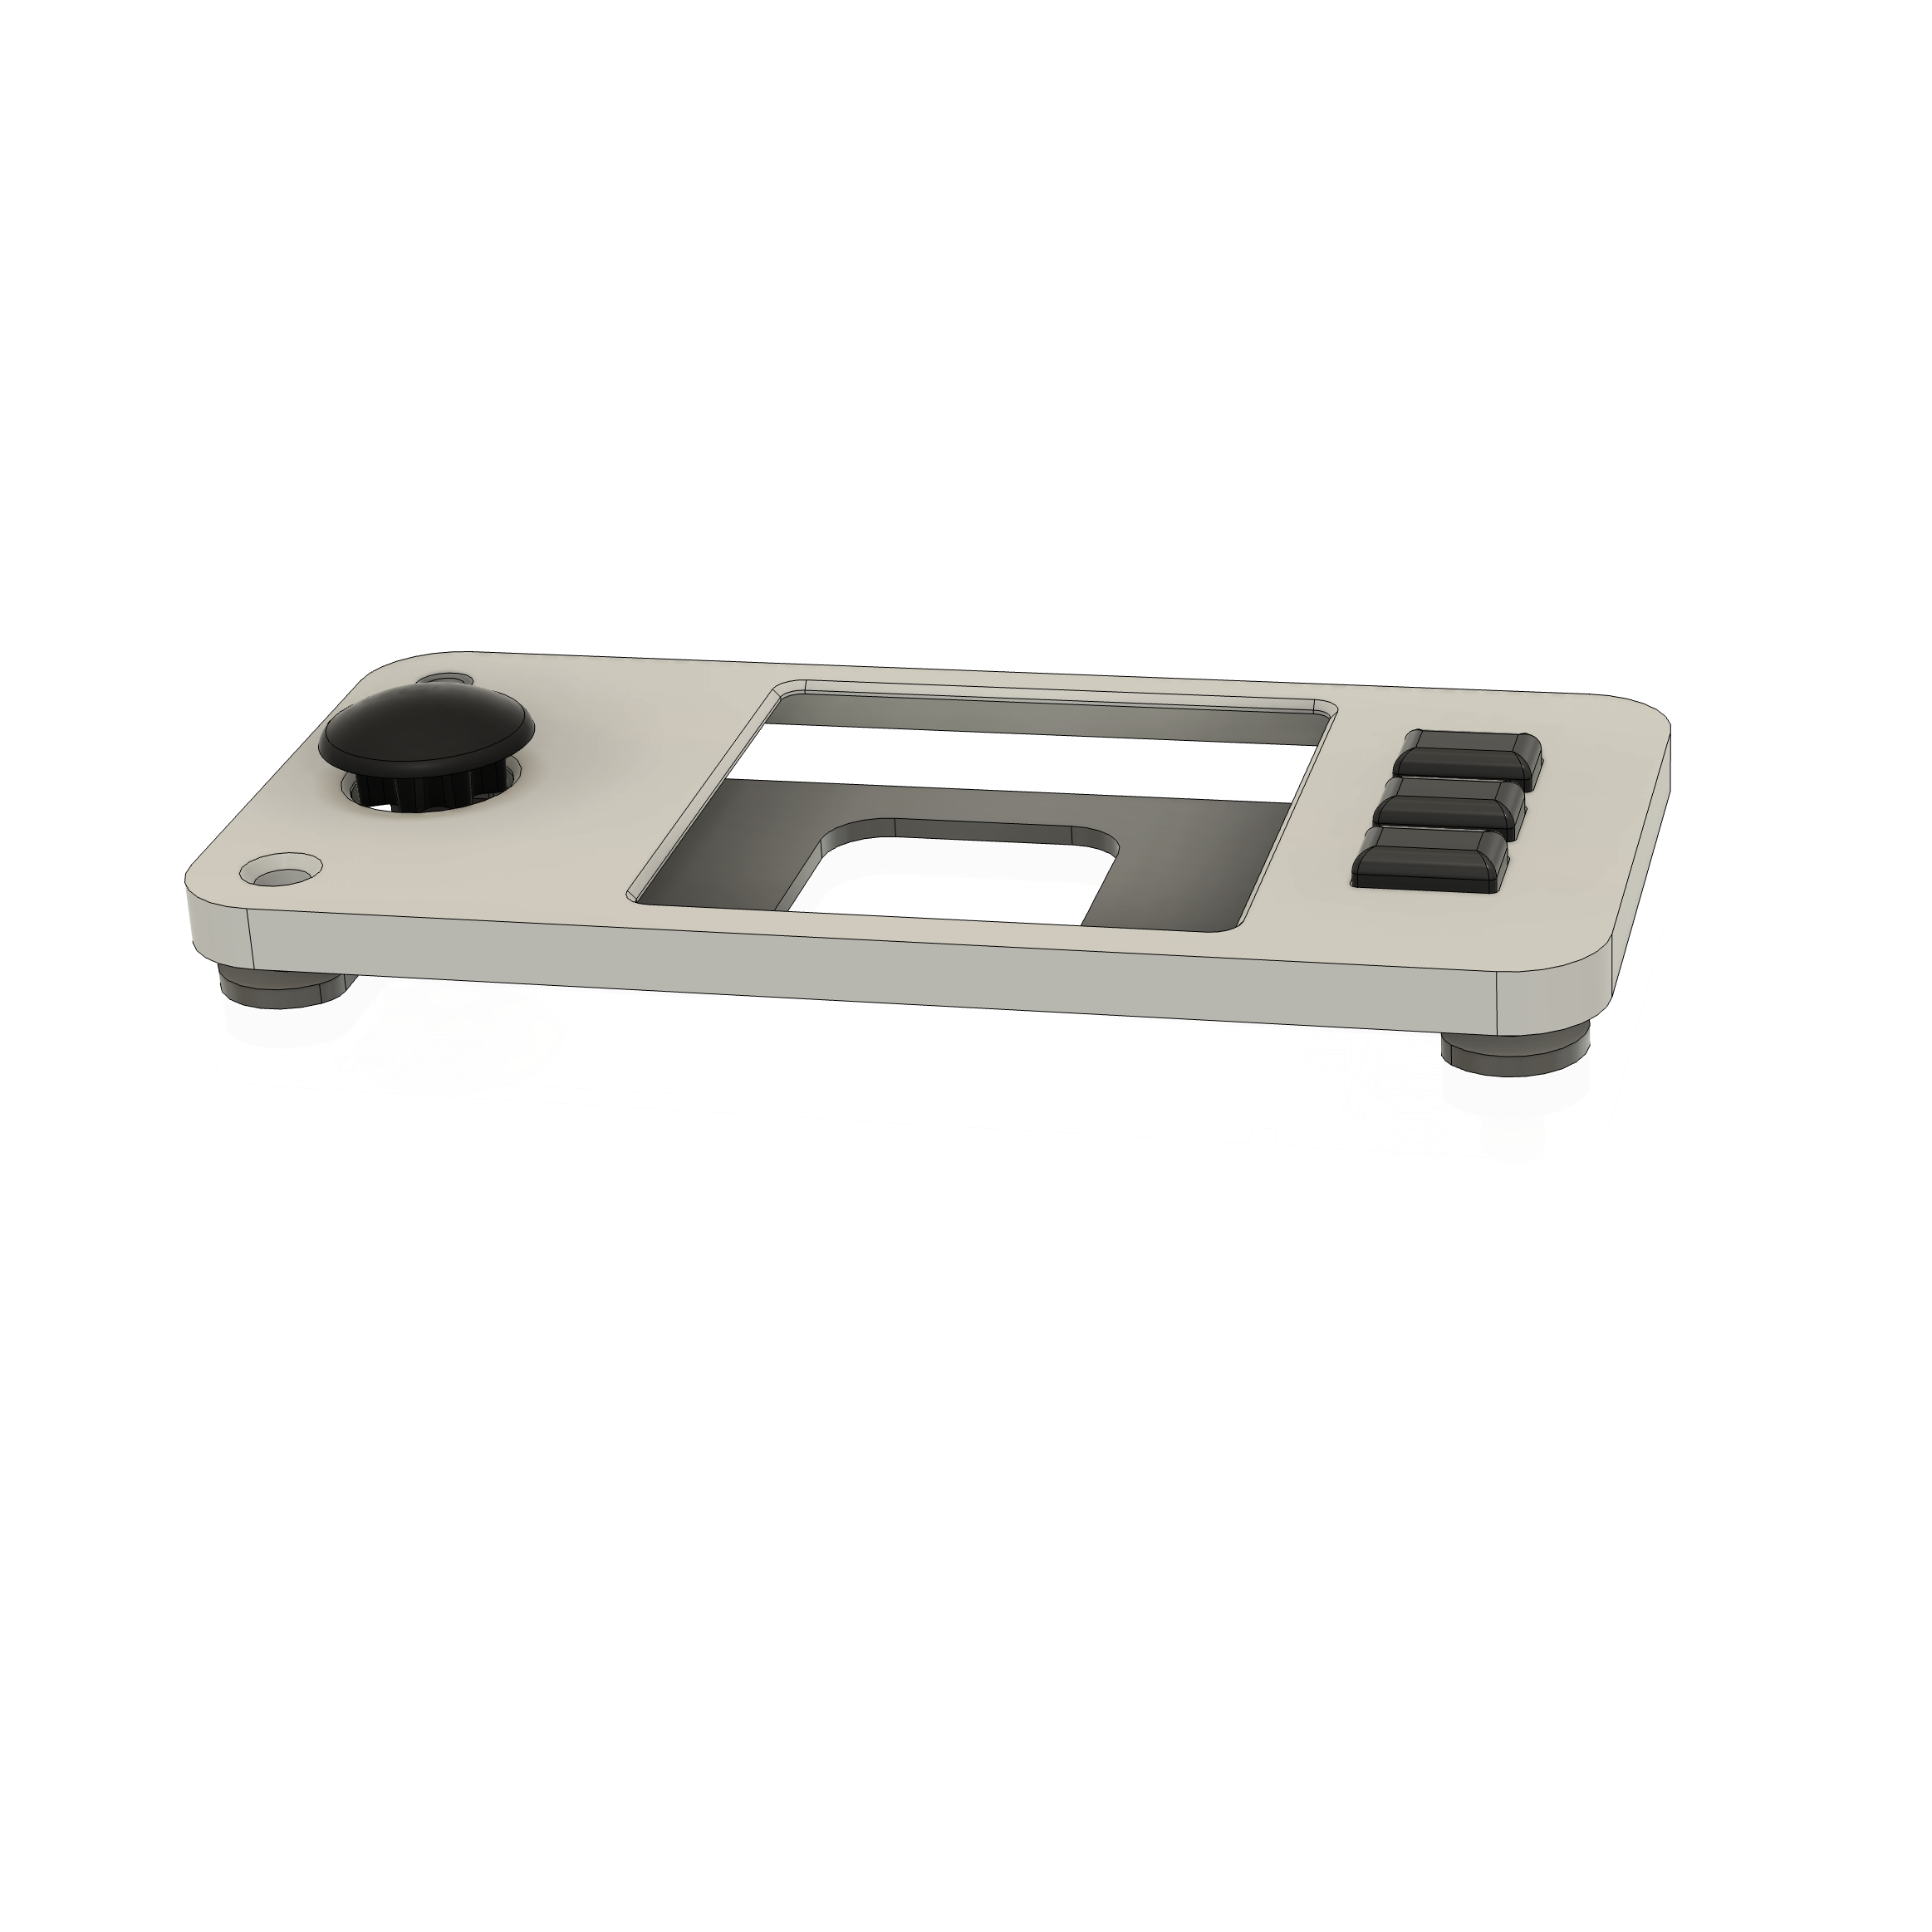 Image 8 of 10
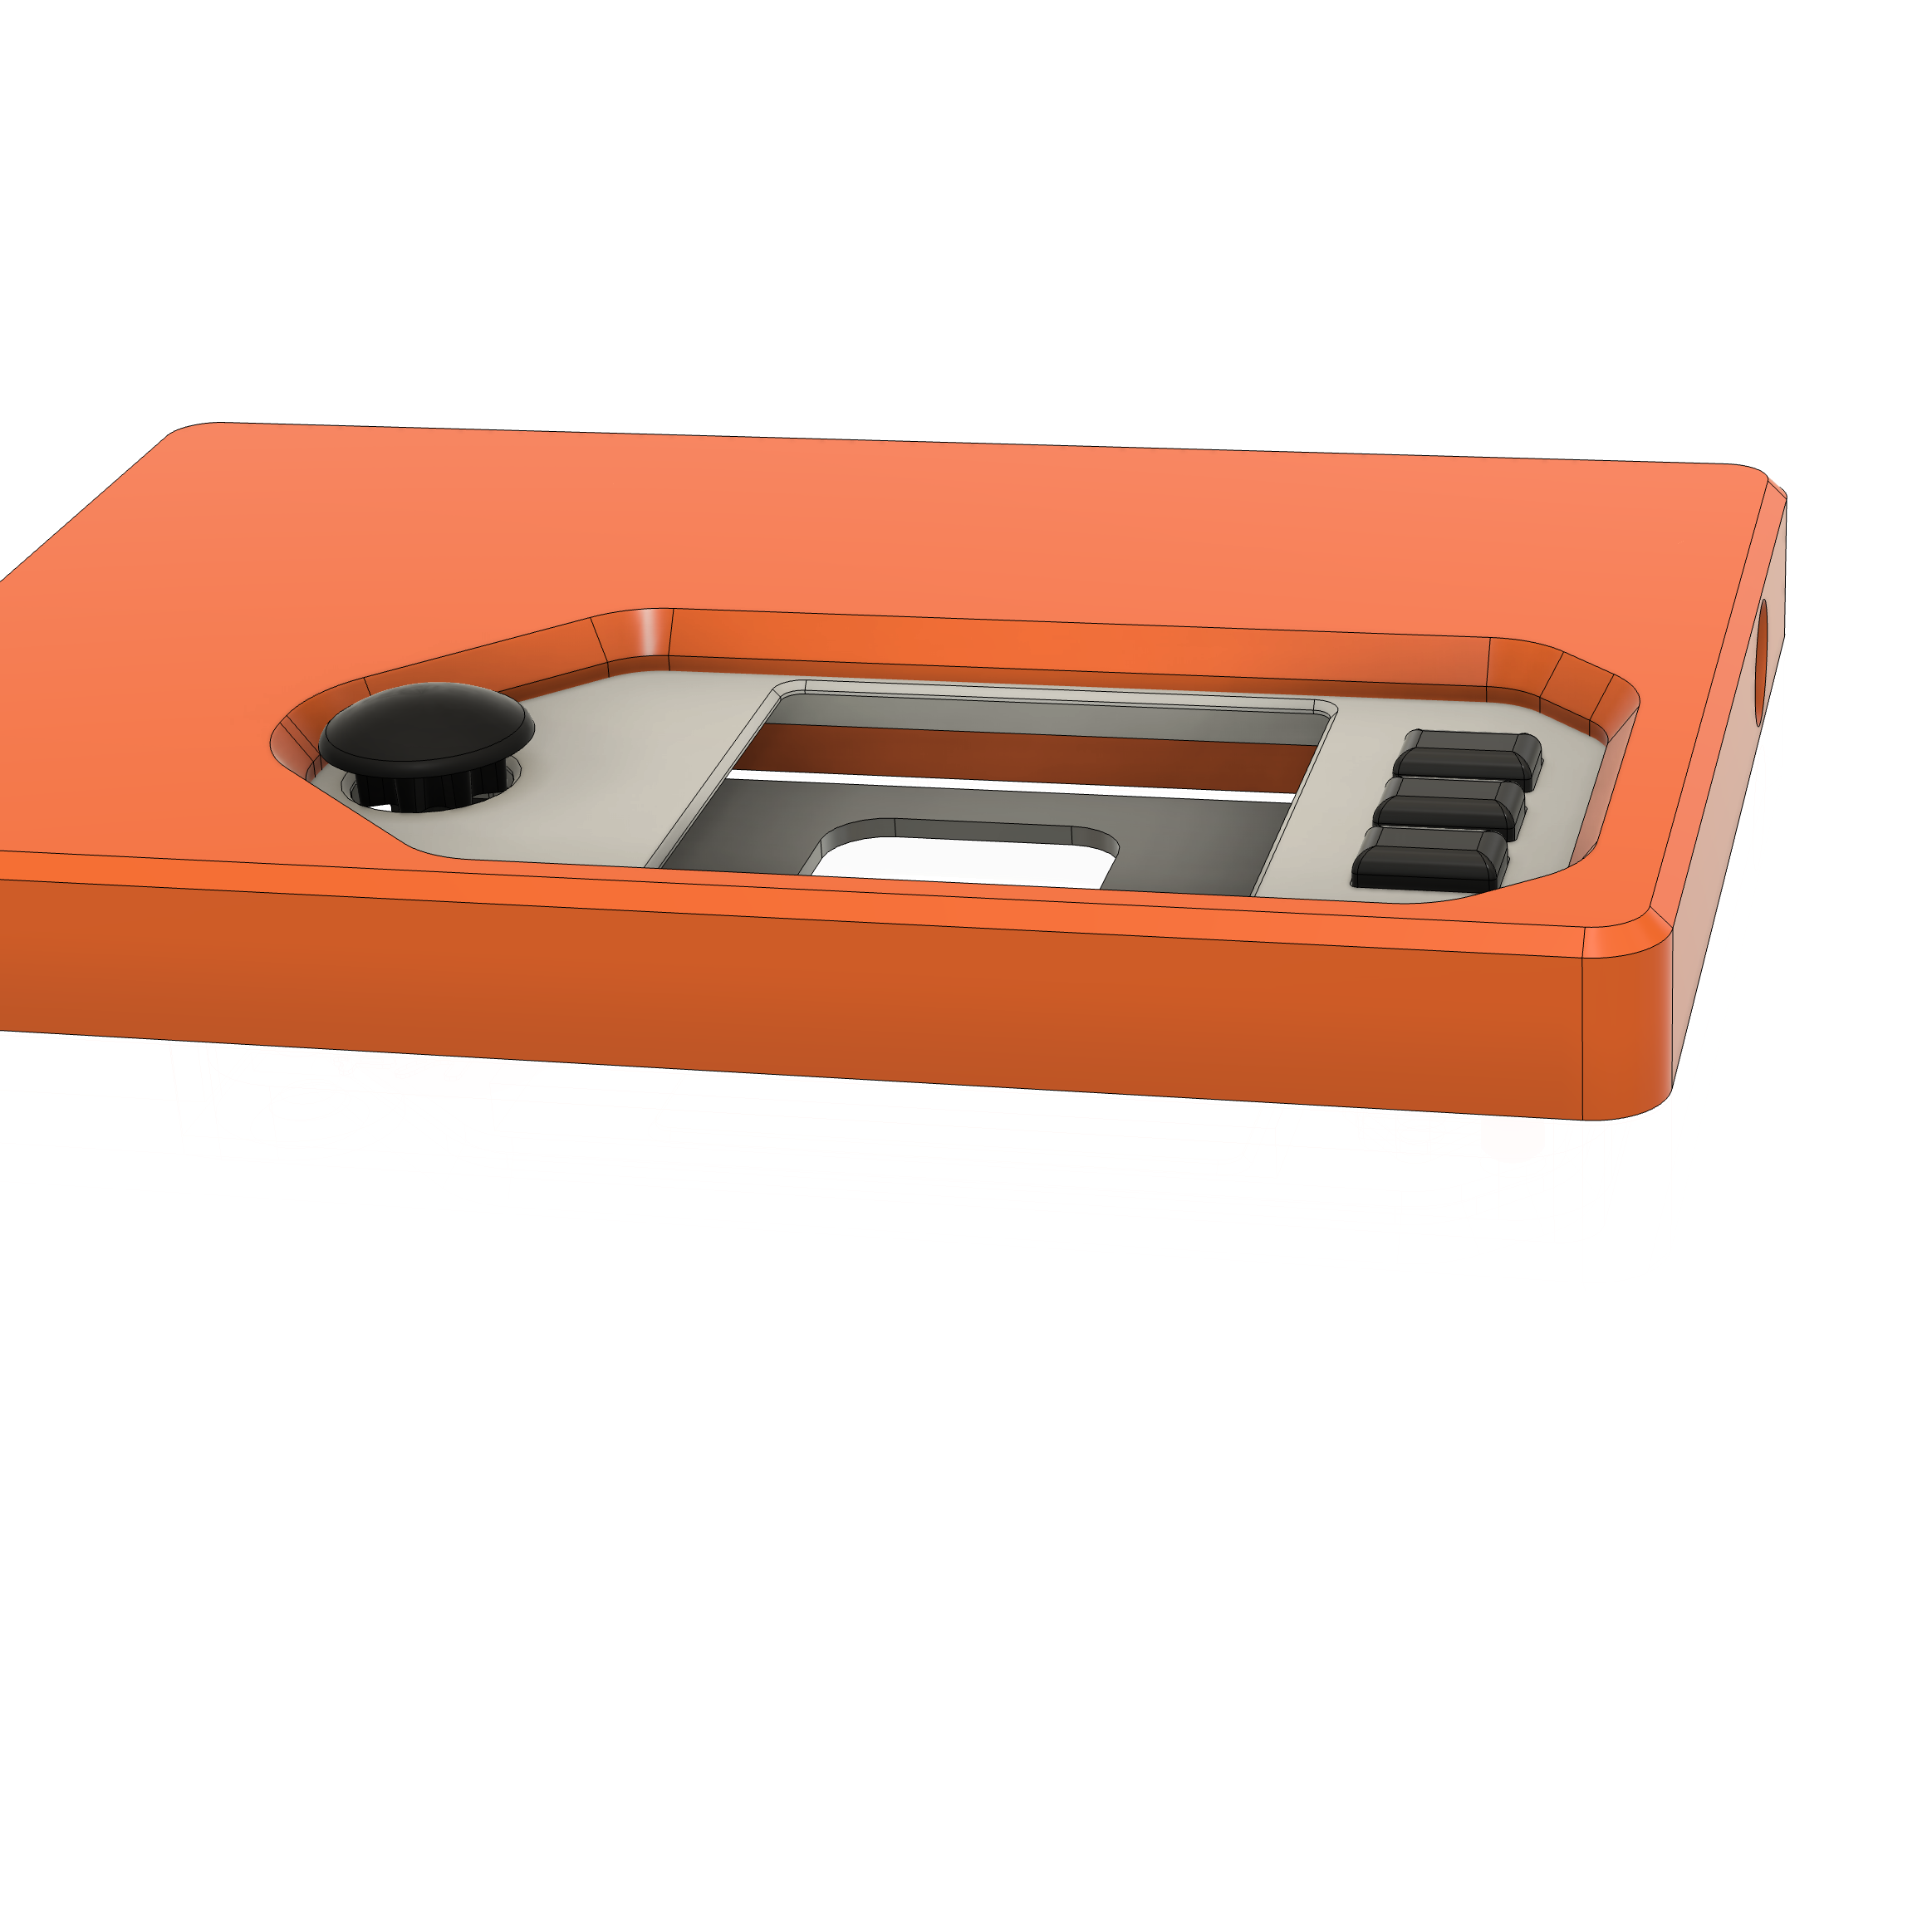 Image 9 of 10
 Image 10 of 10
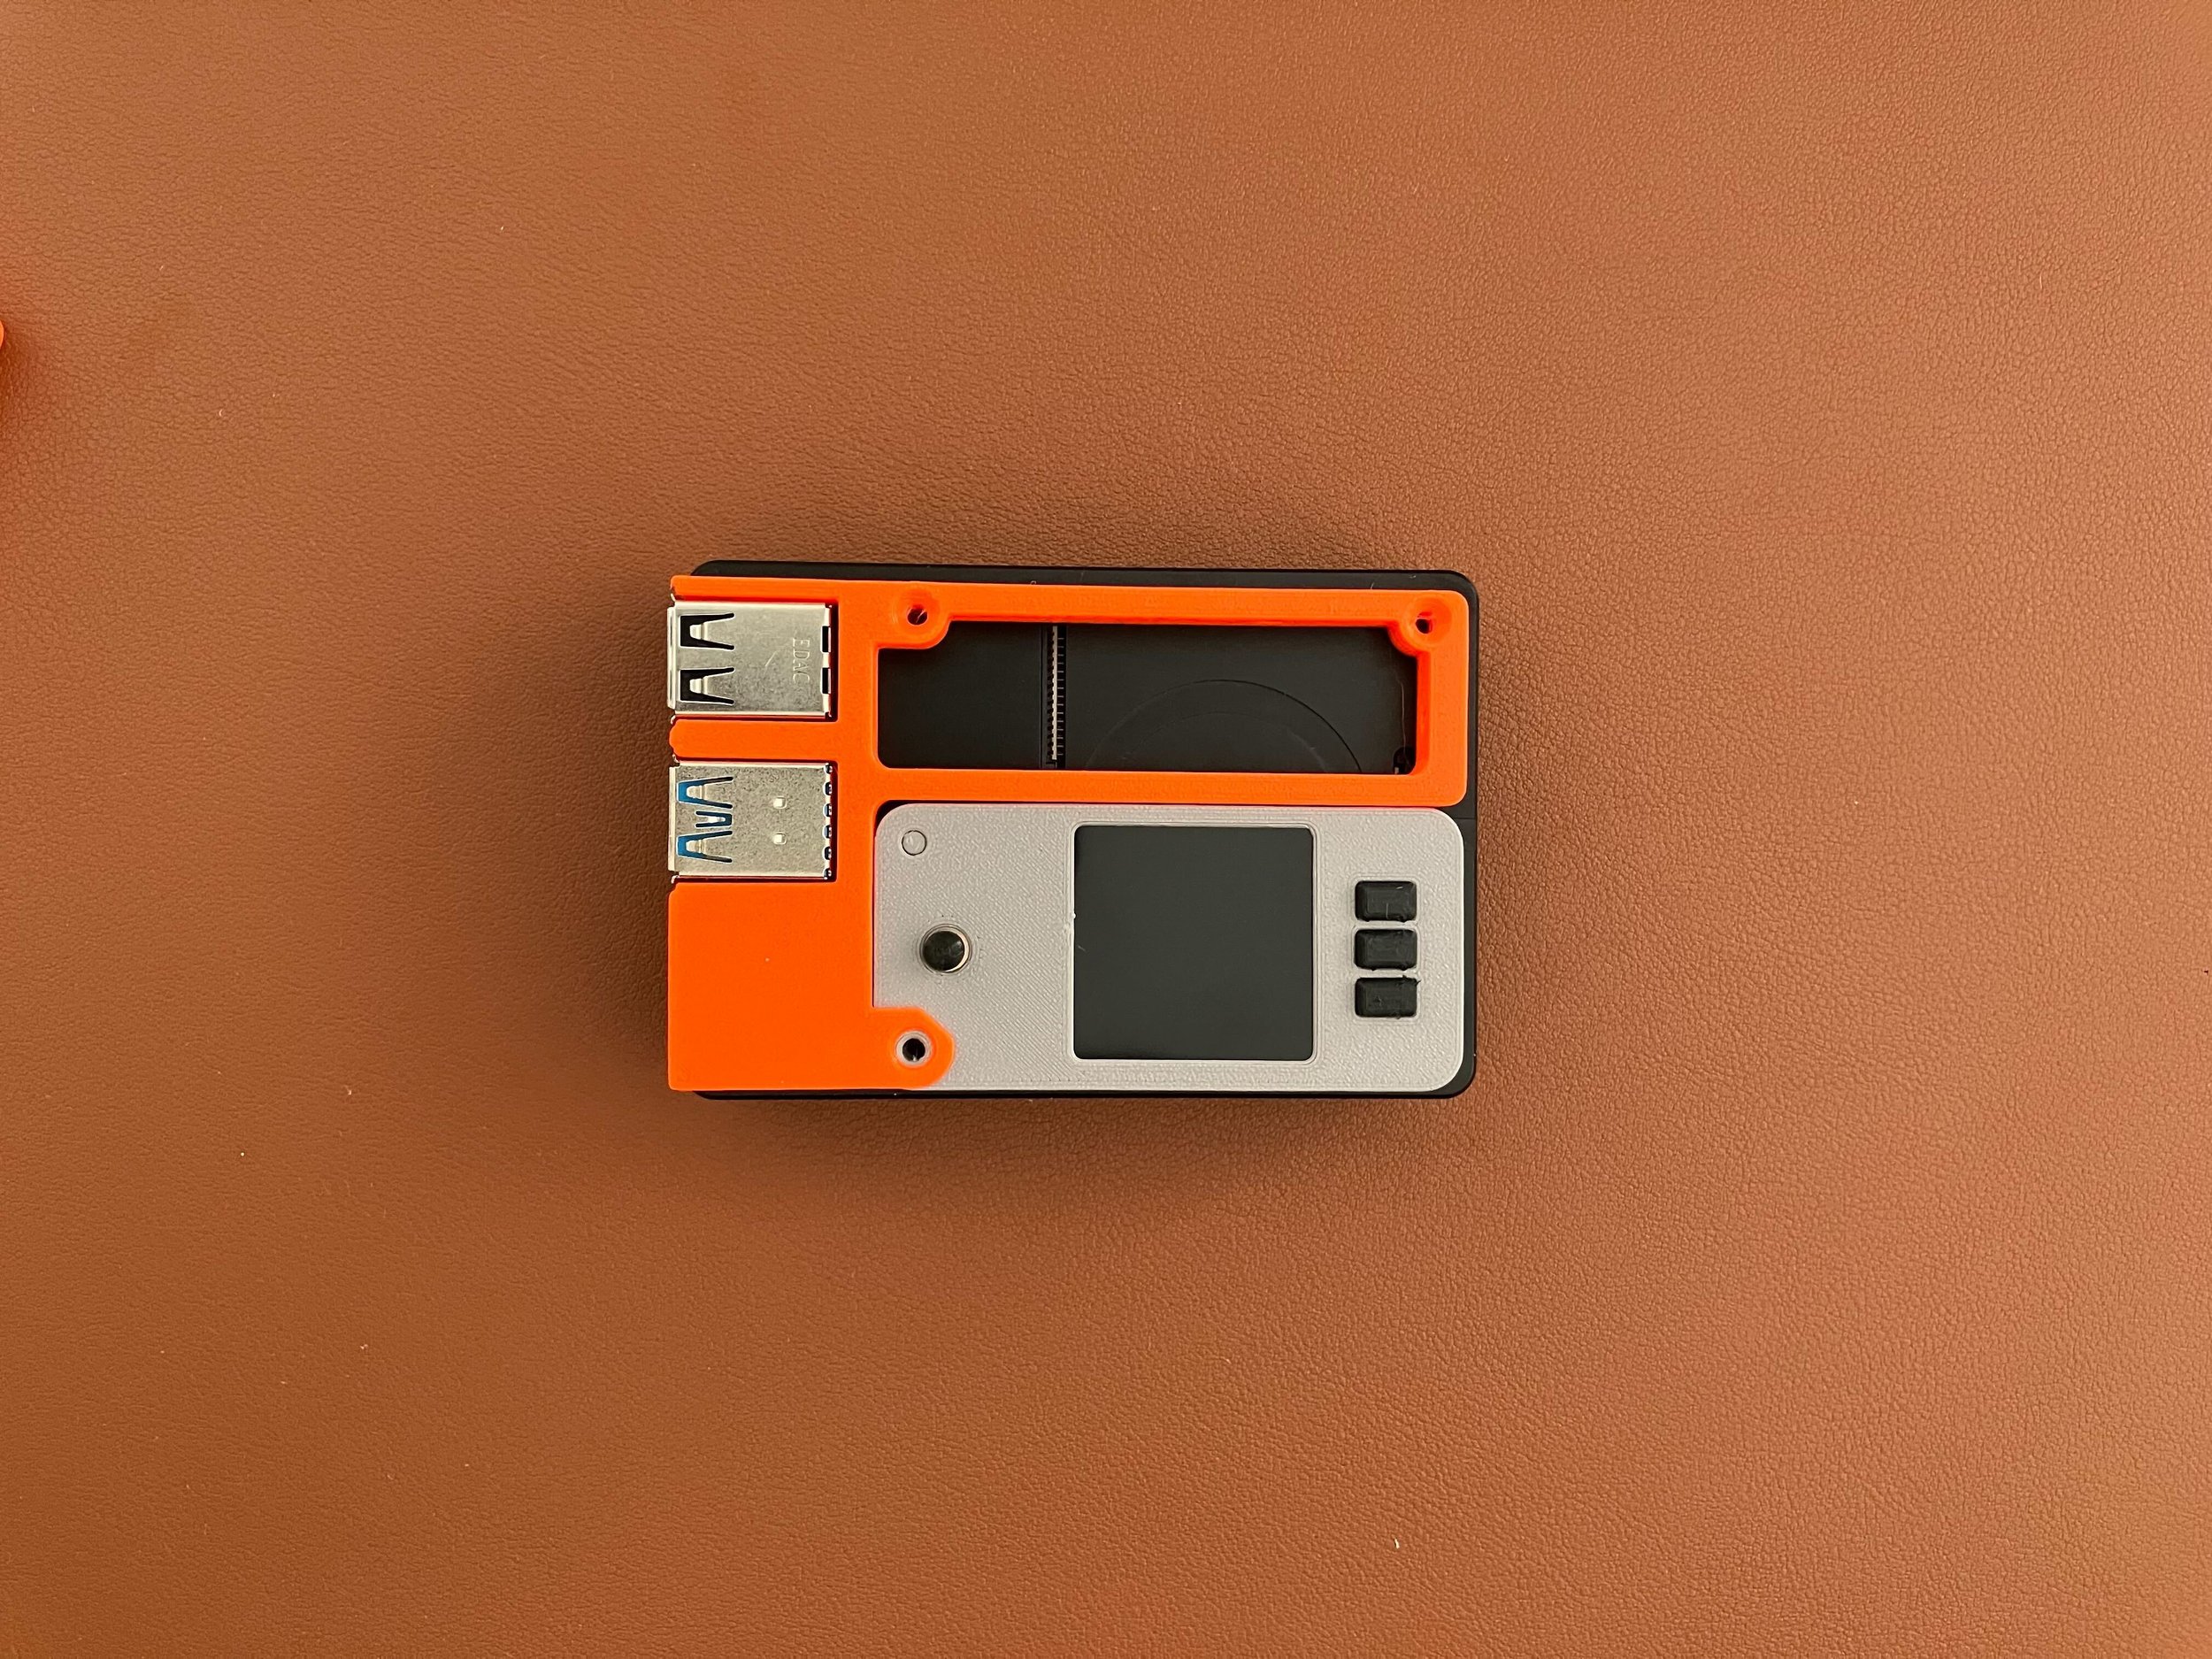
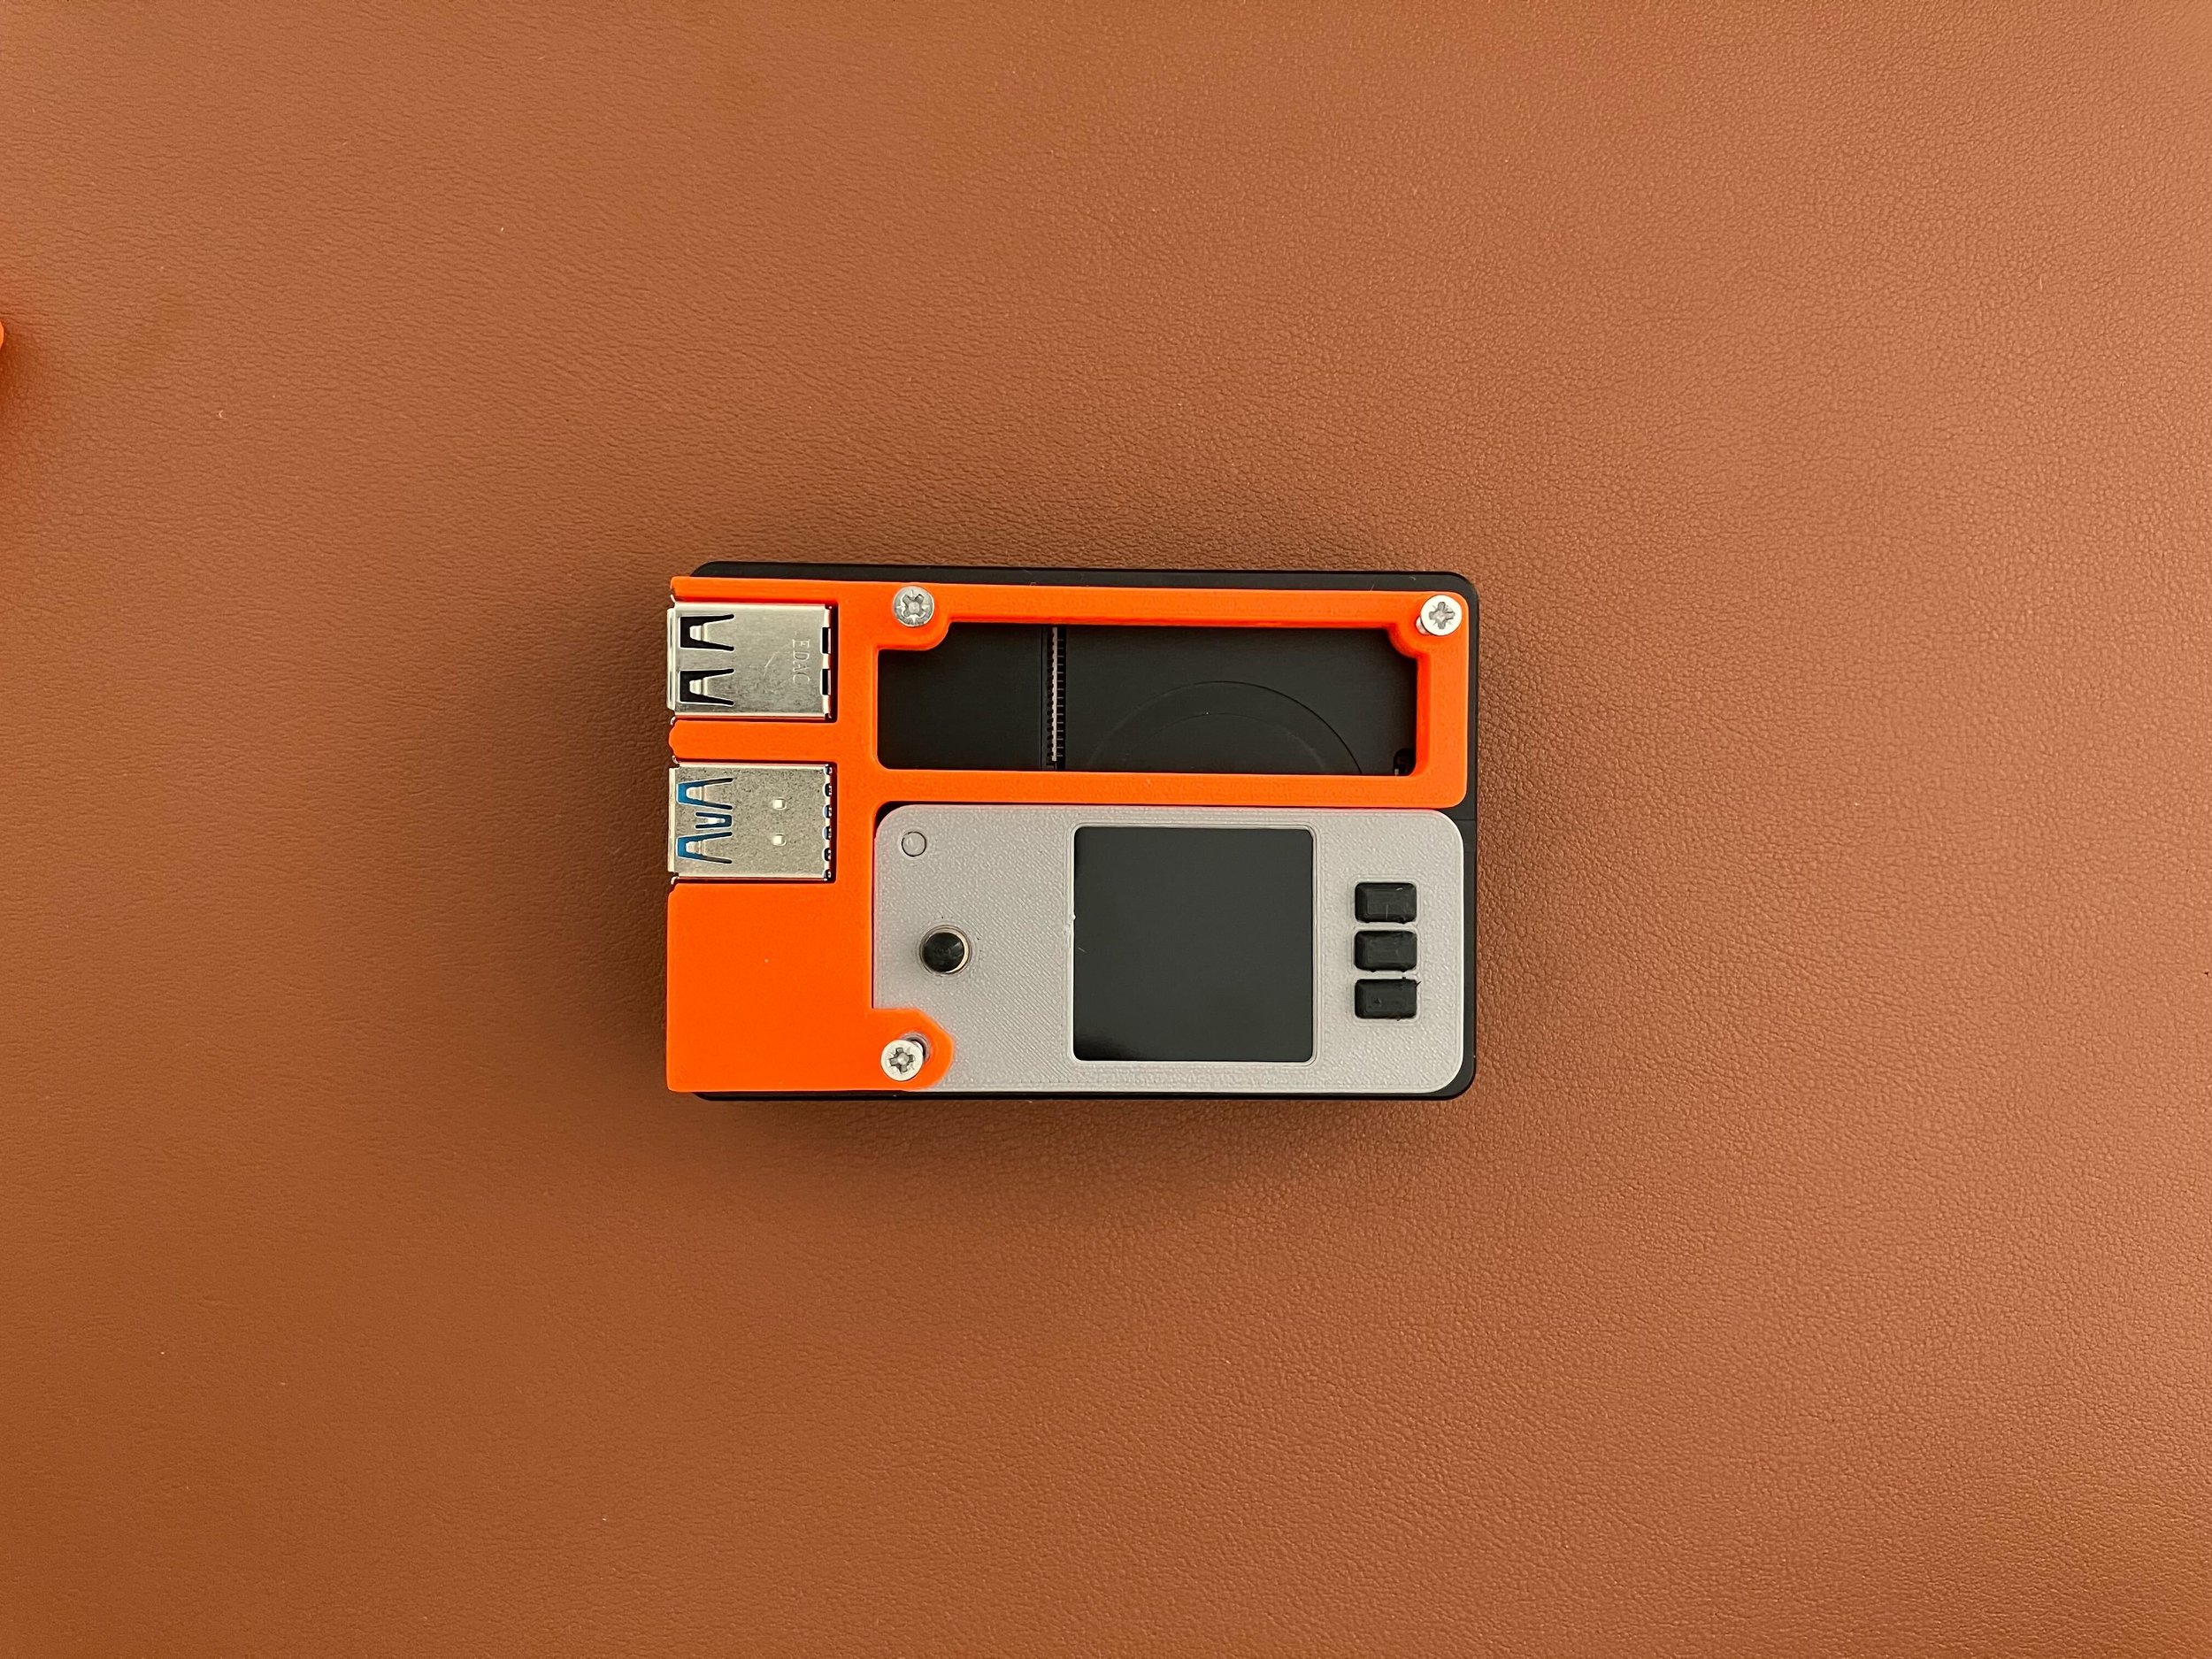
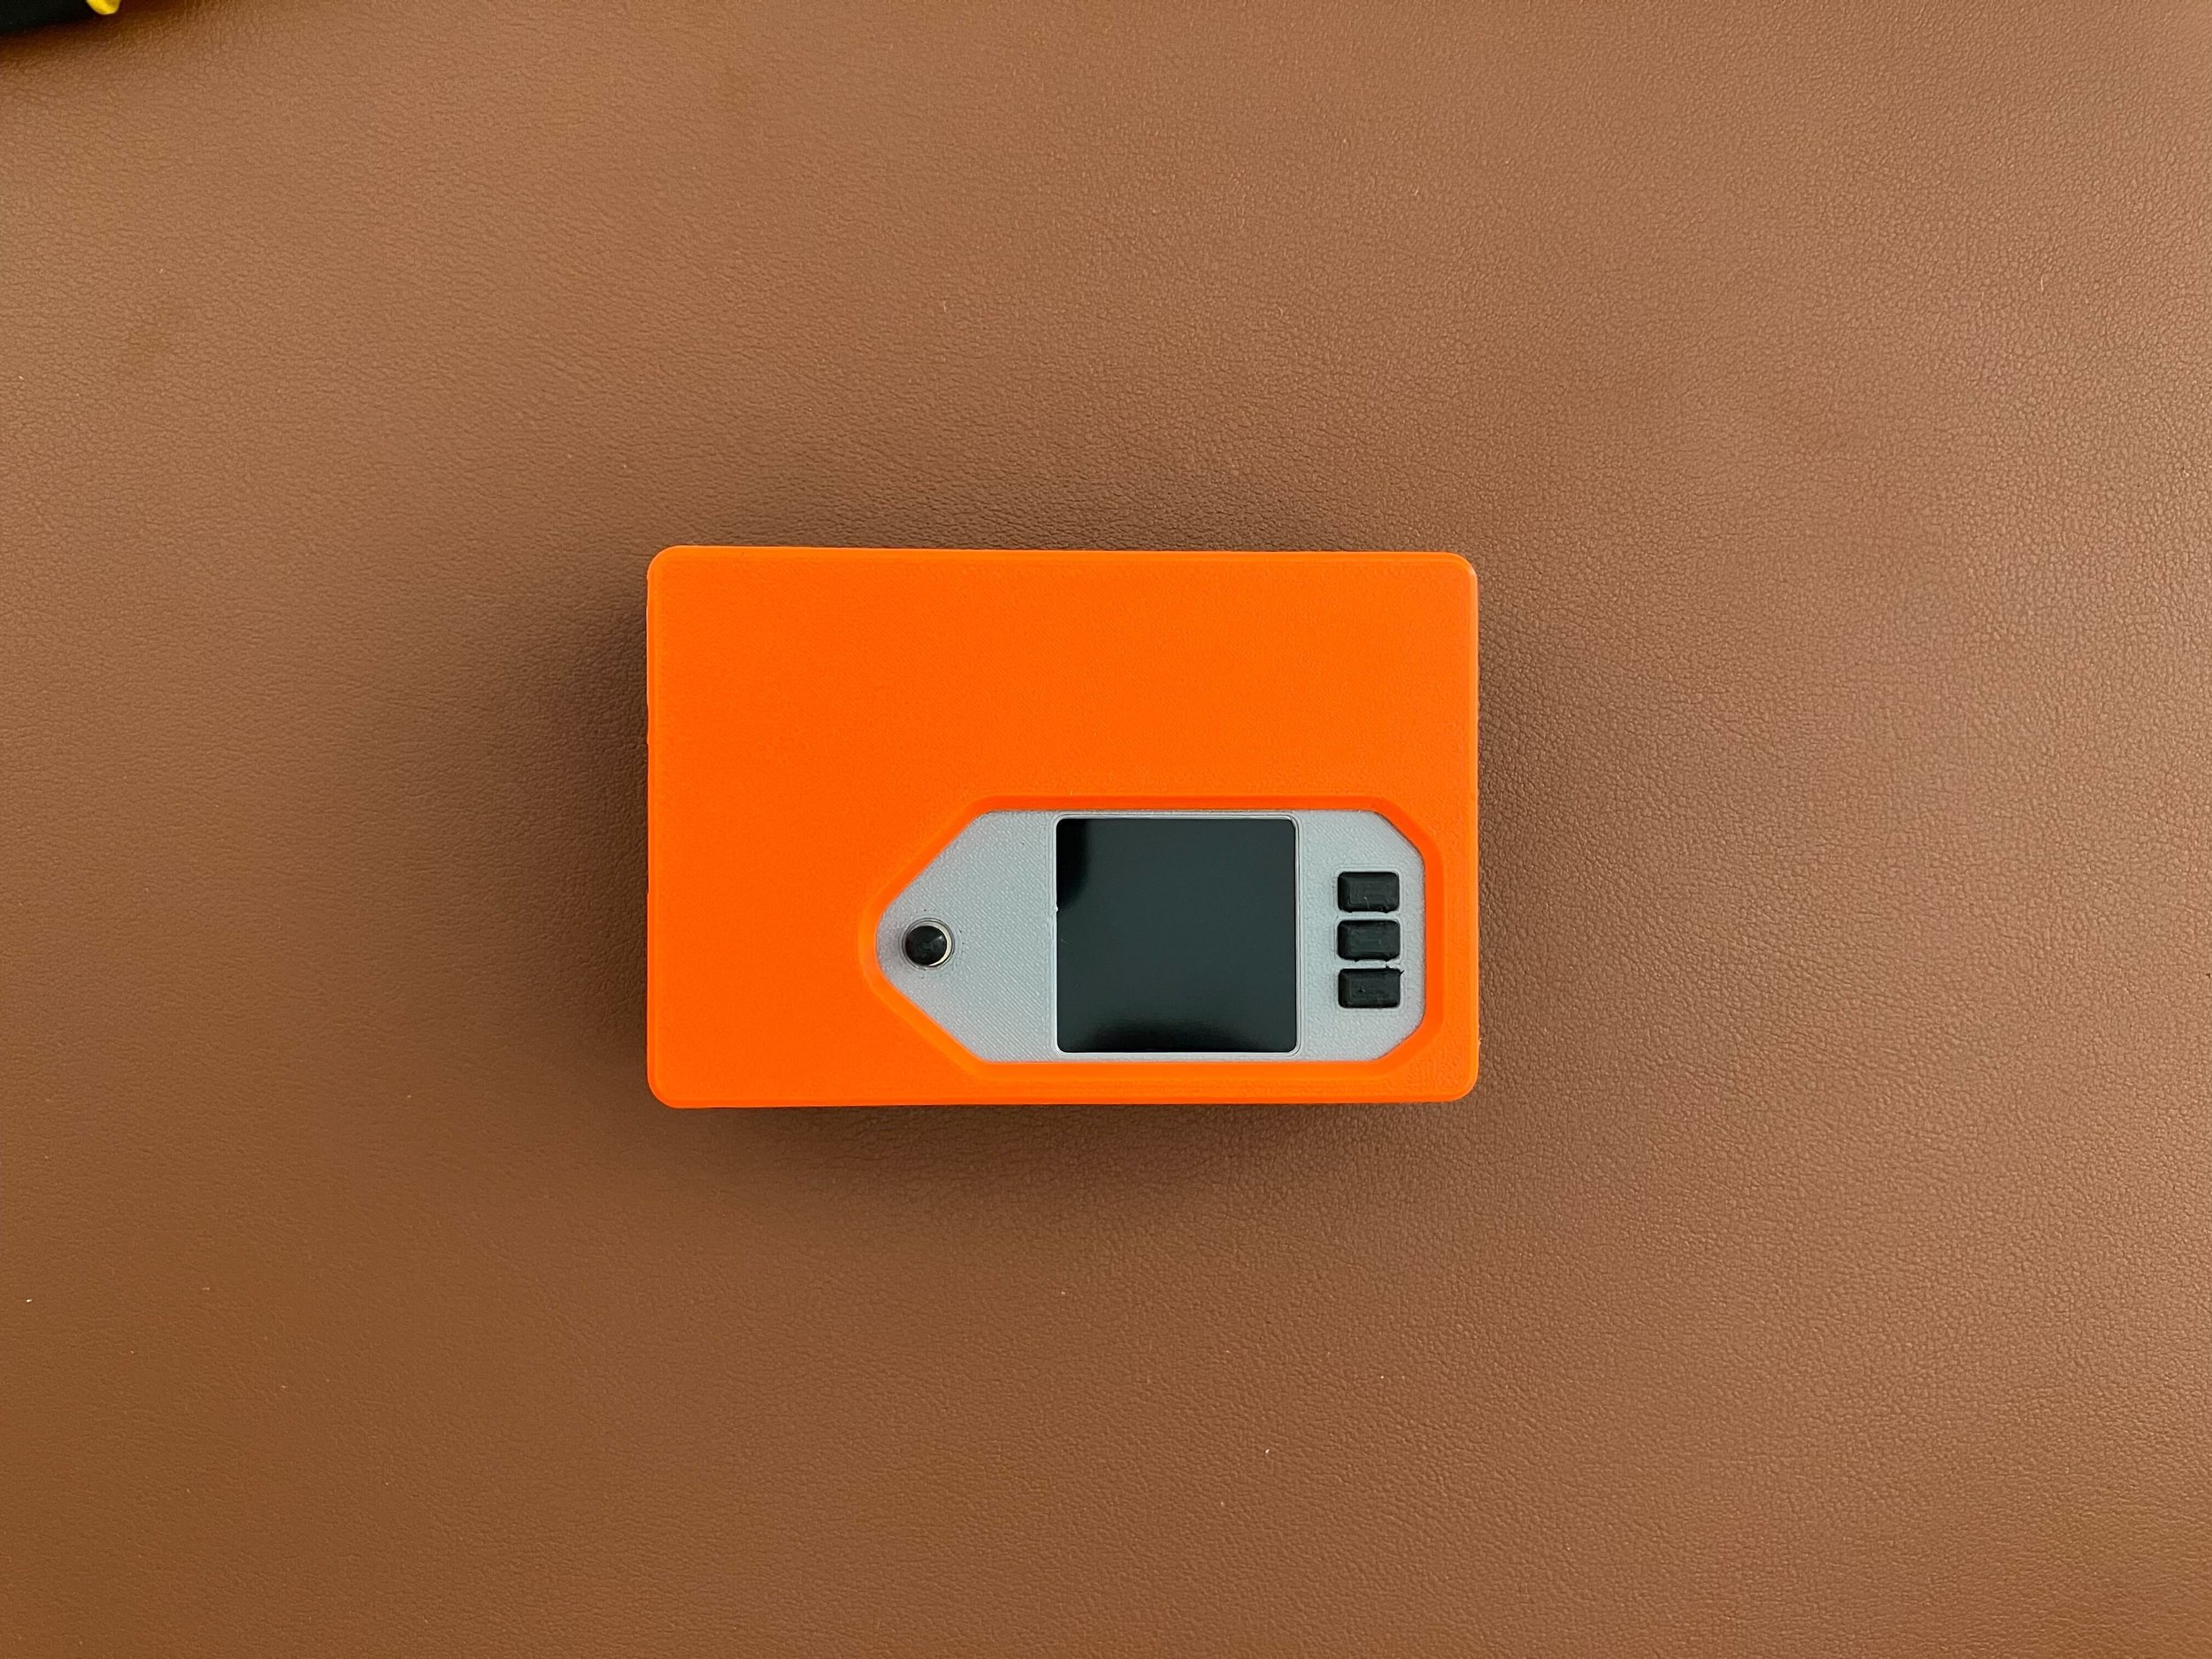
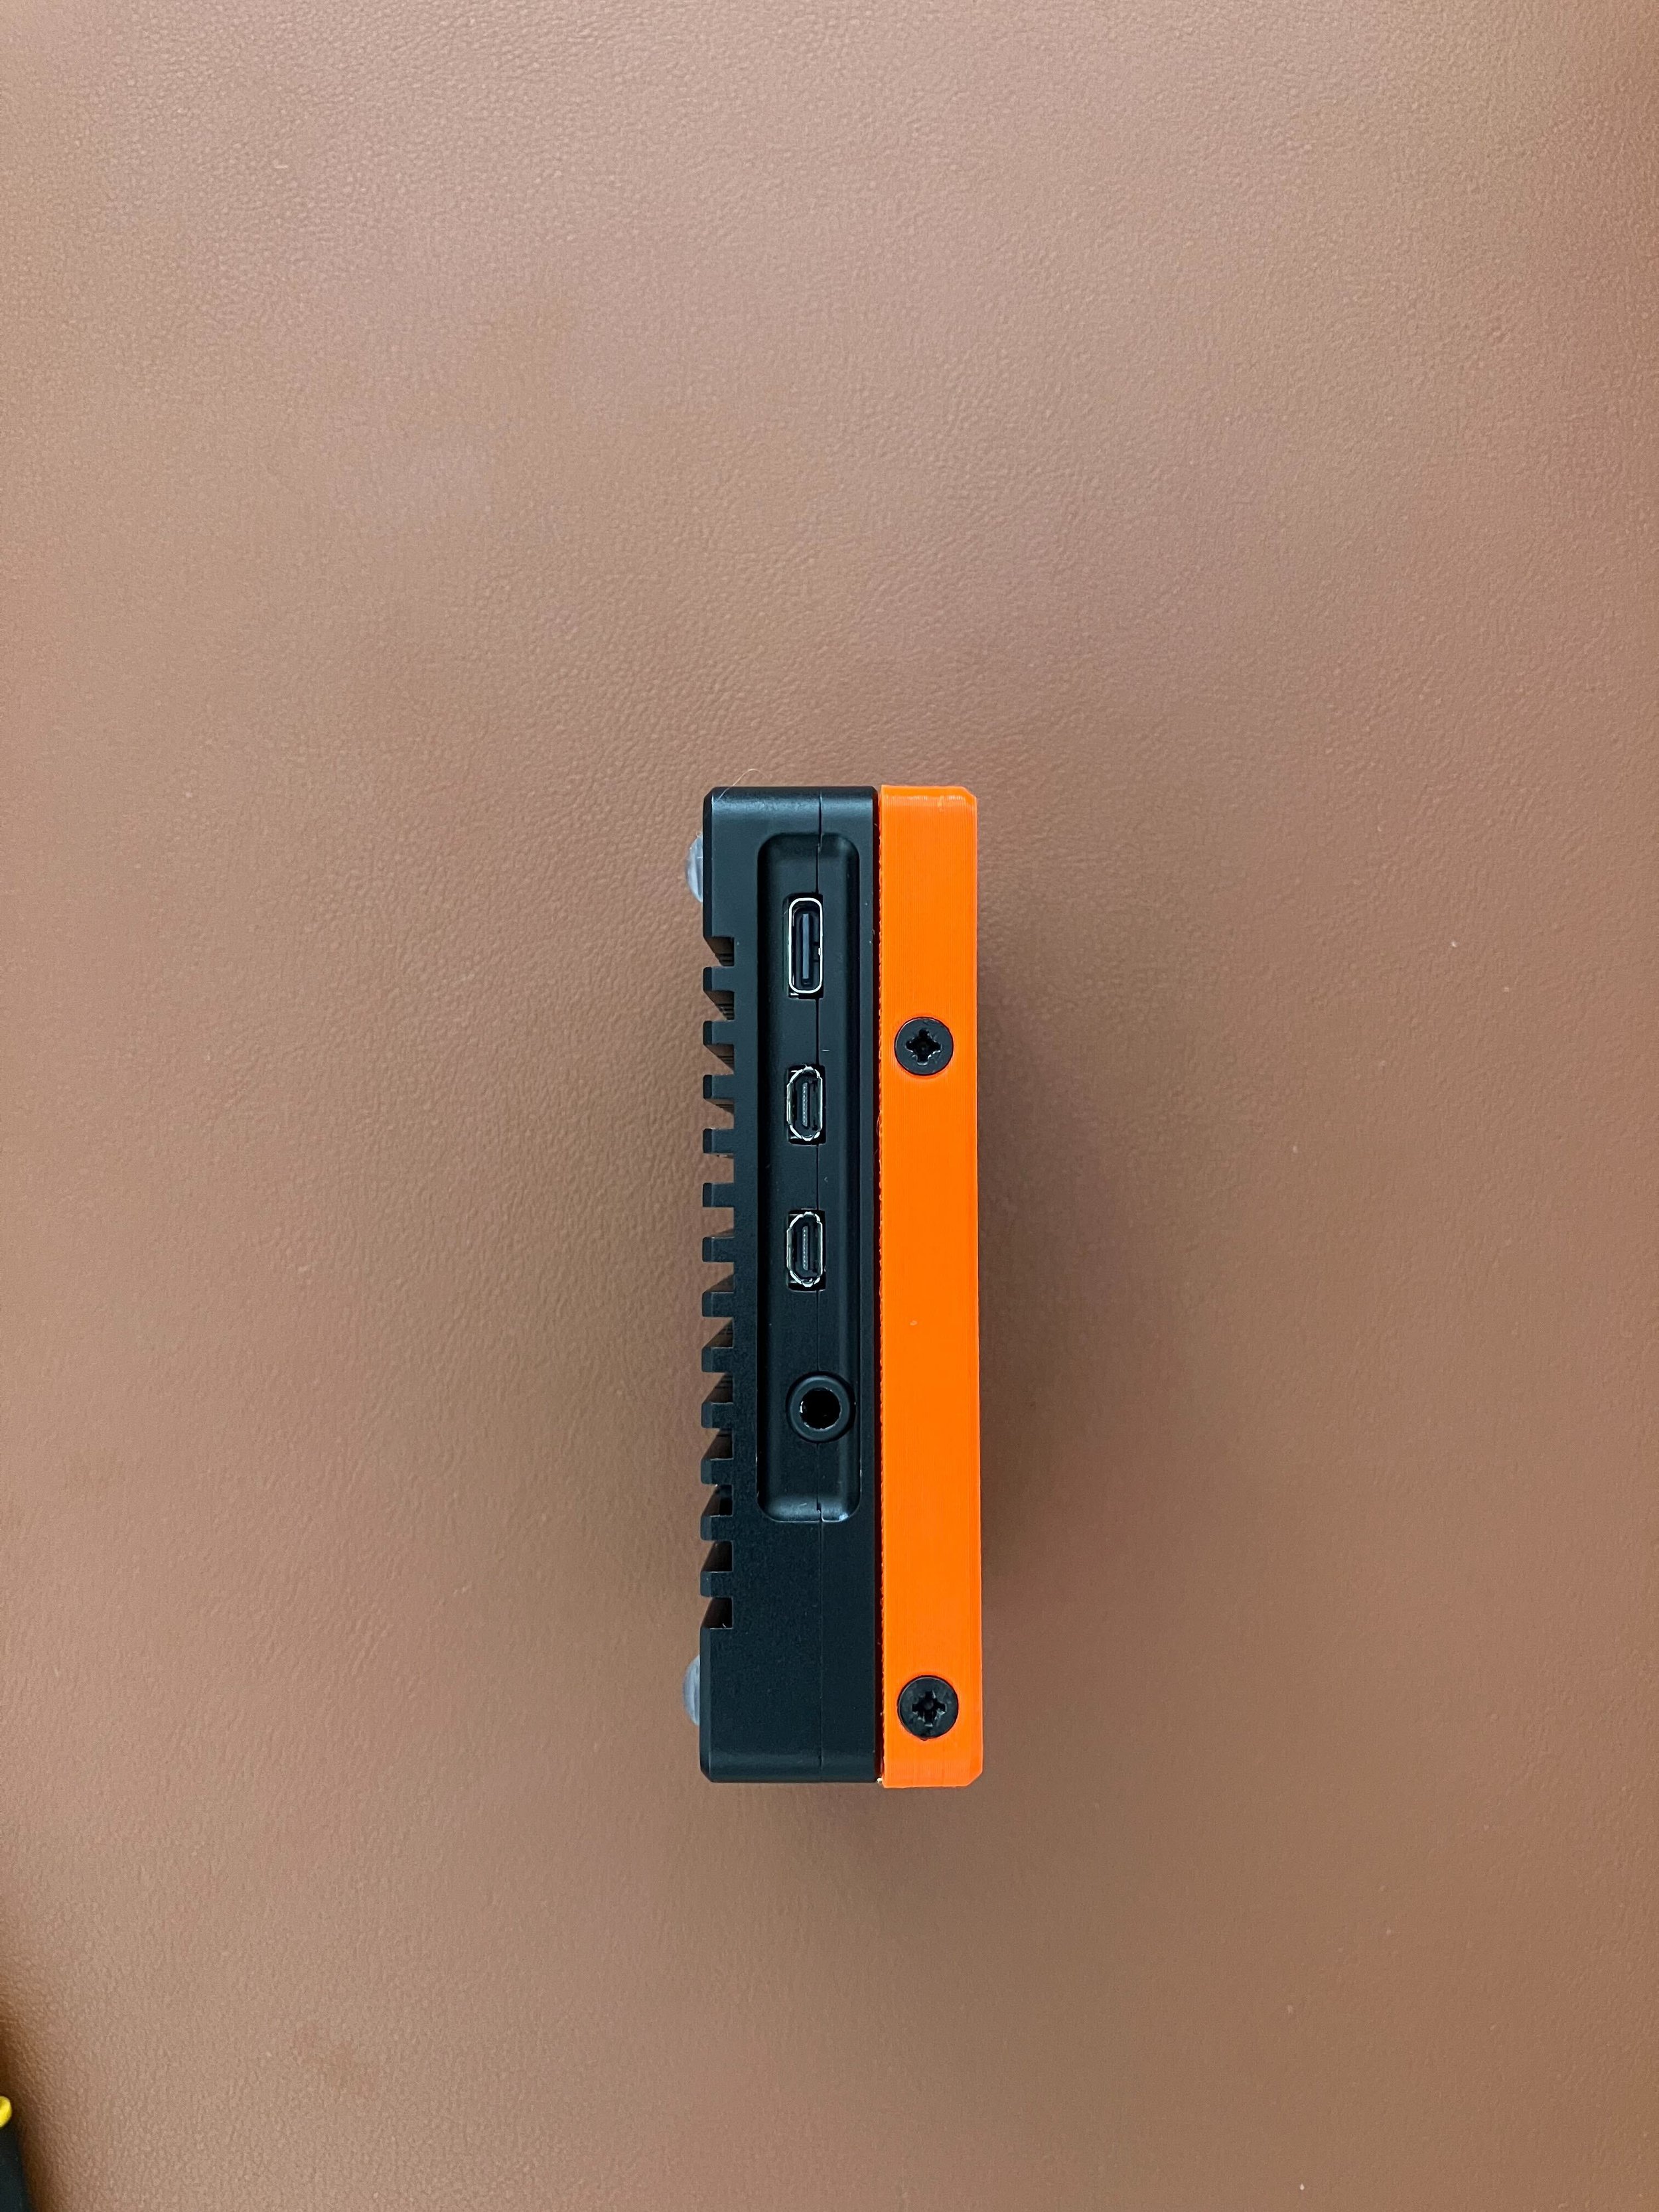
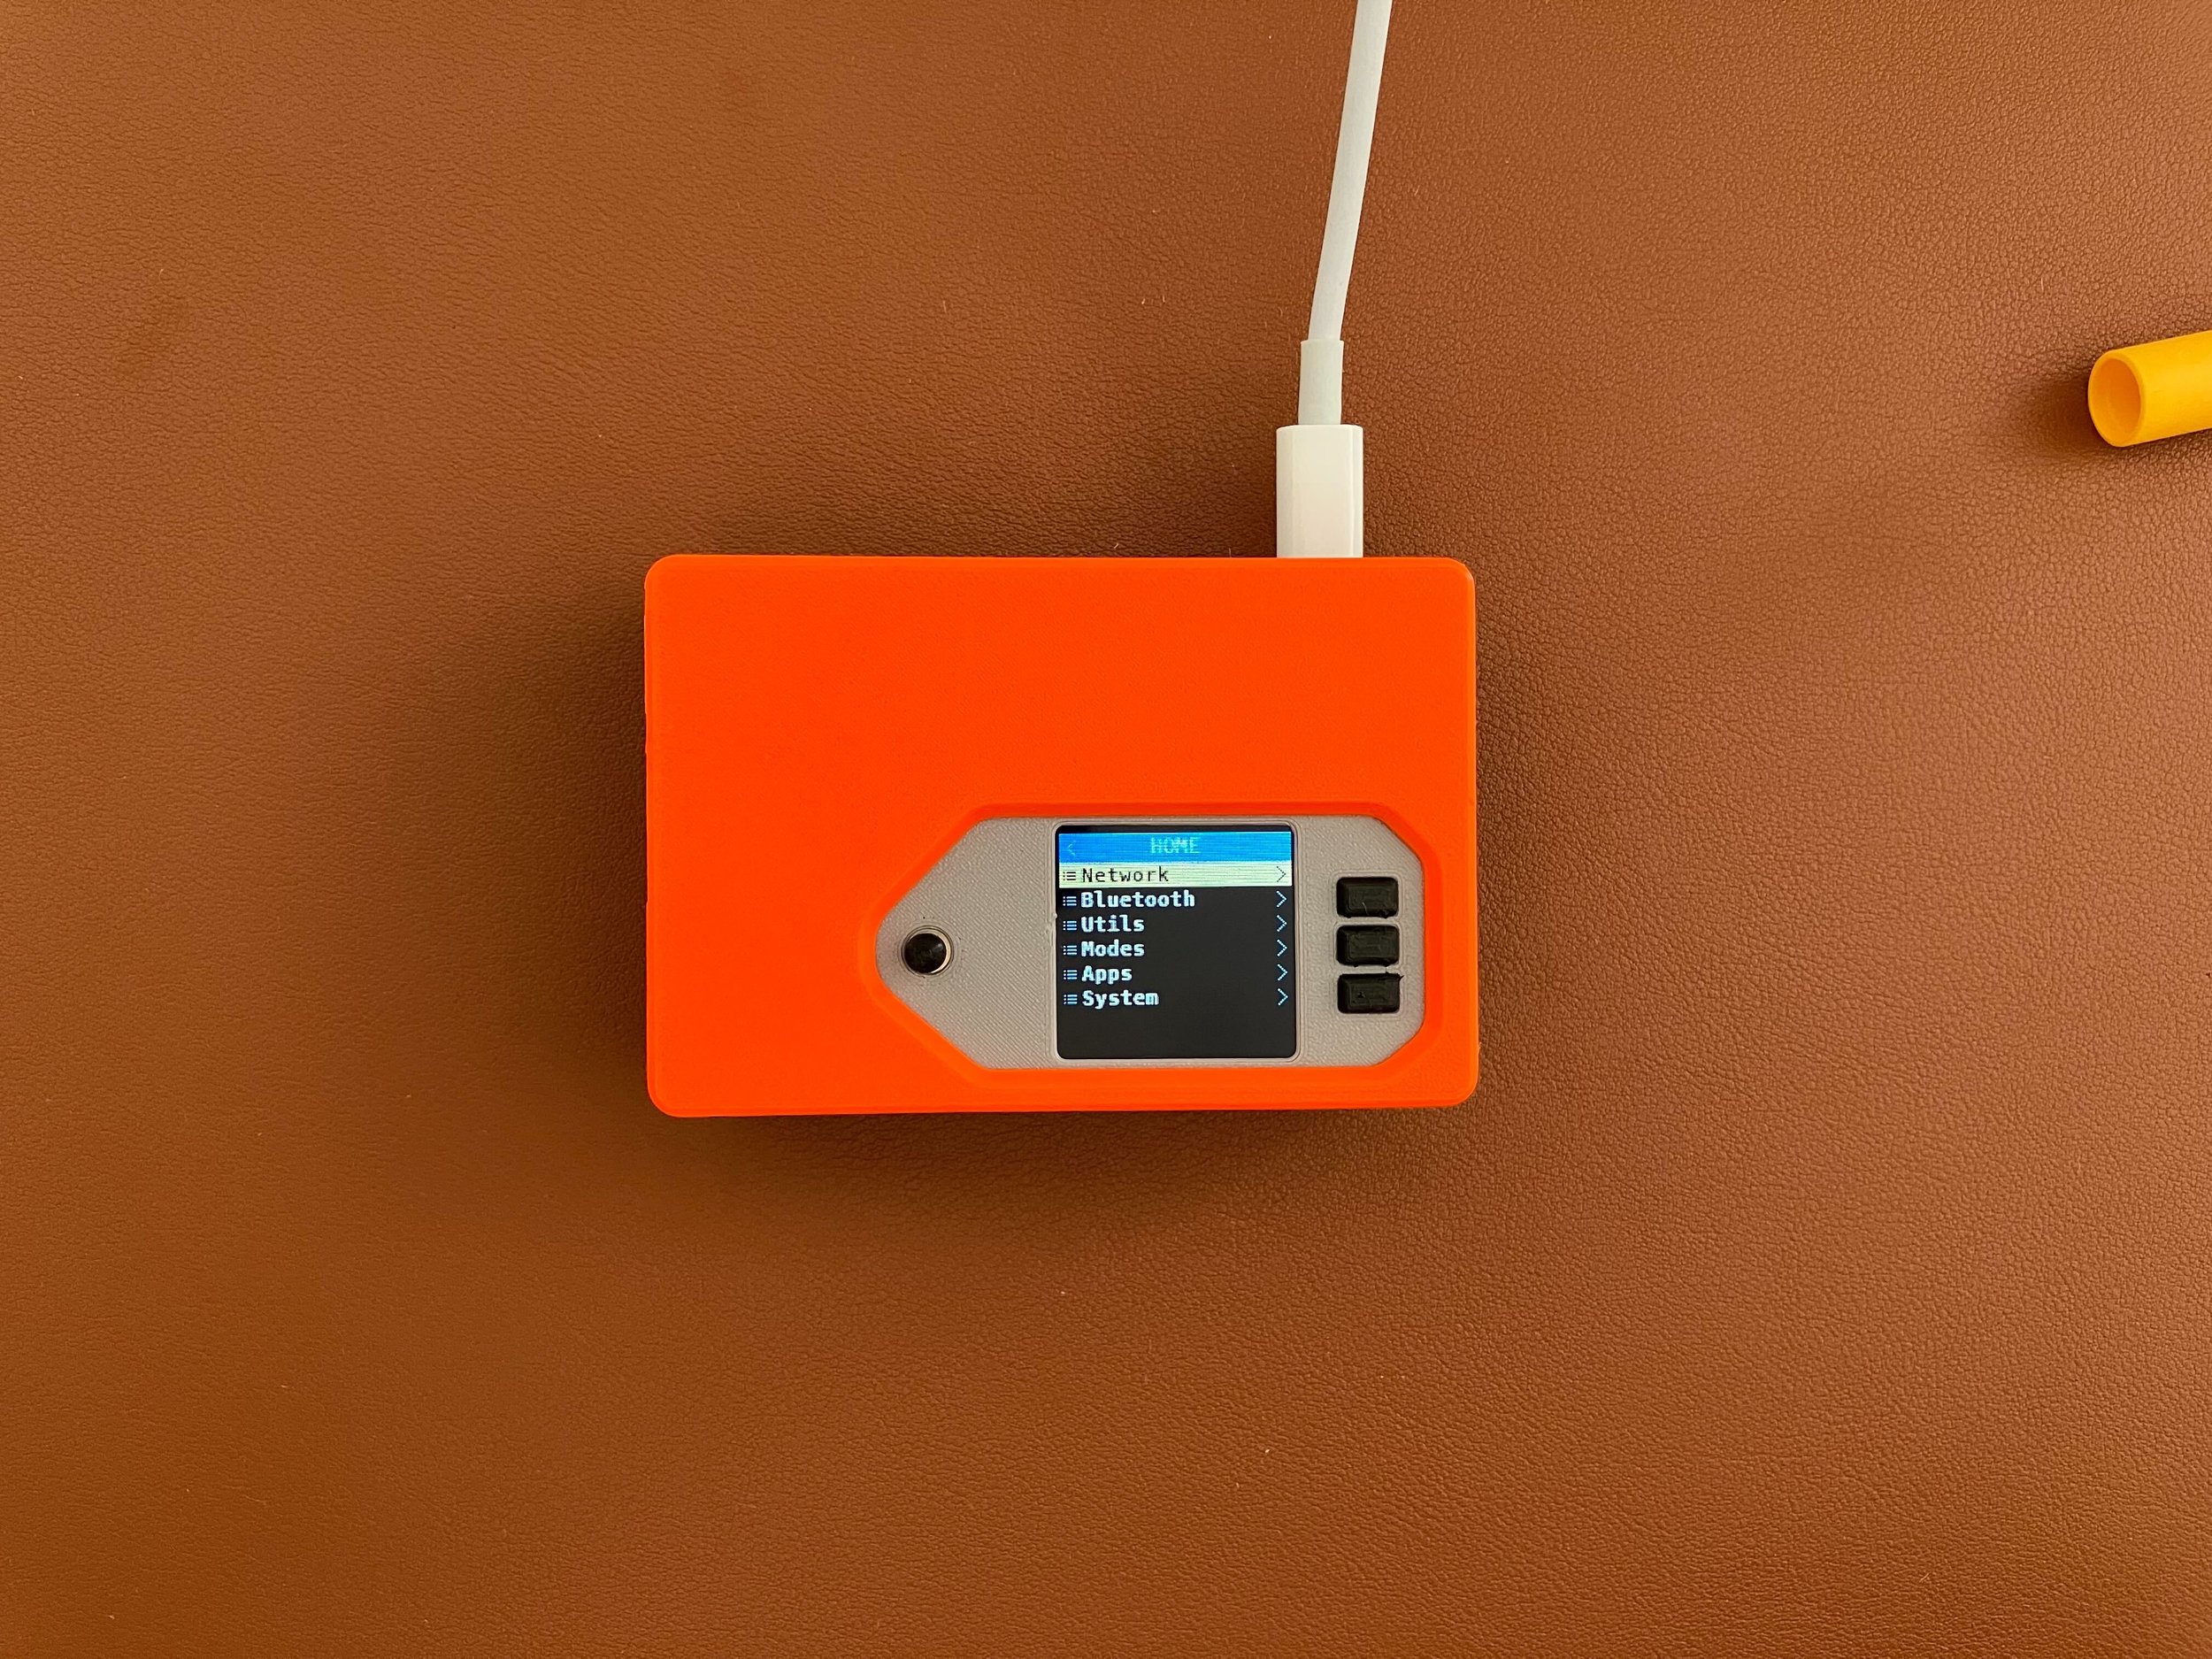
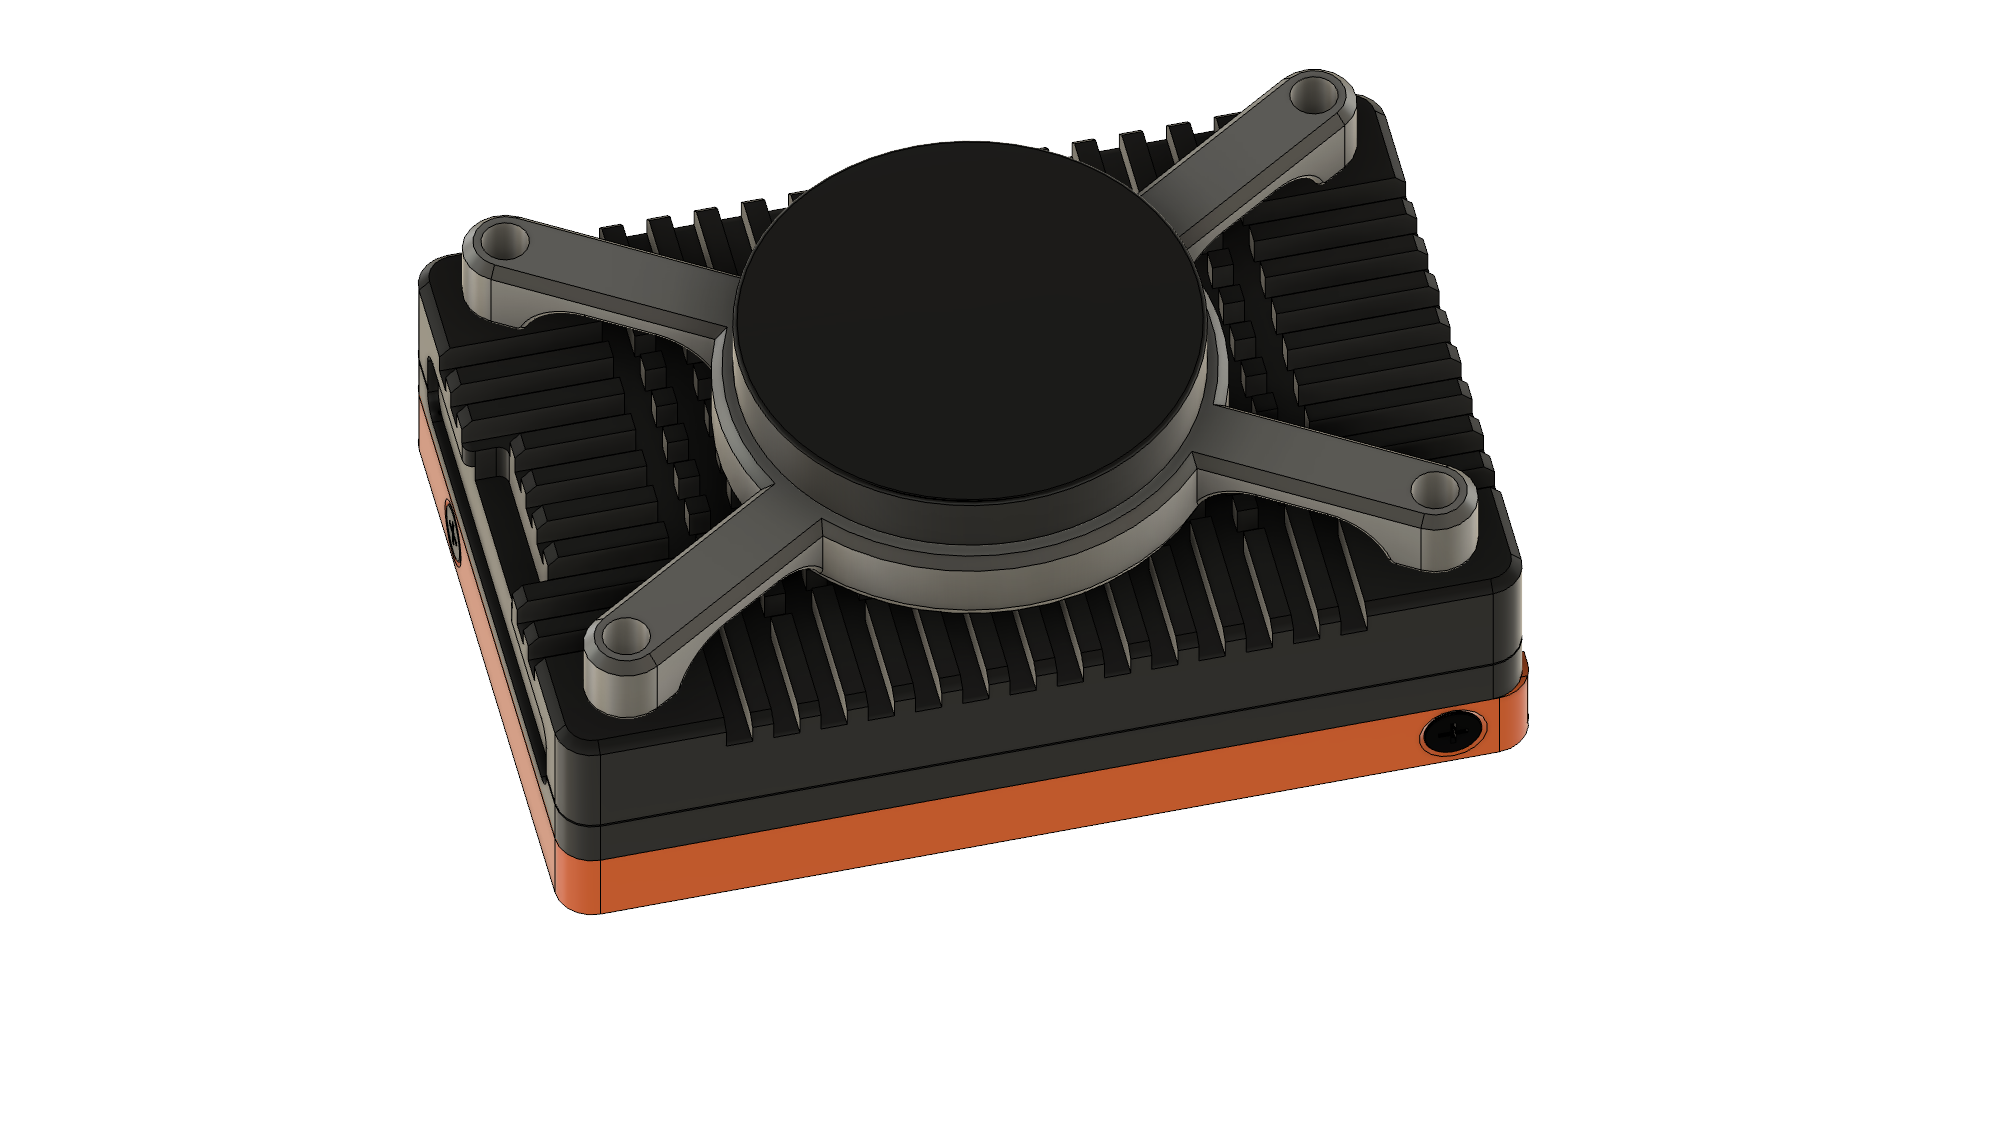
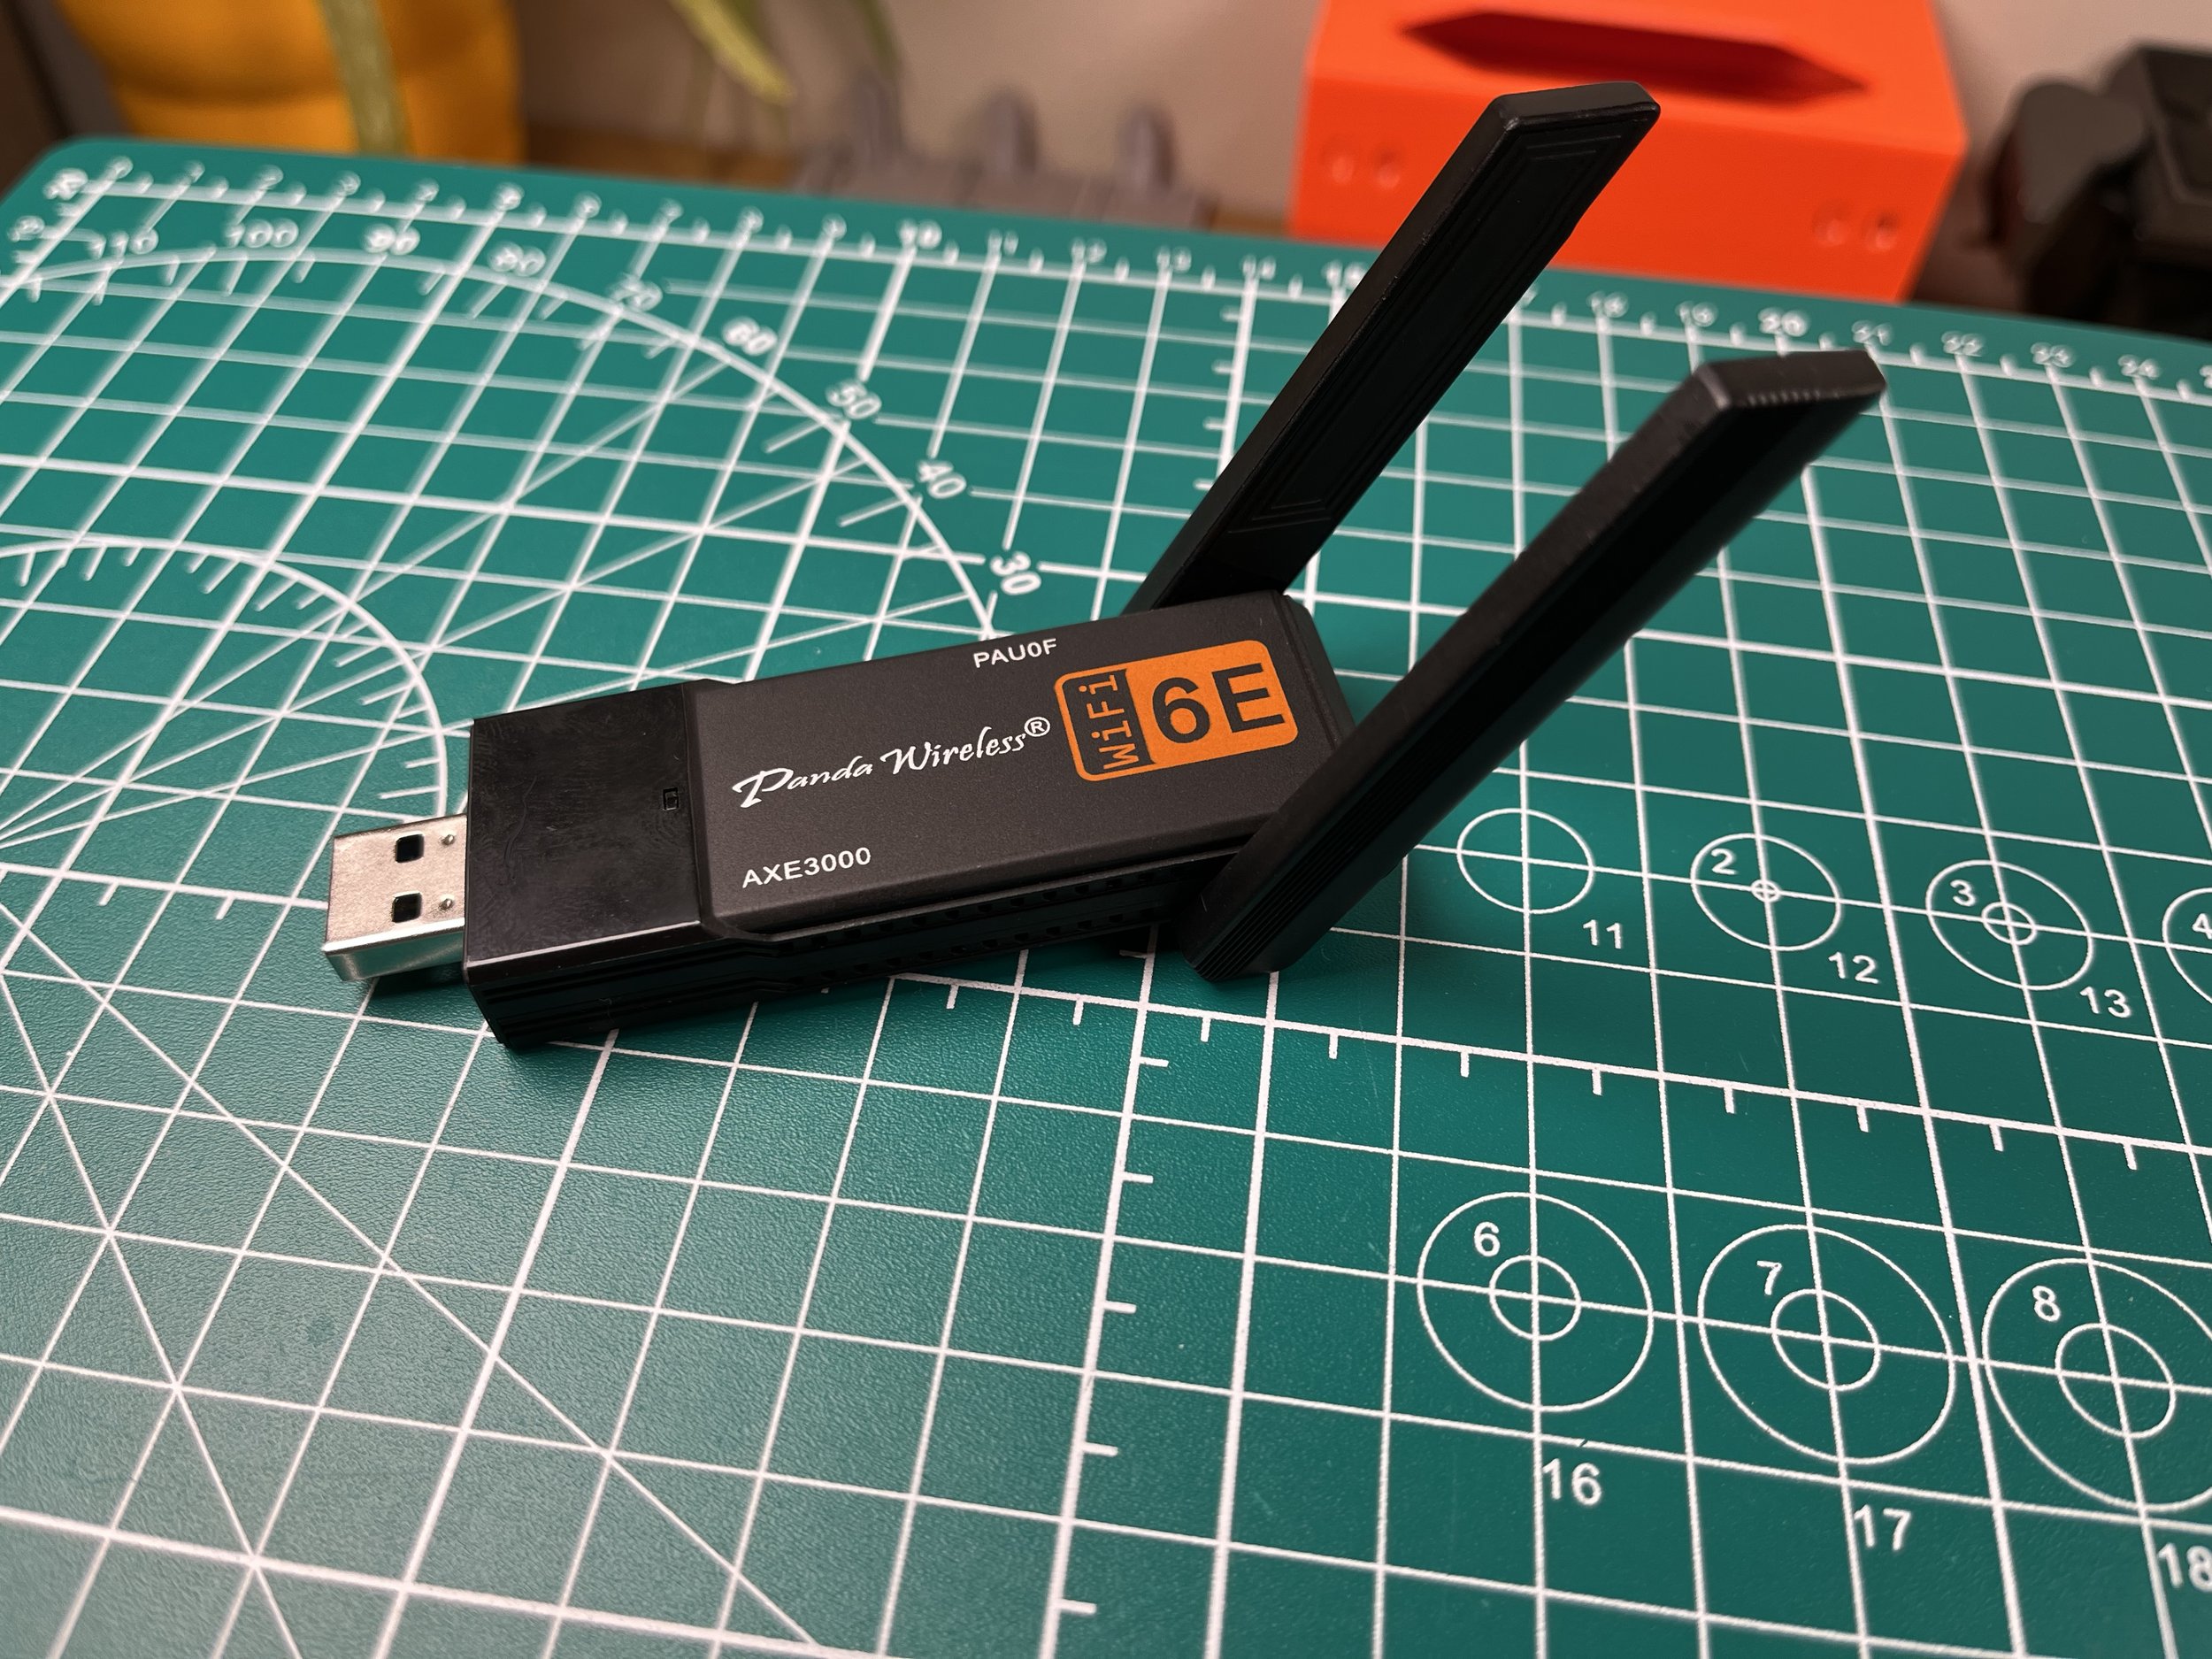
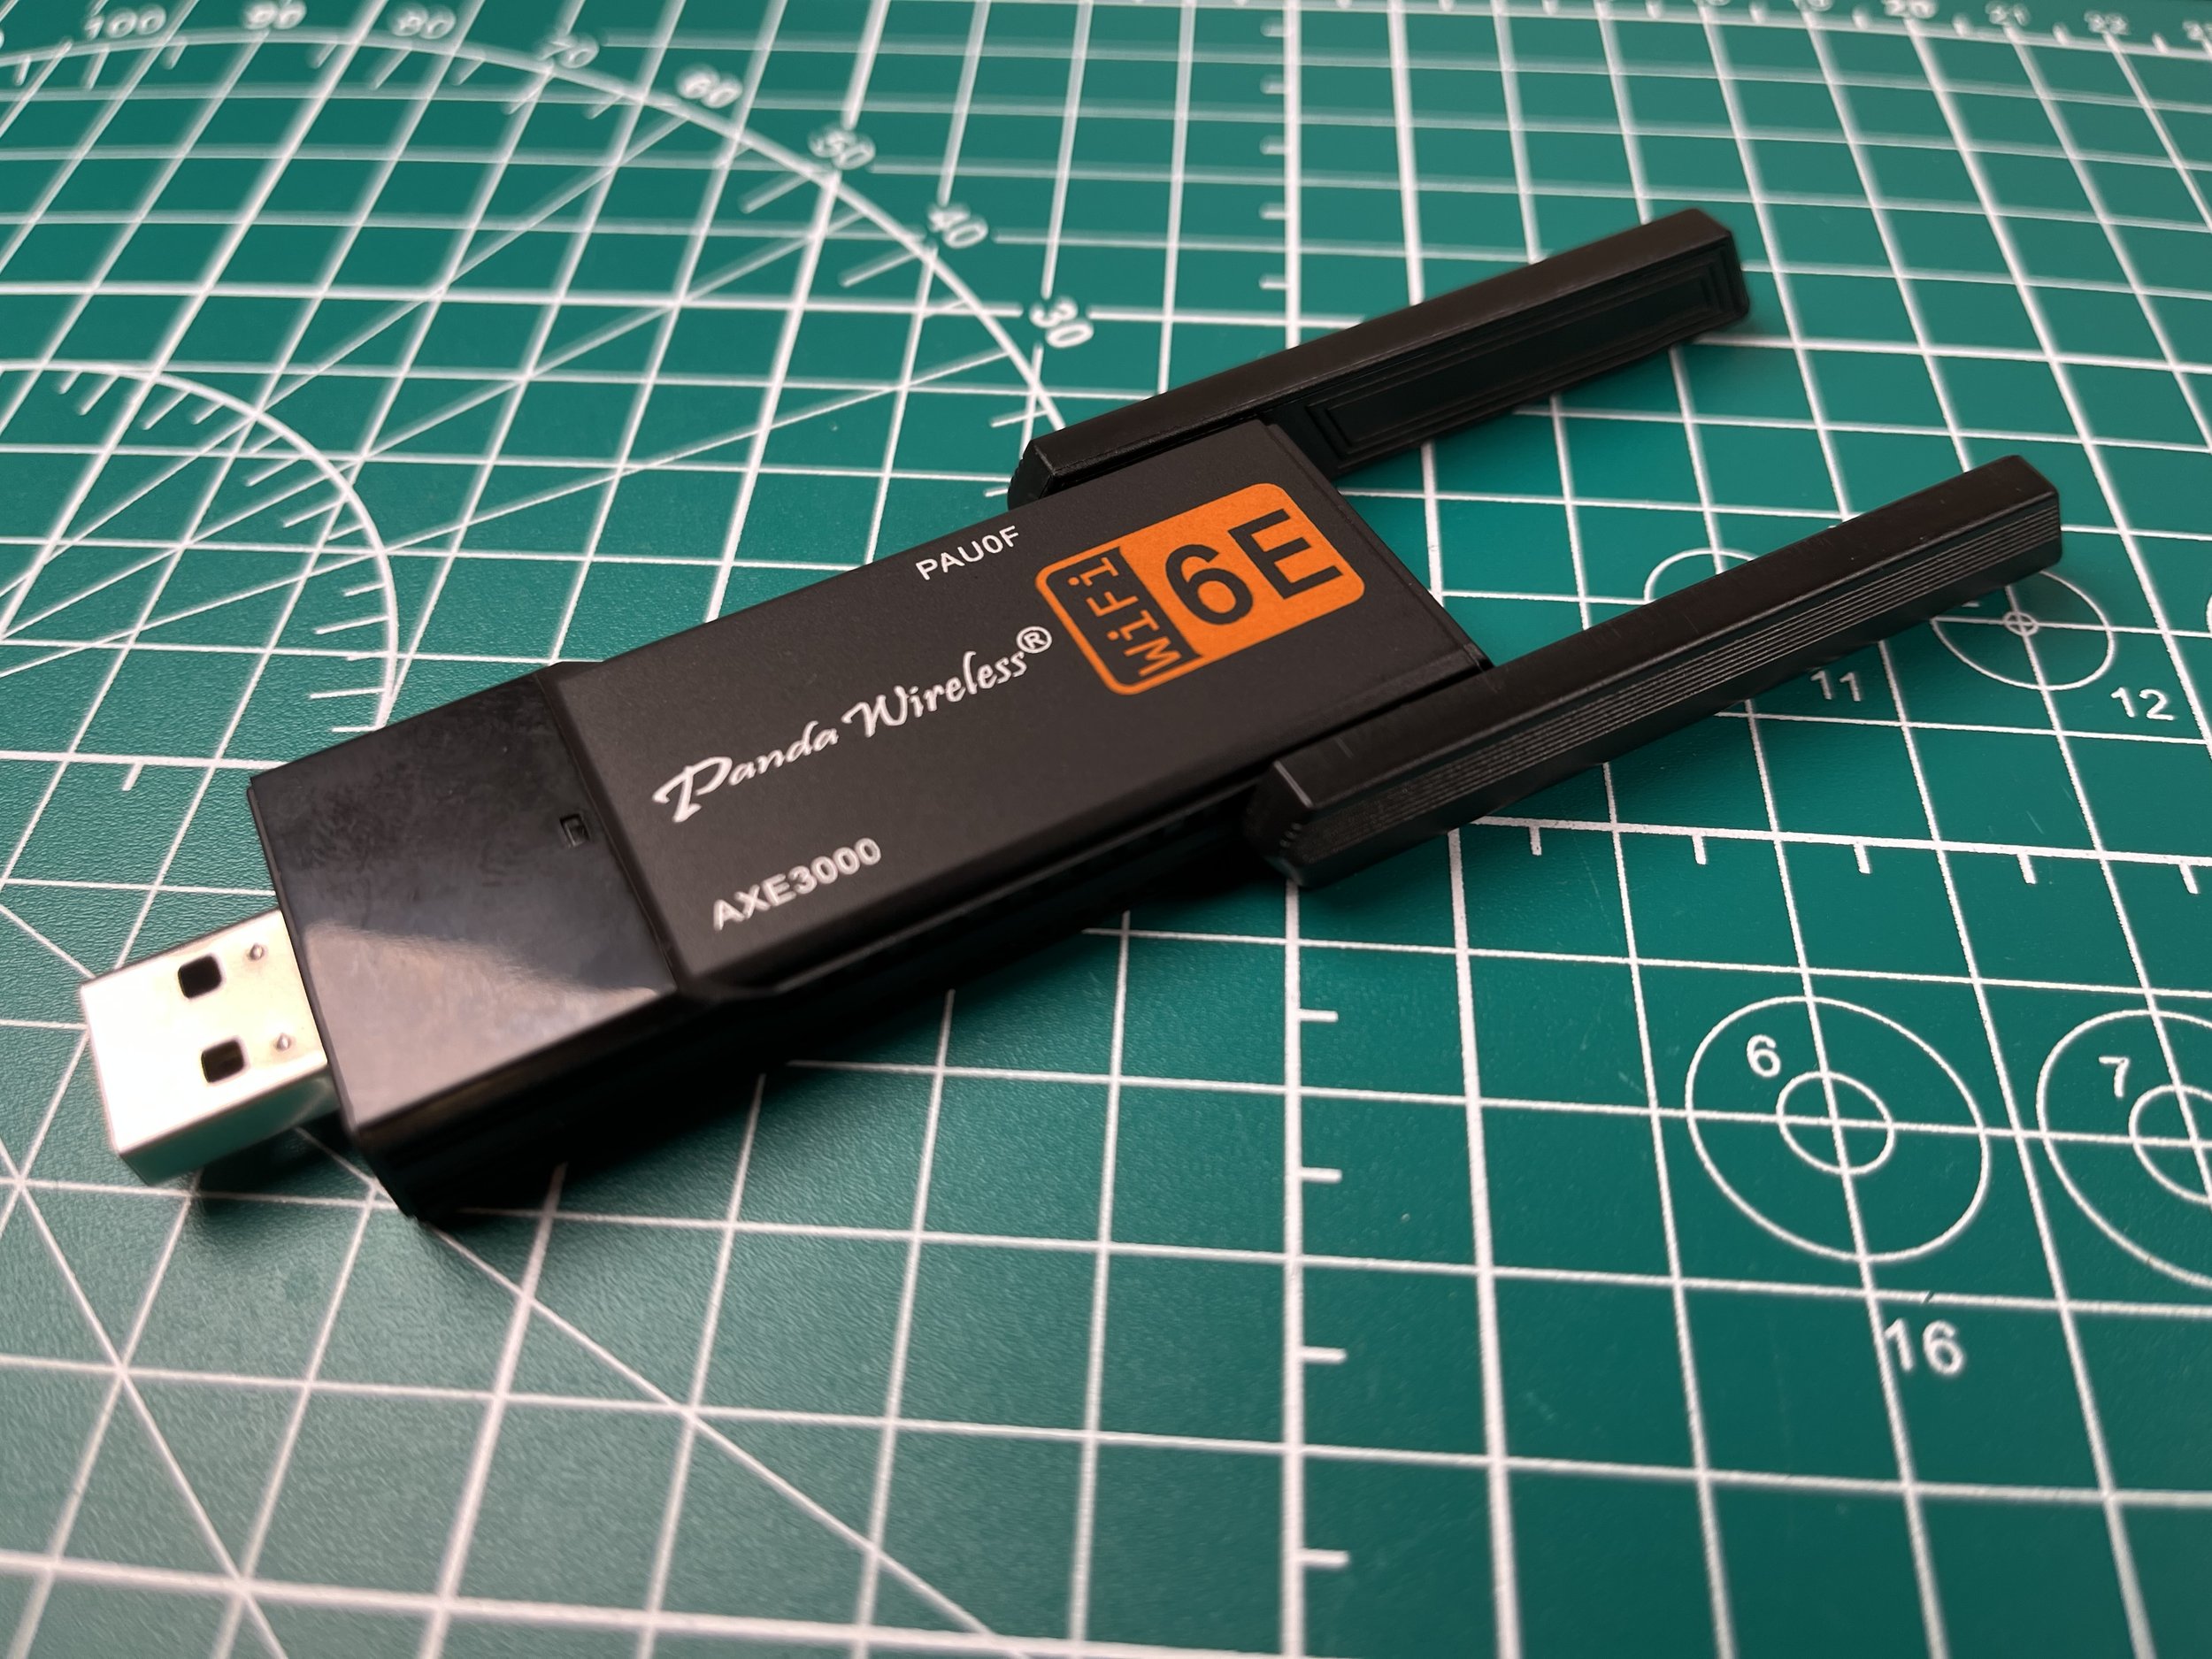
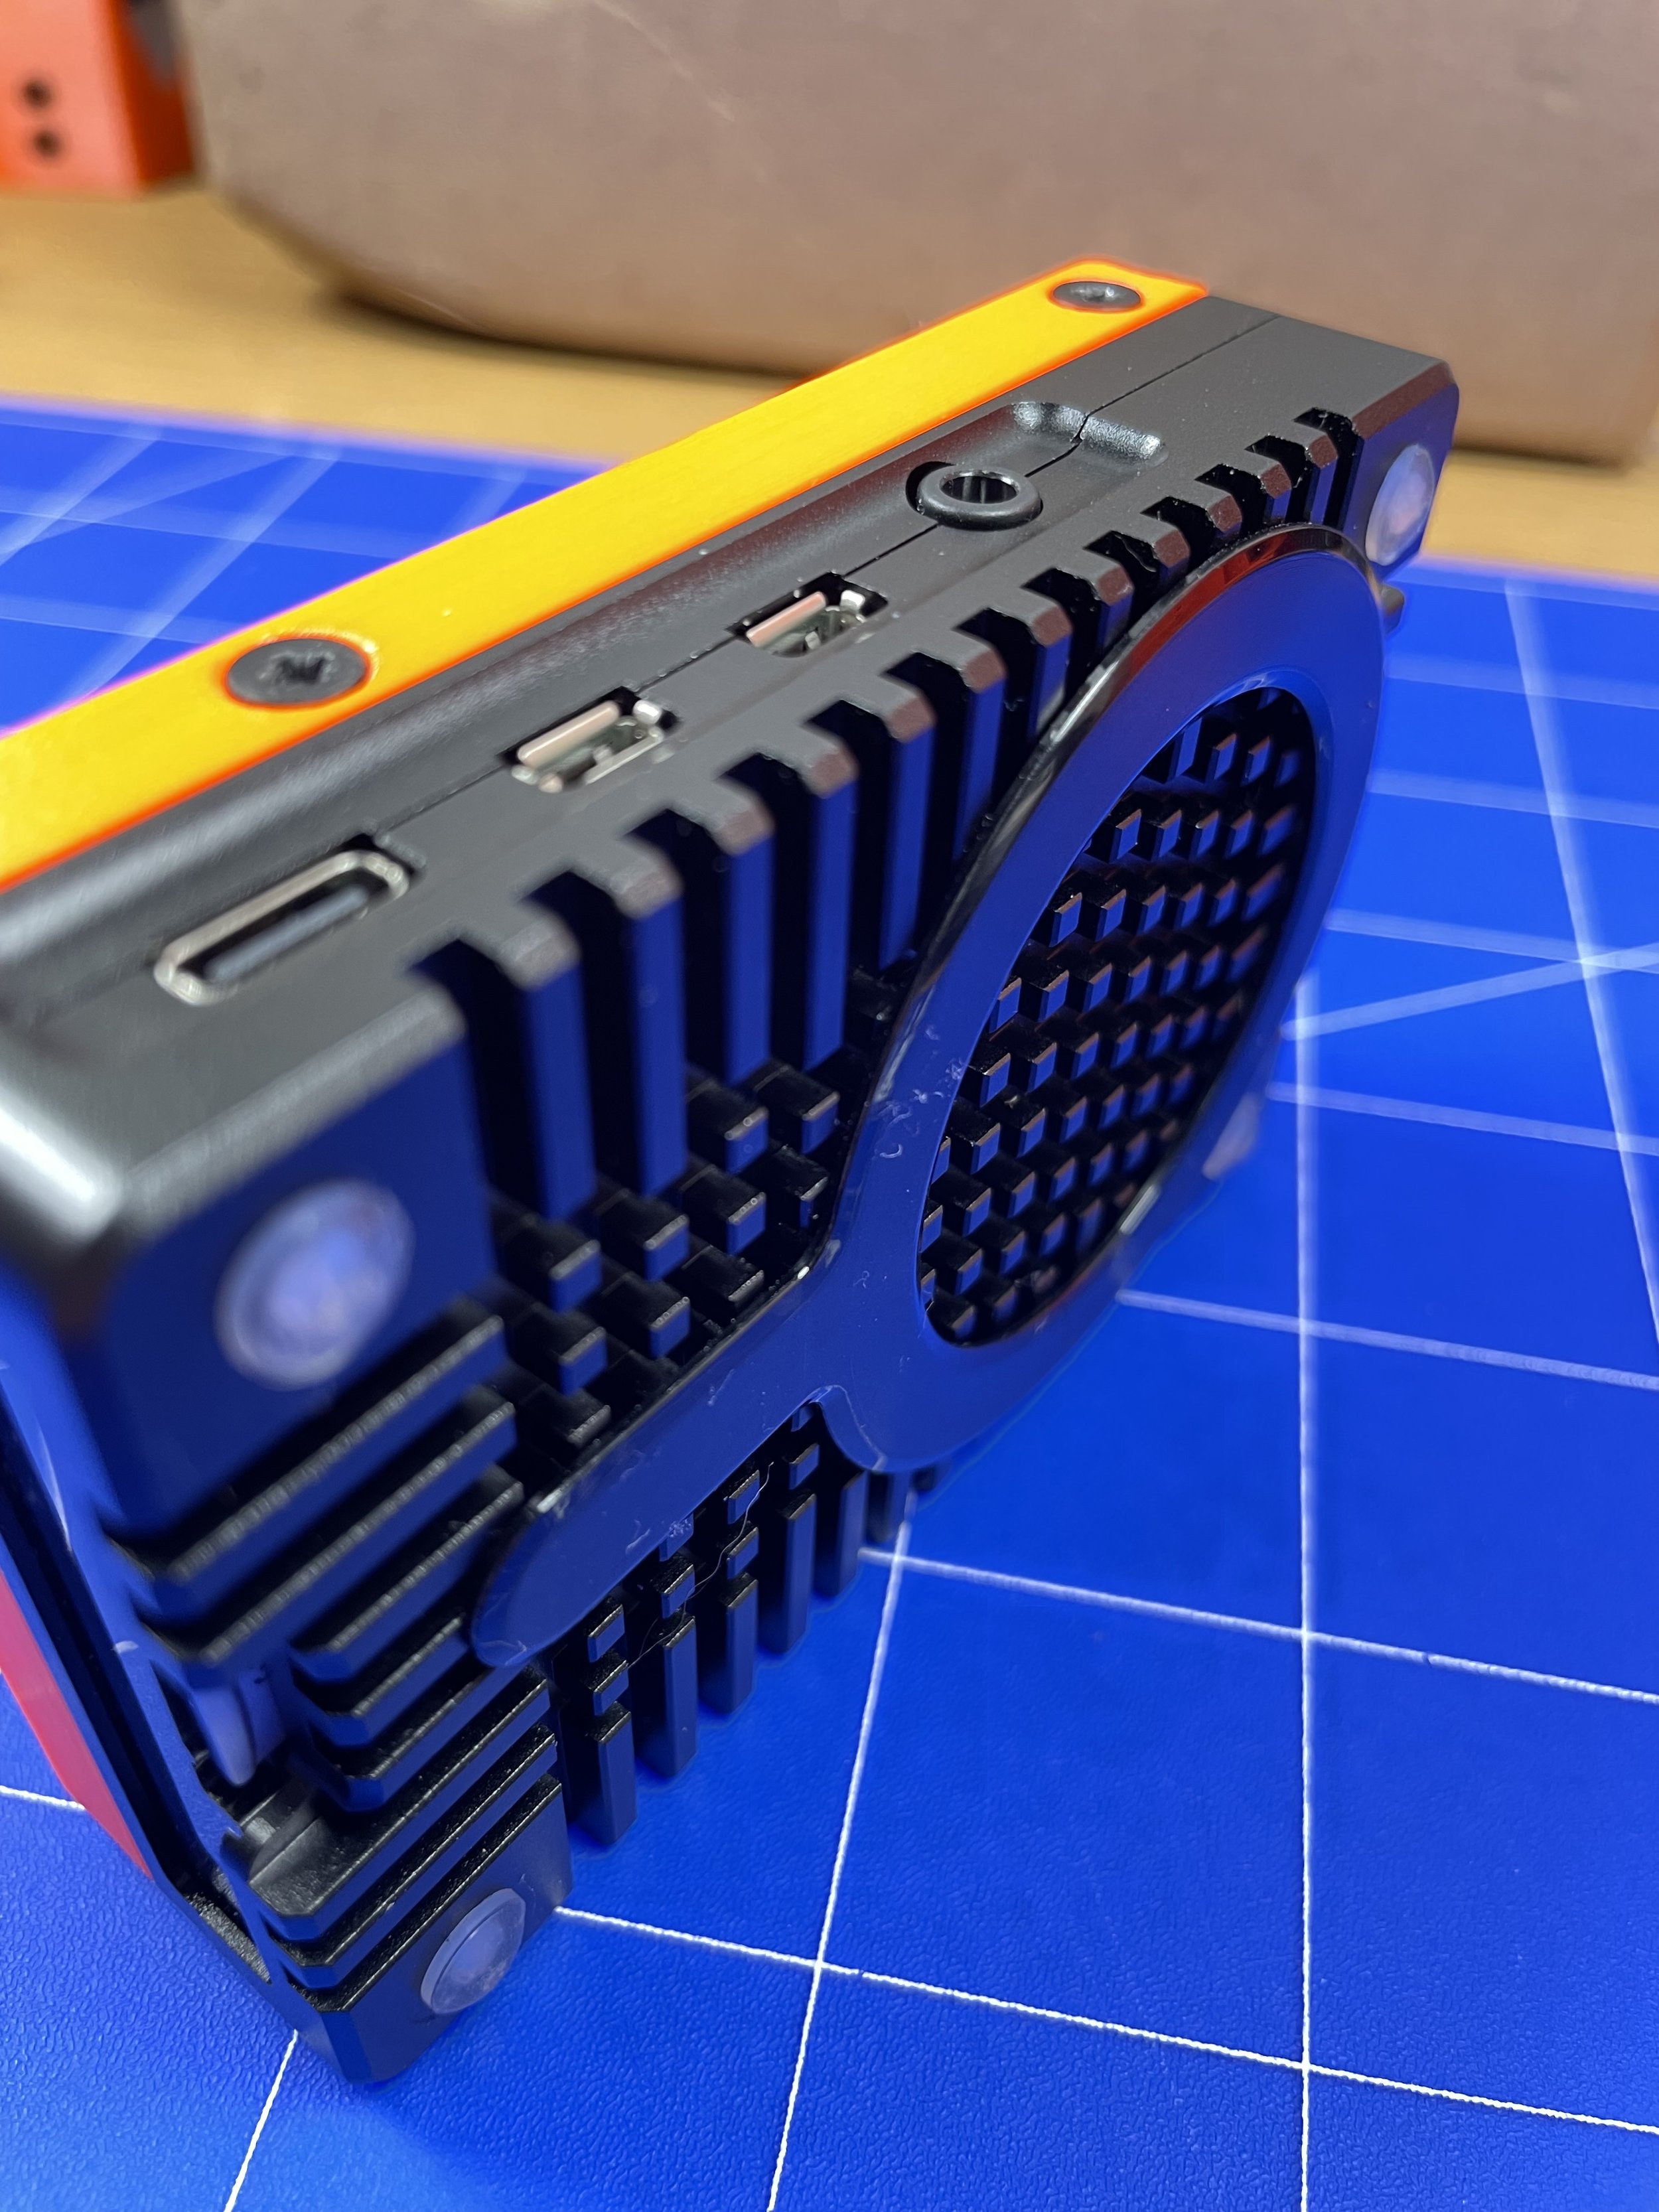
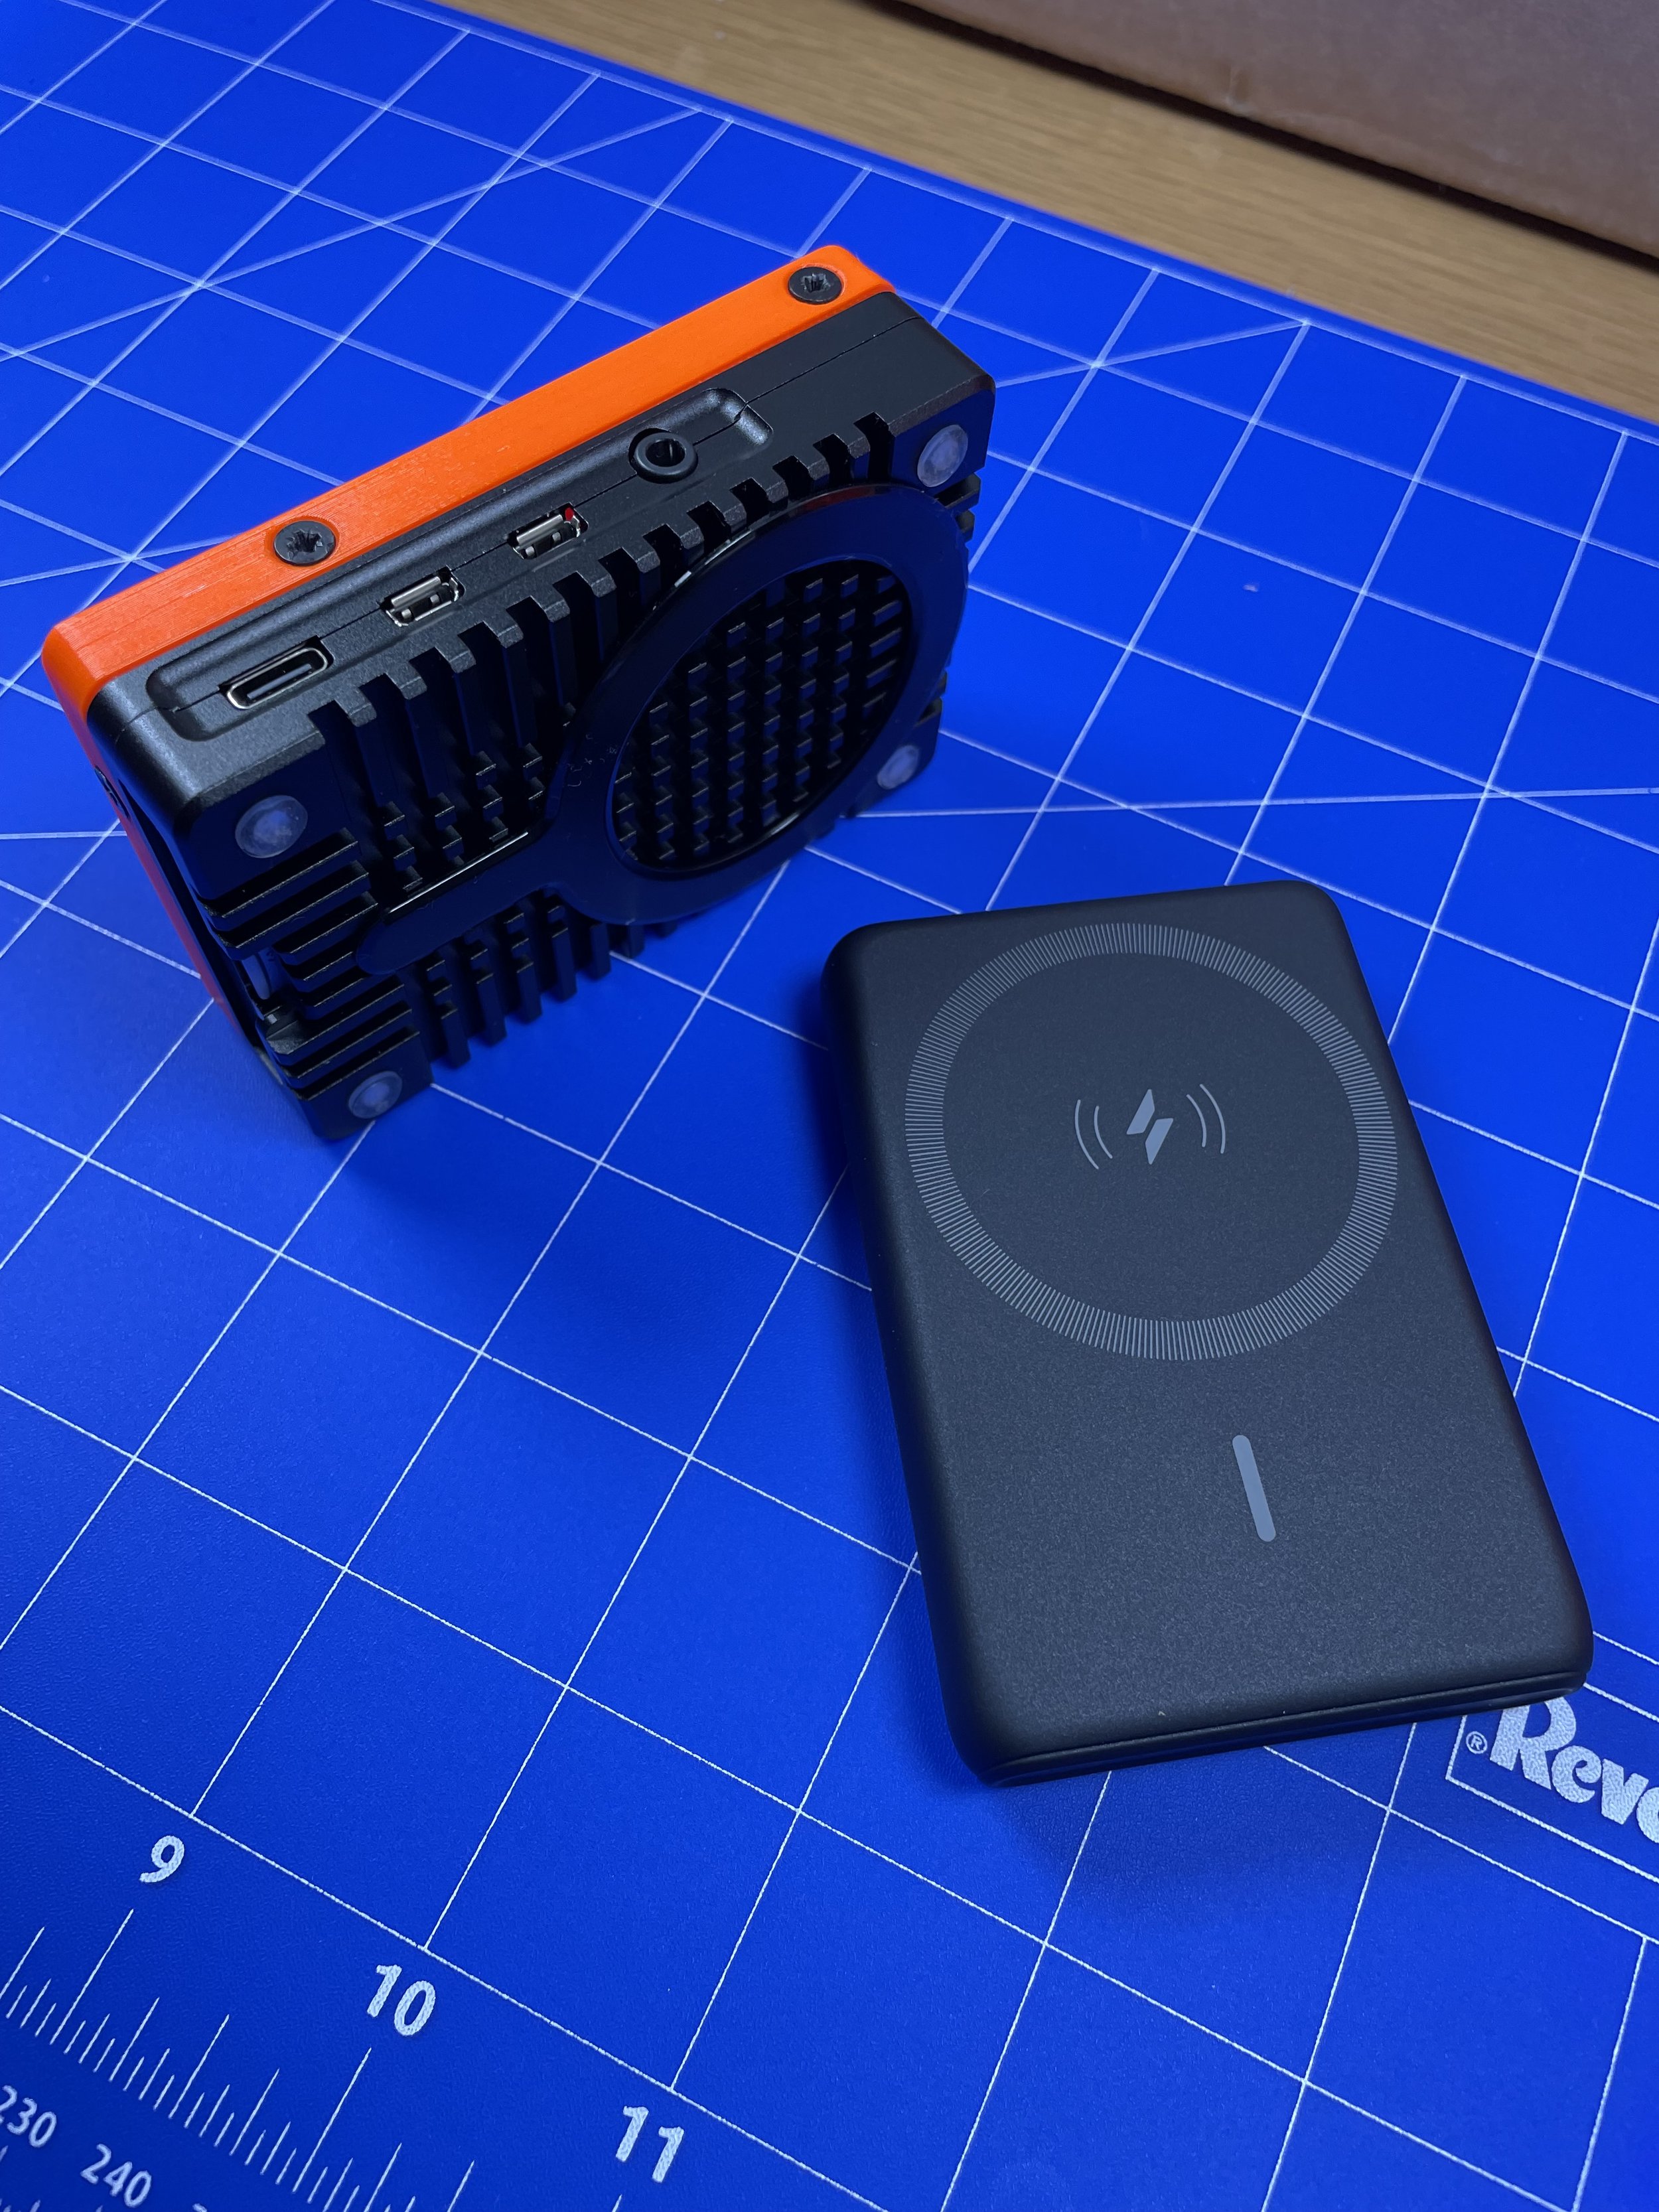
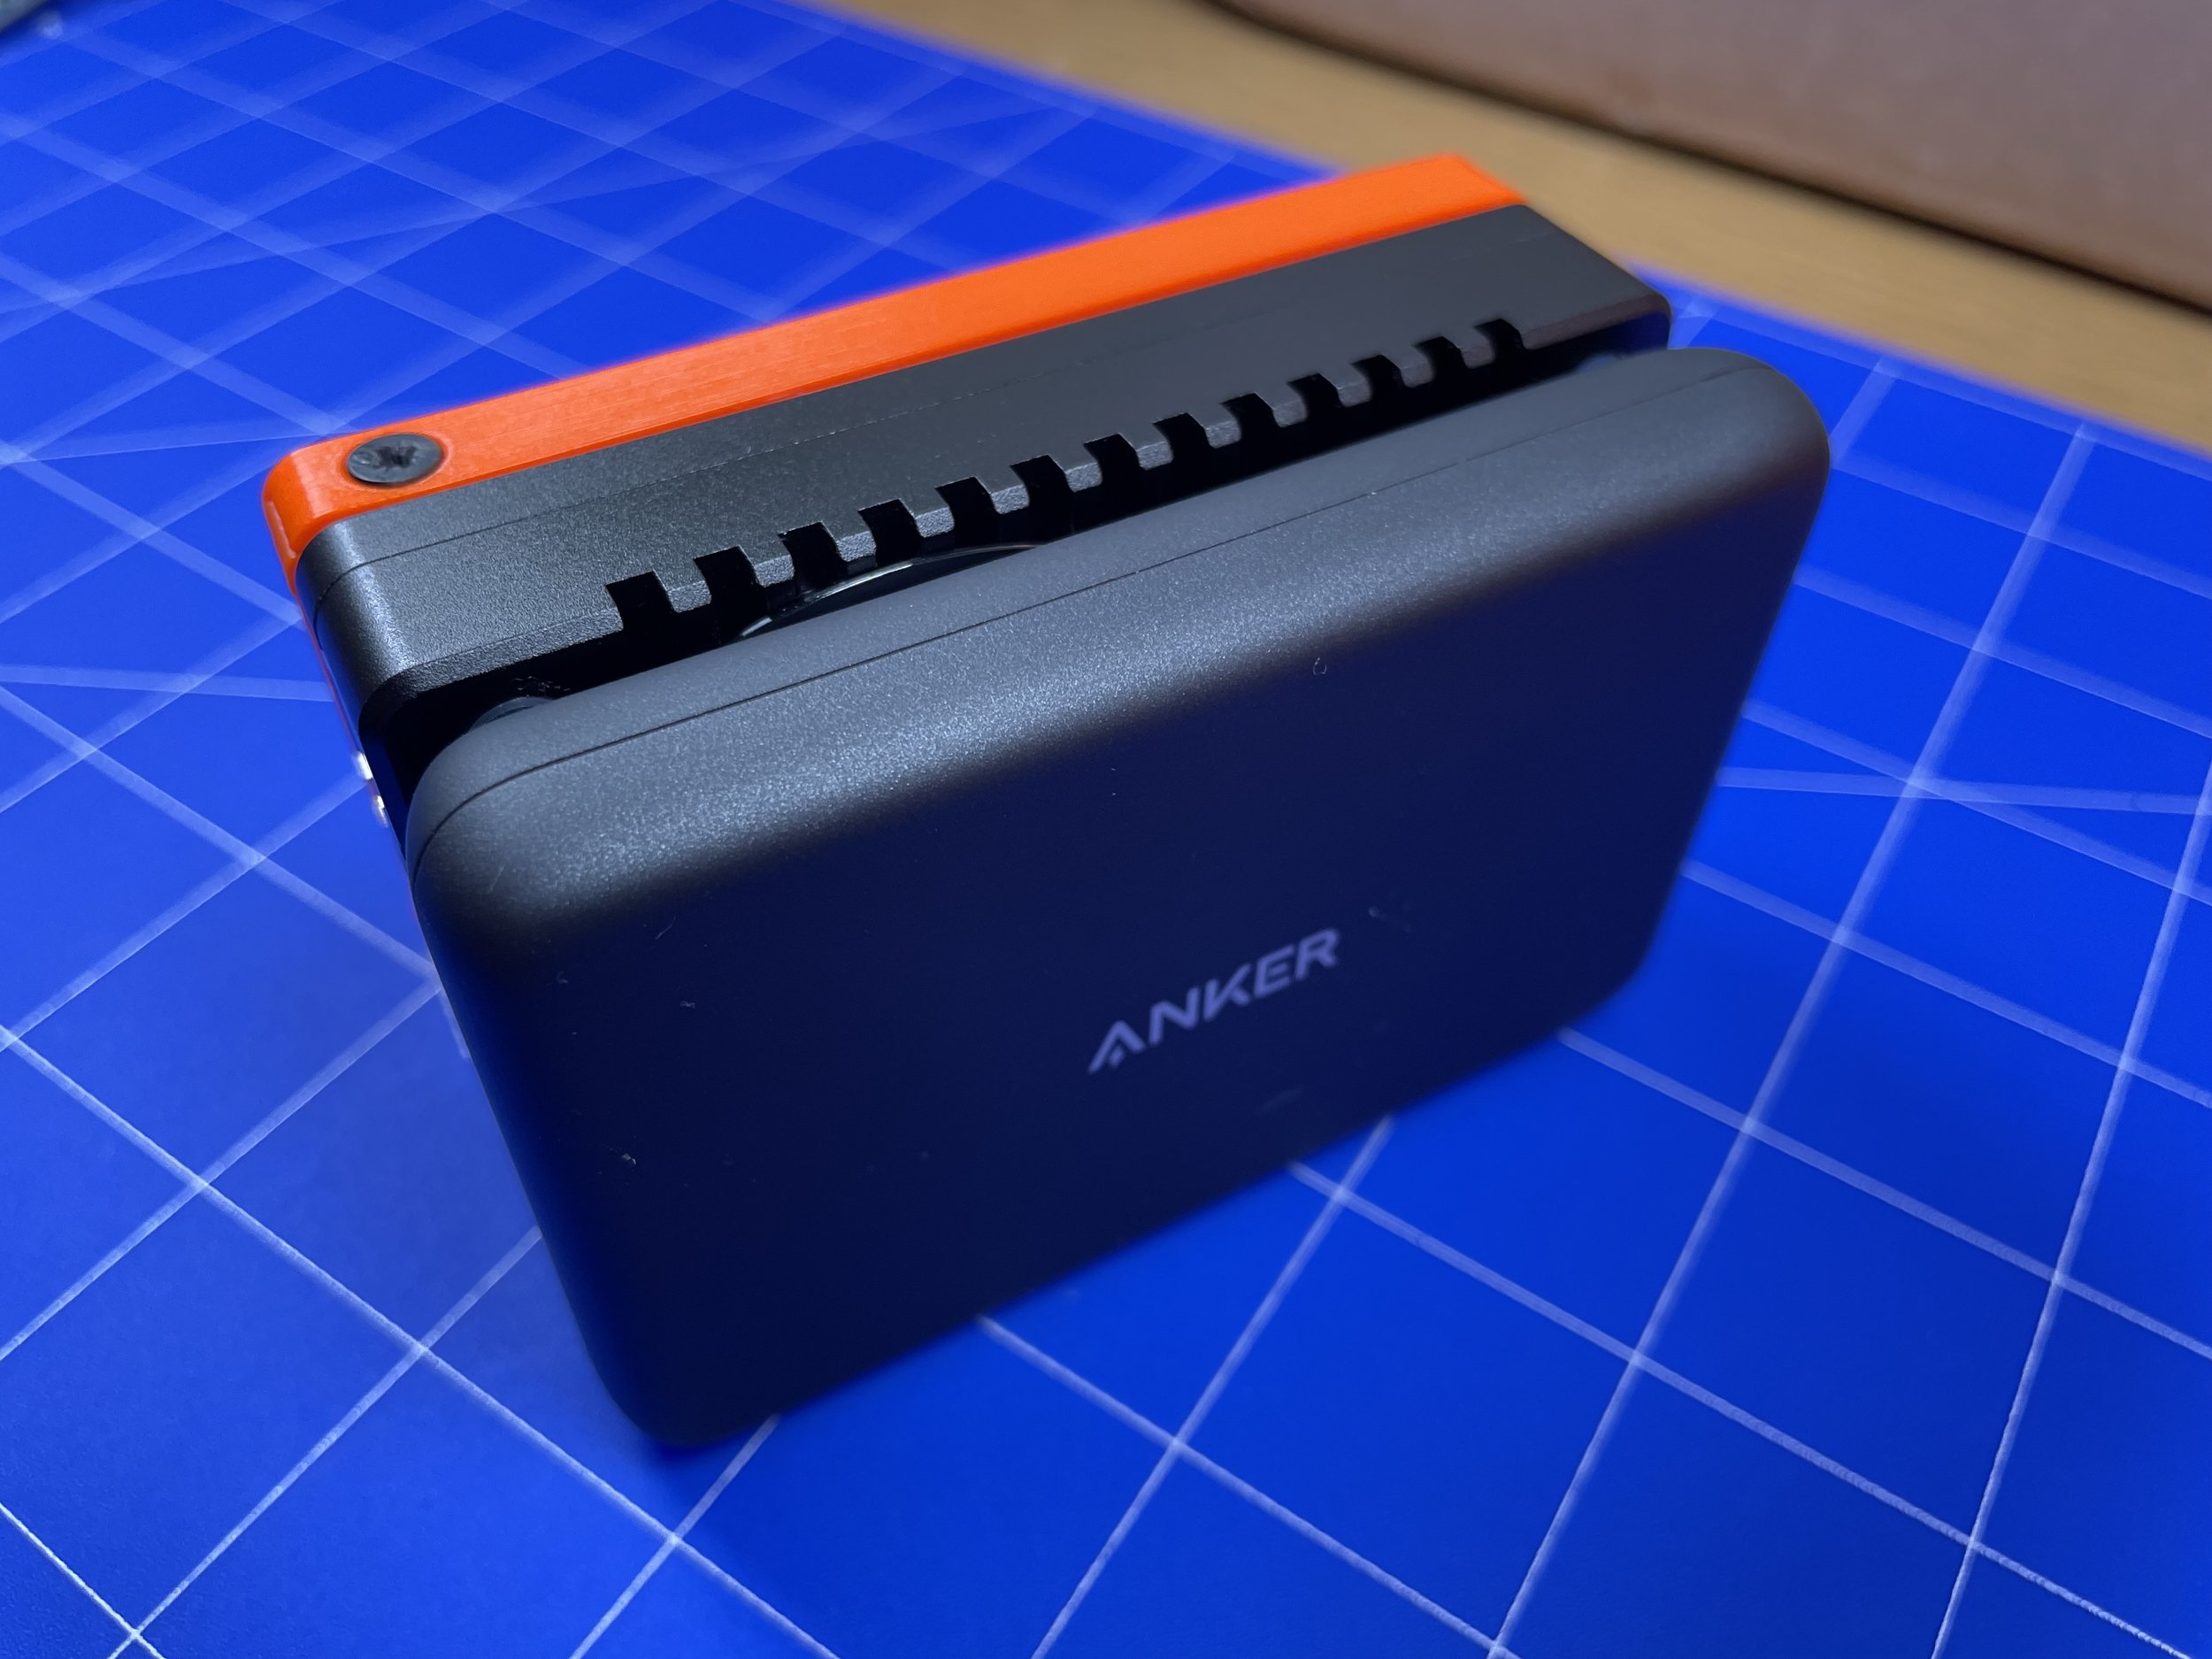
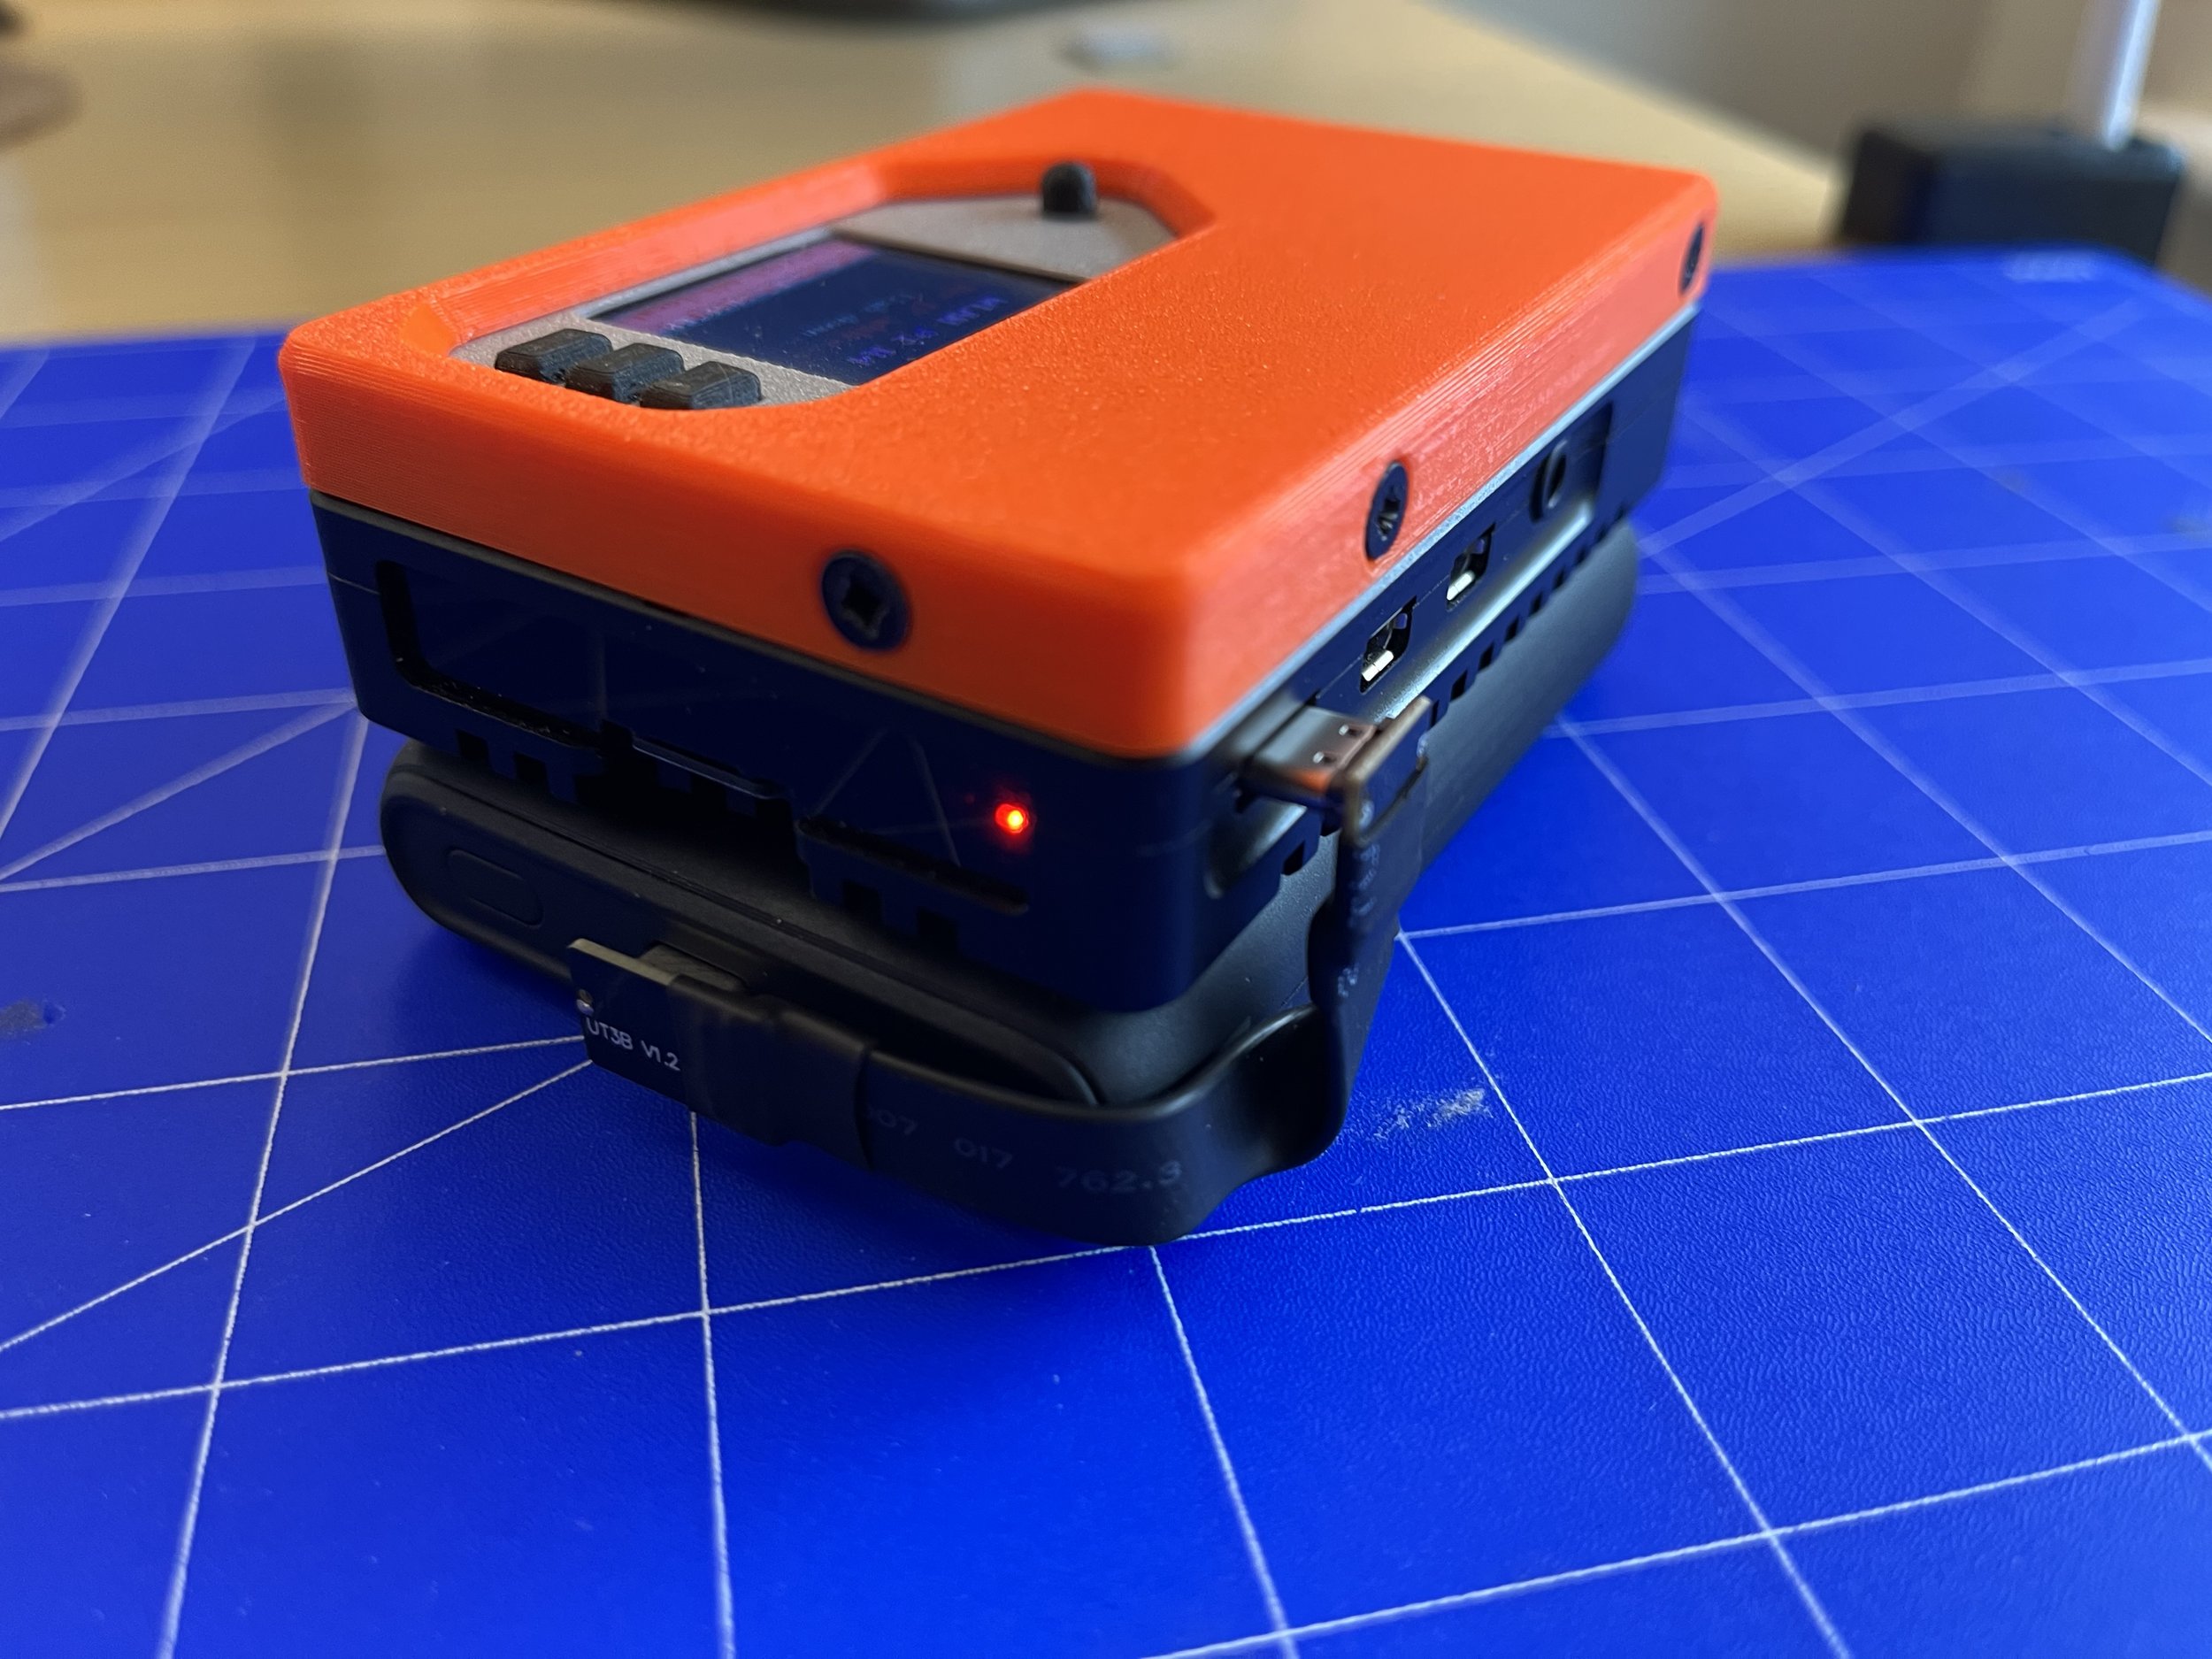
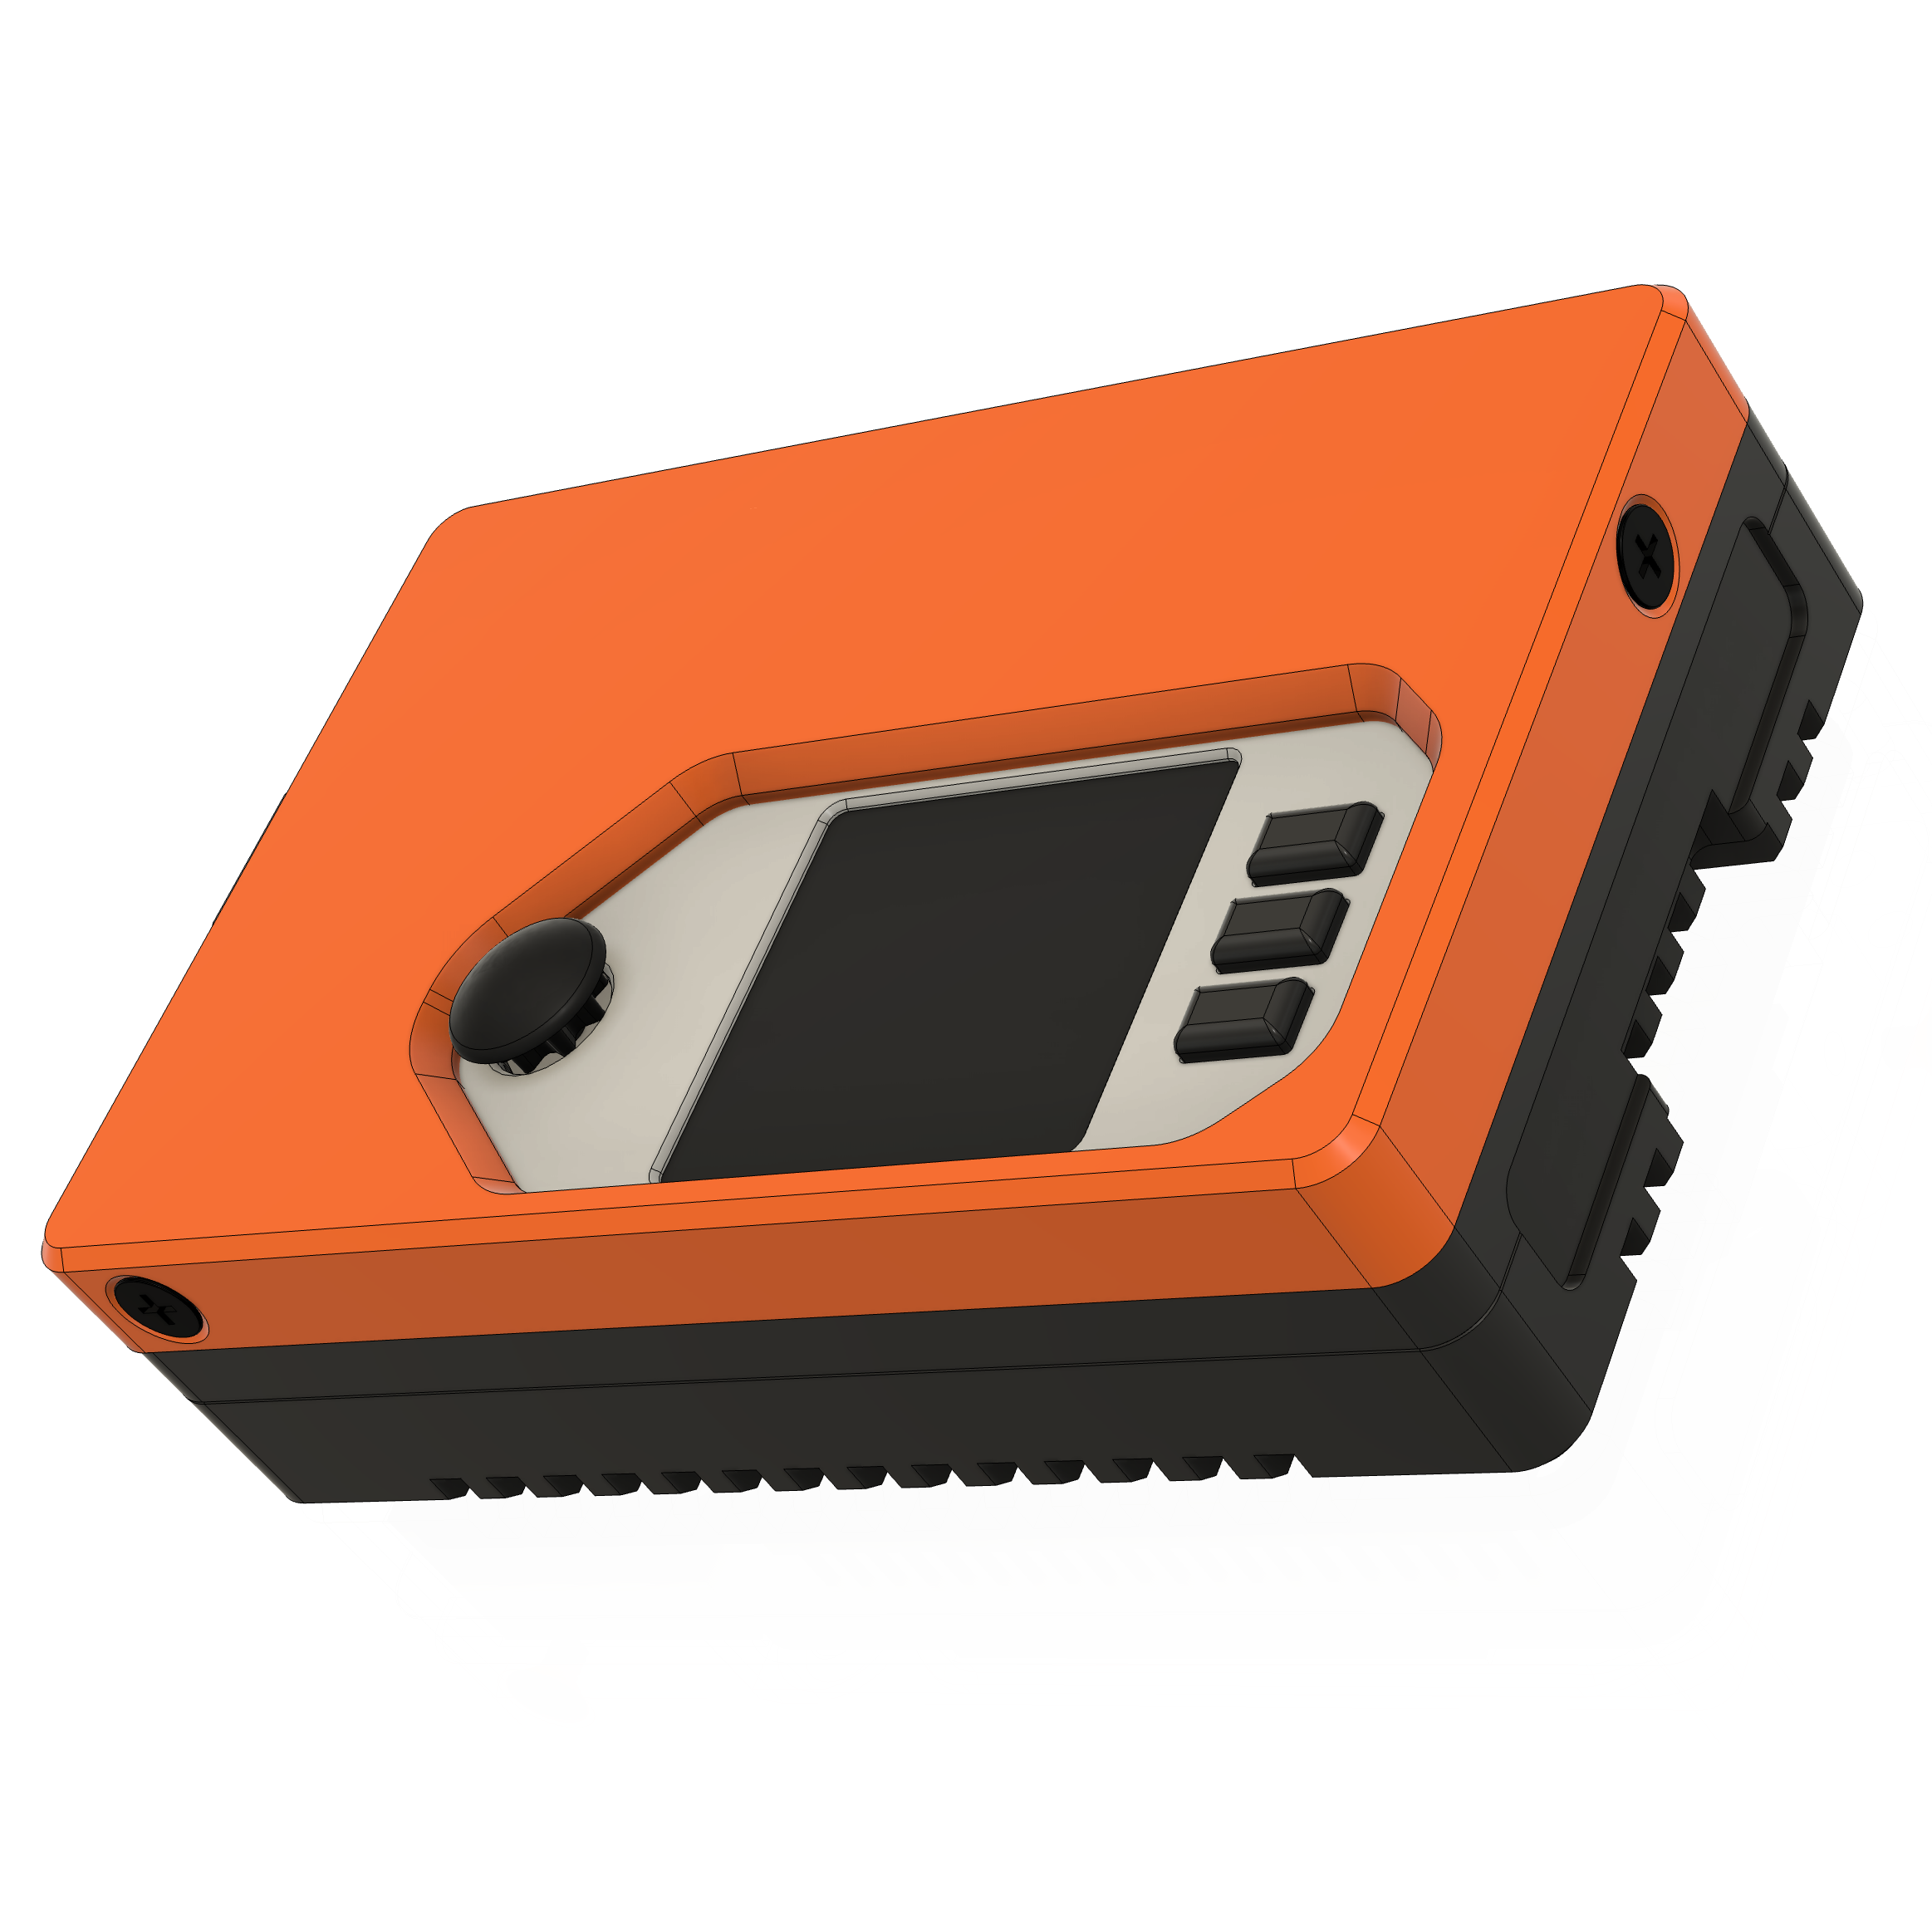
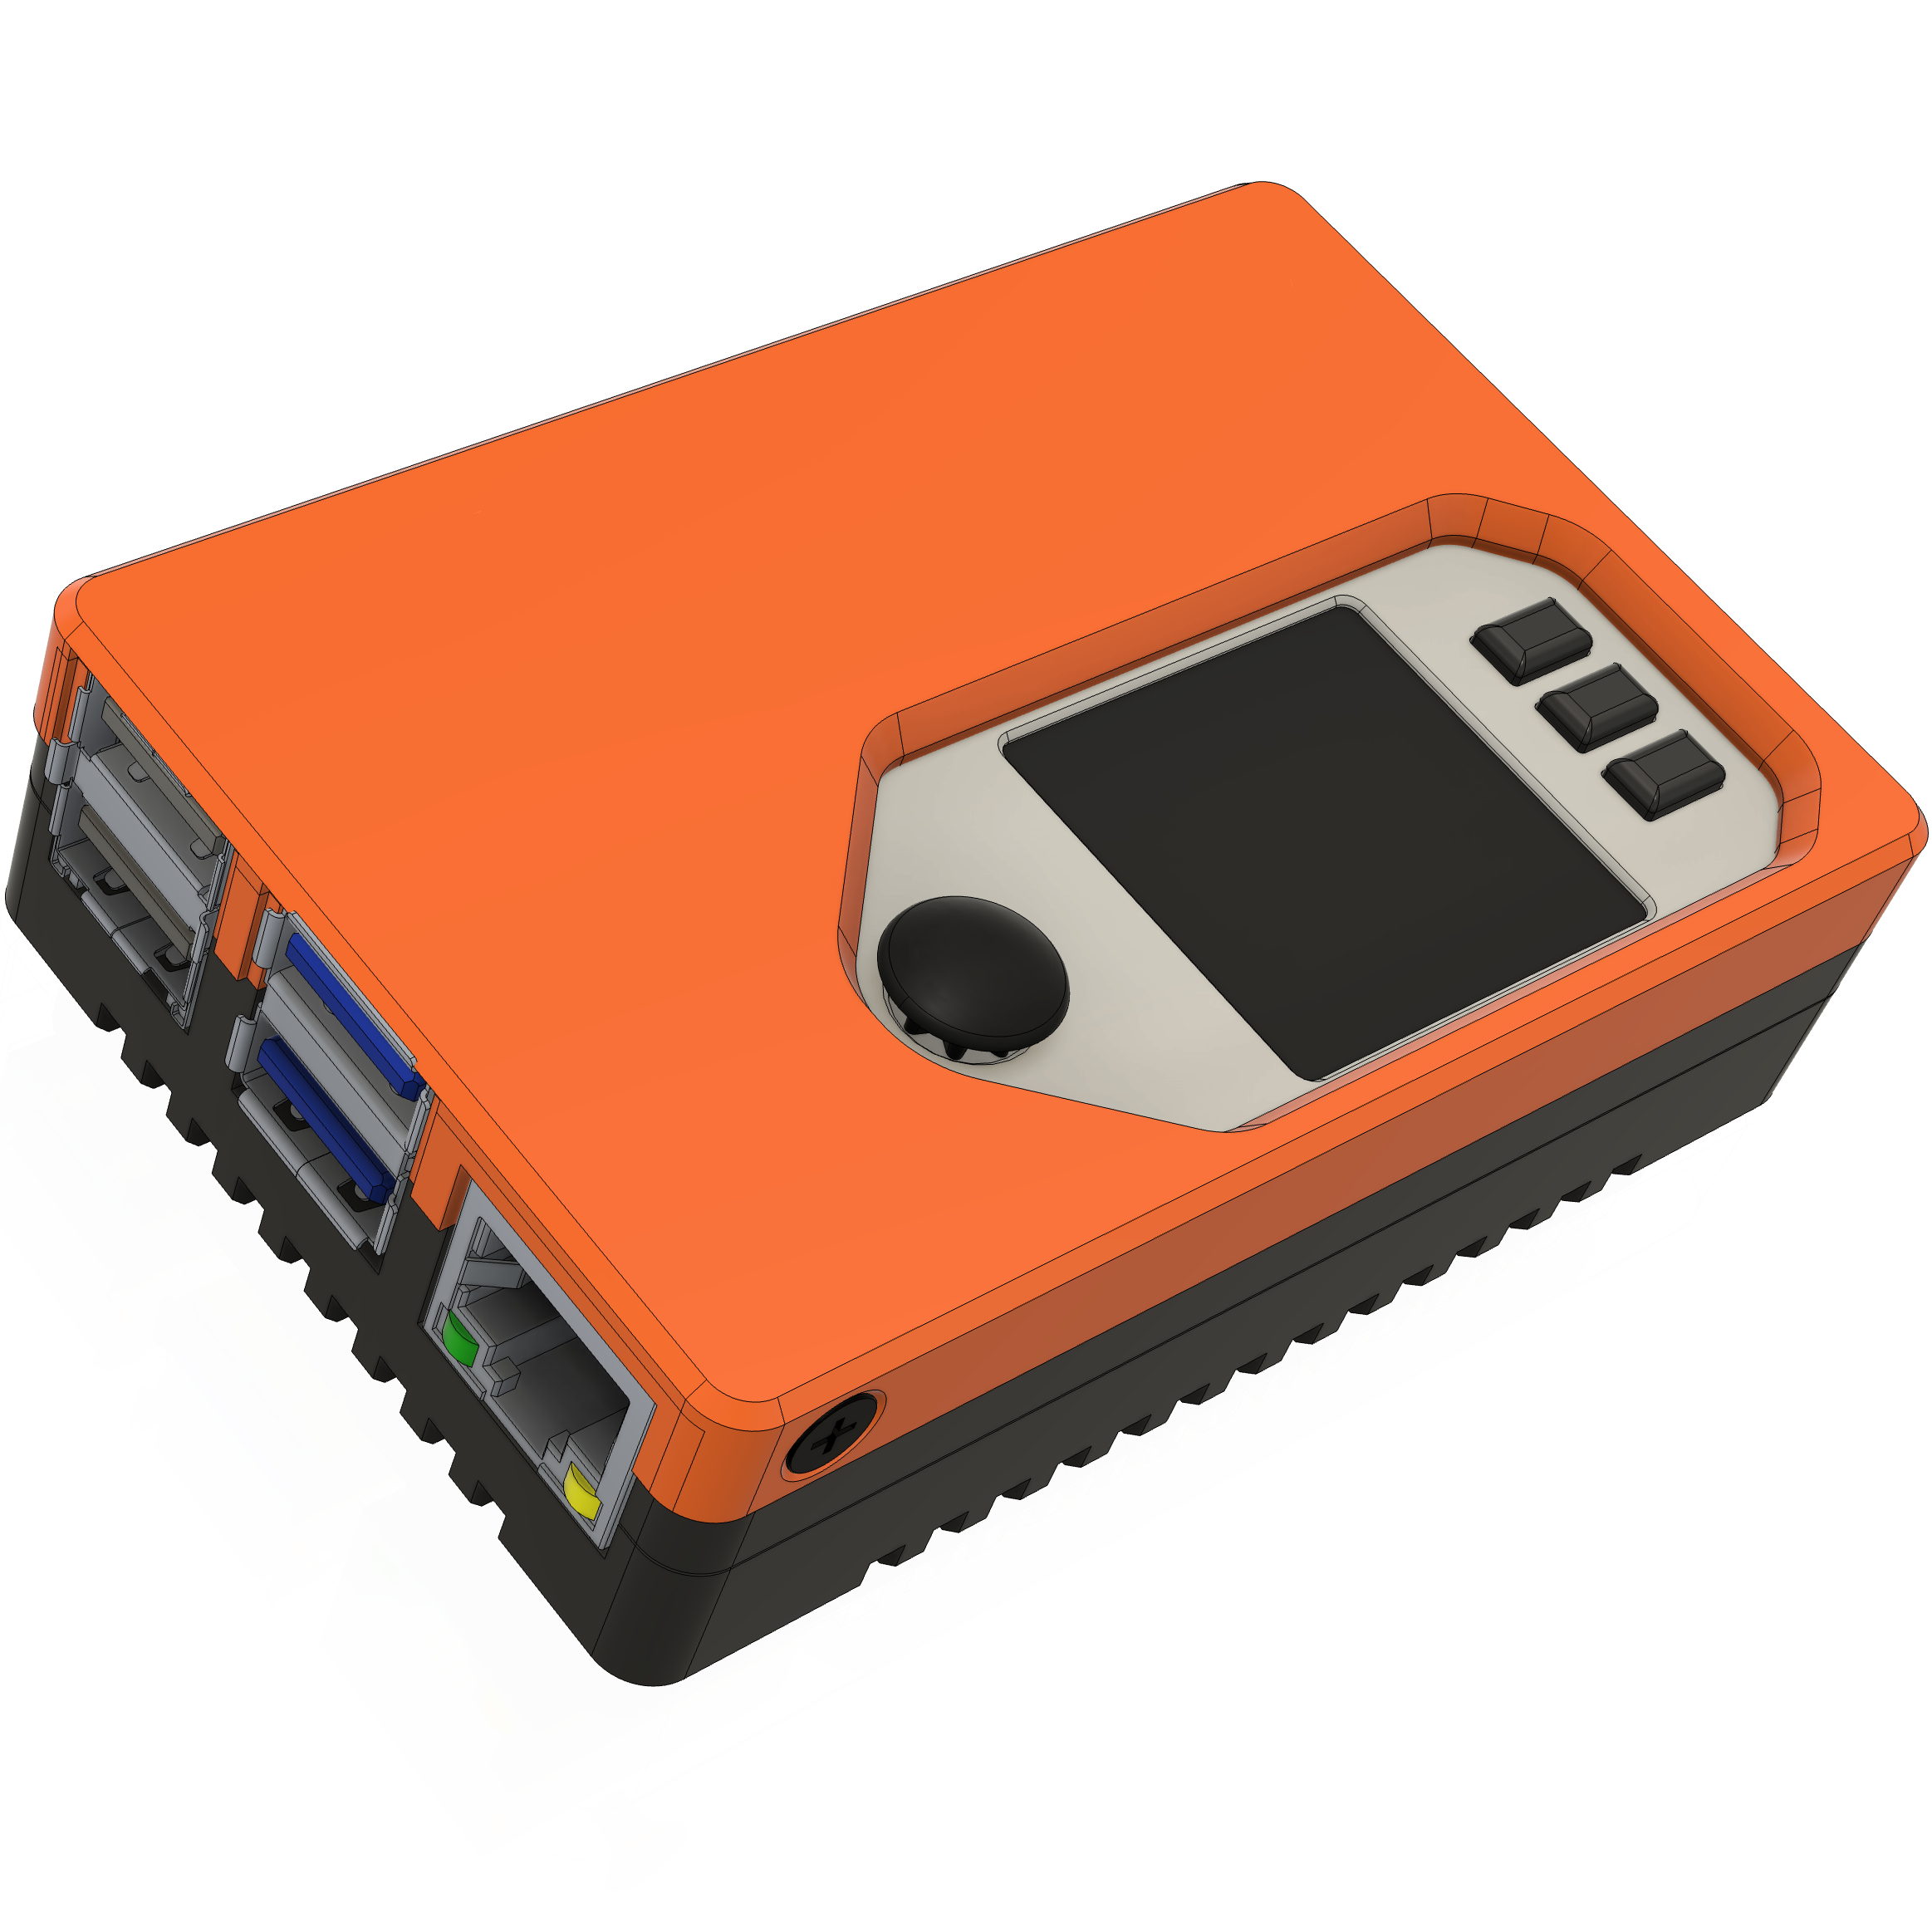
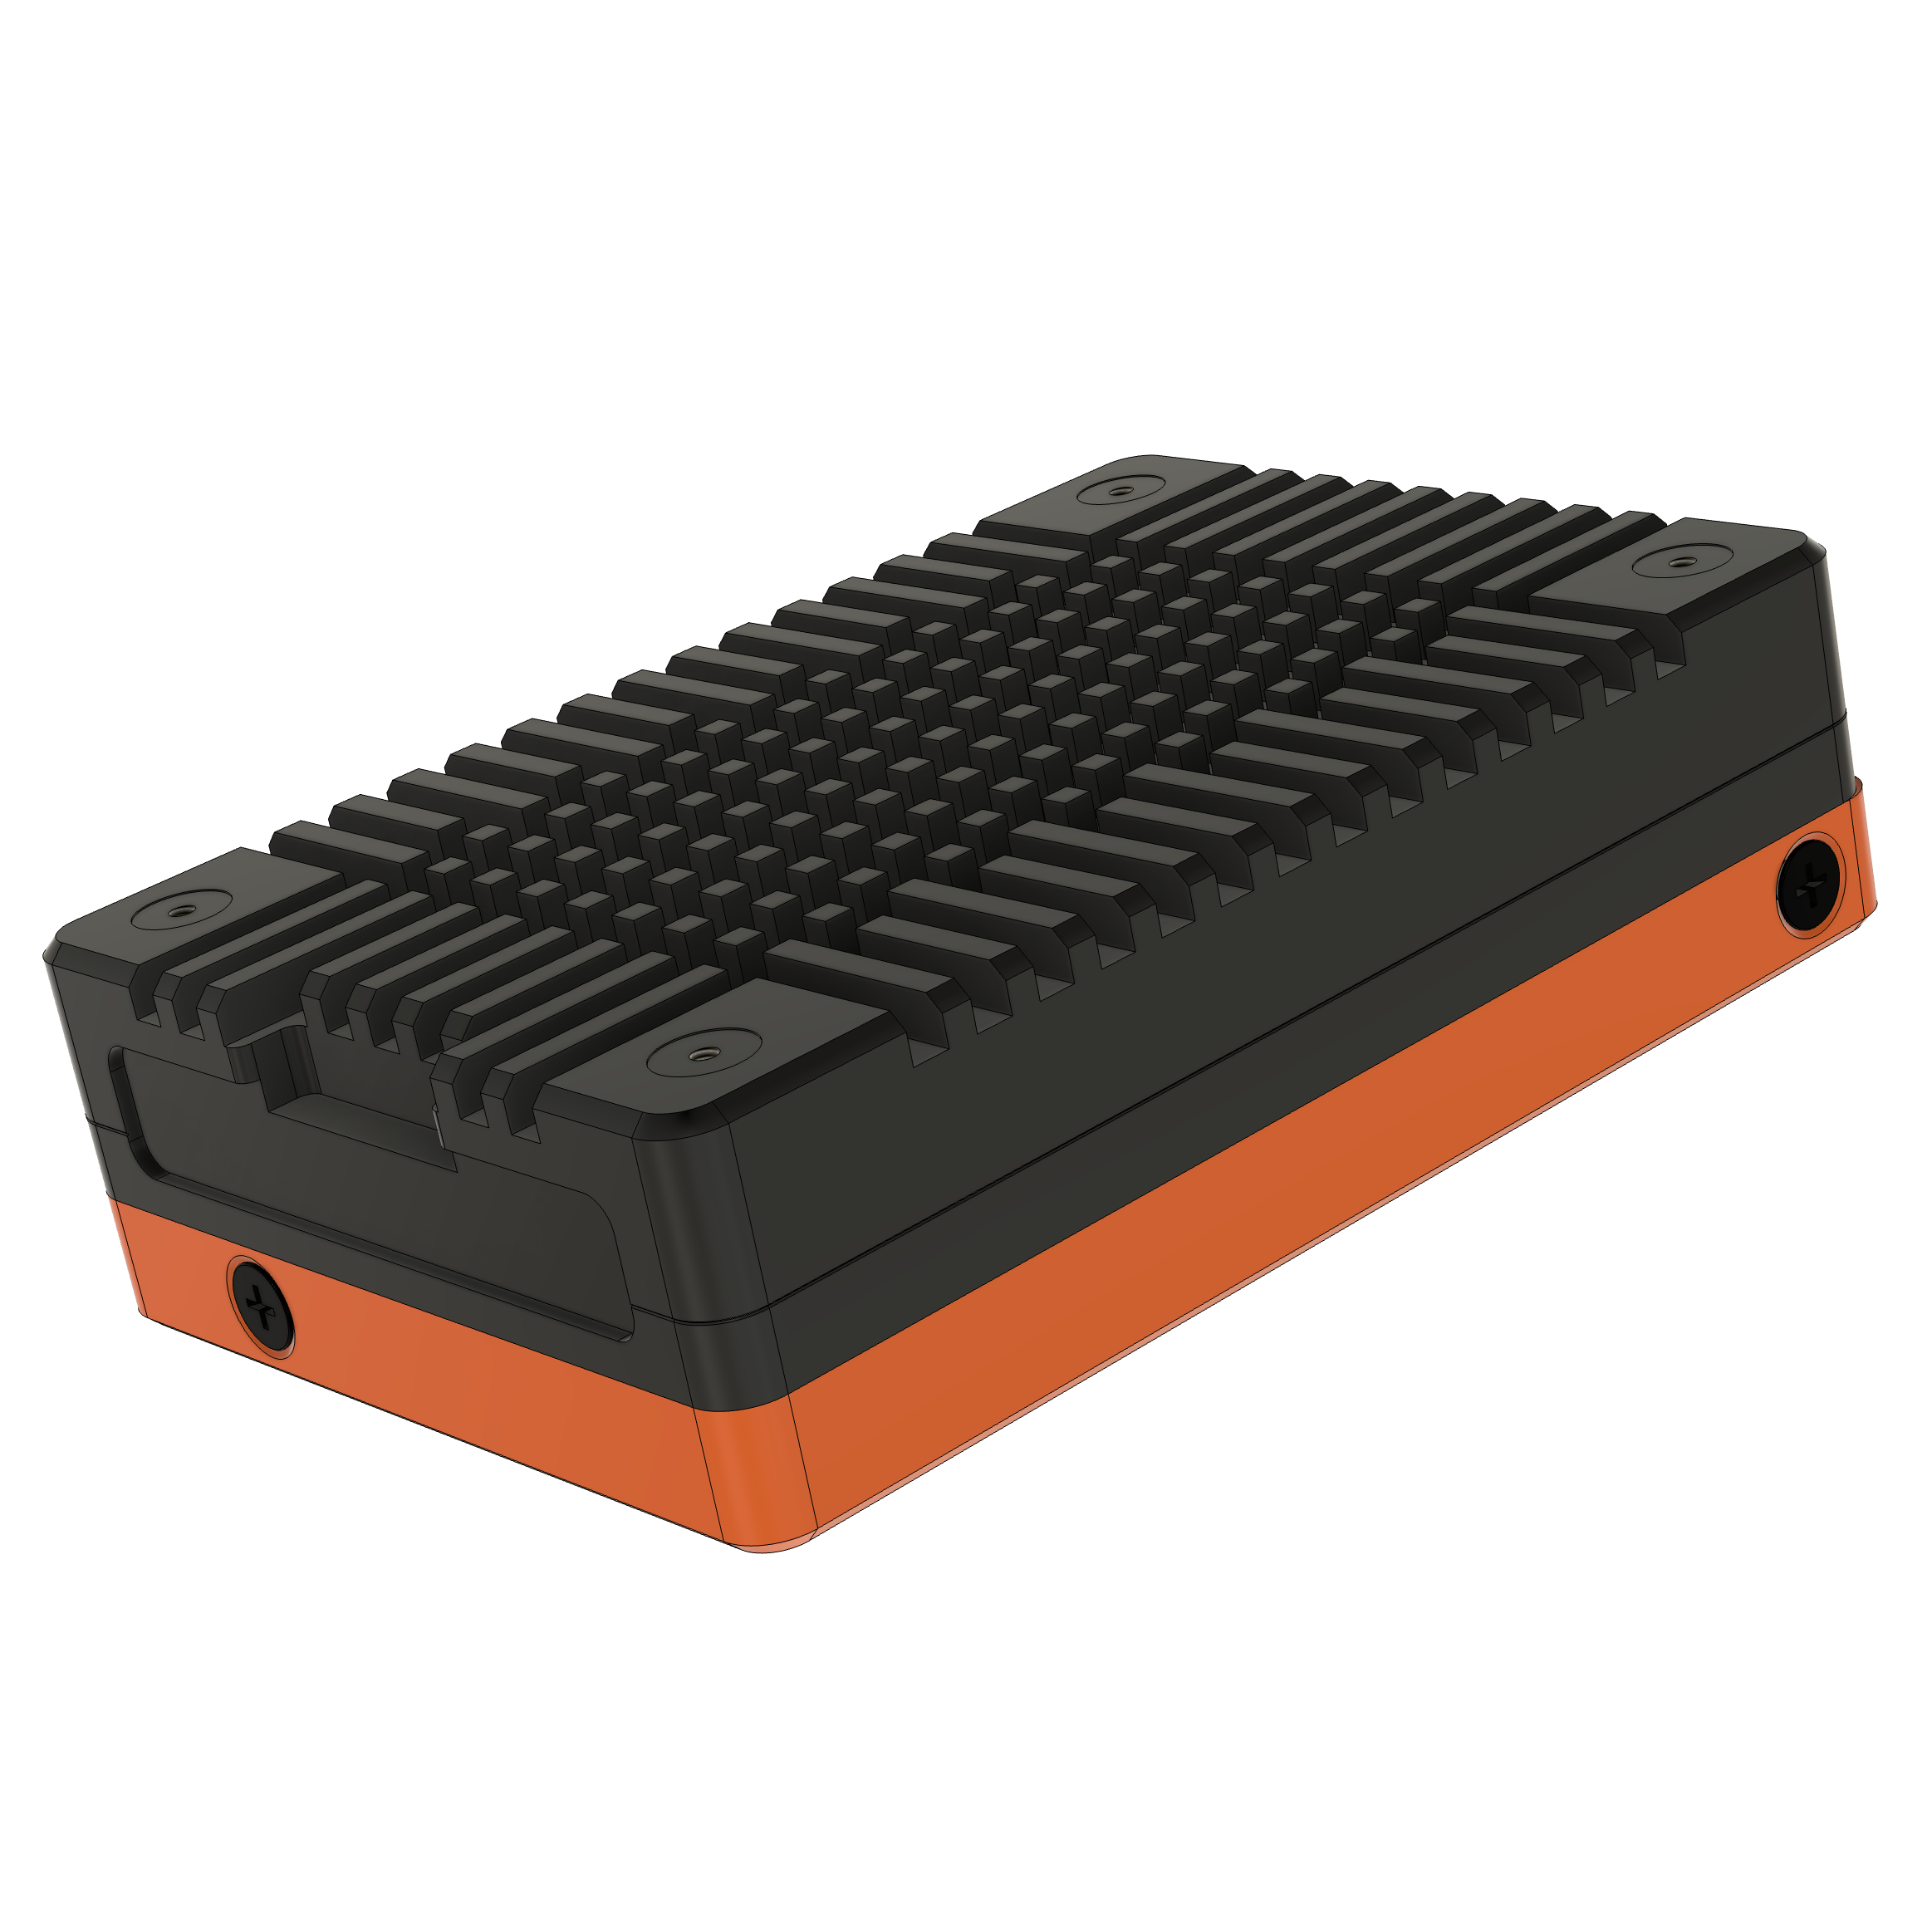
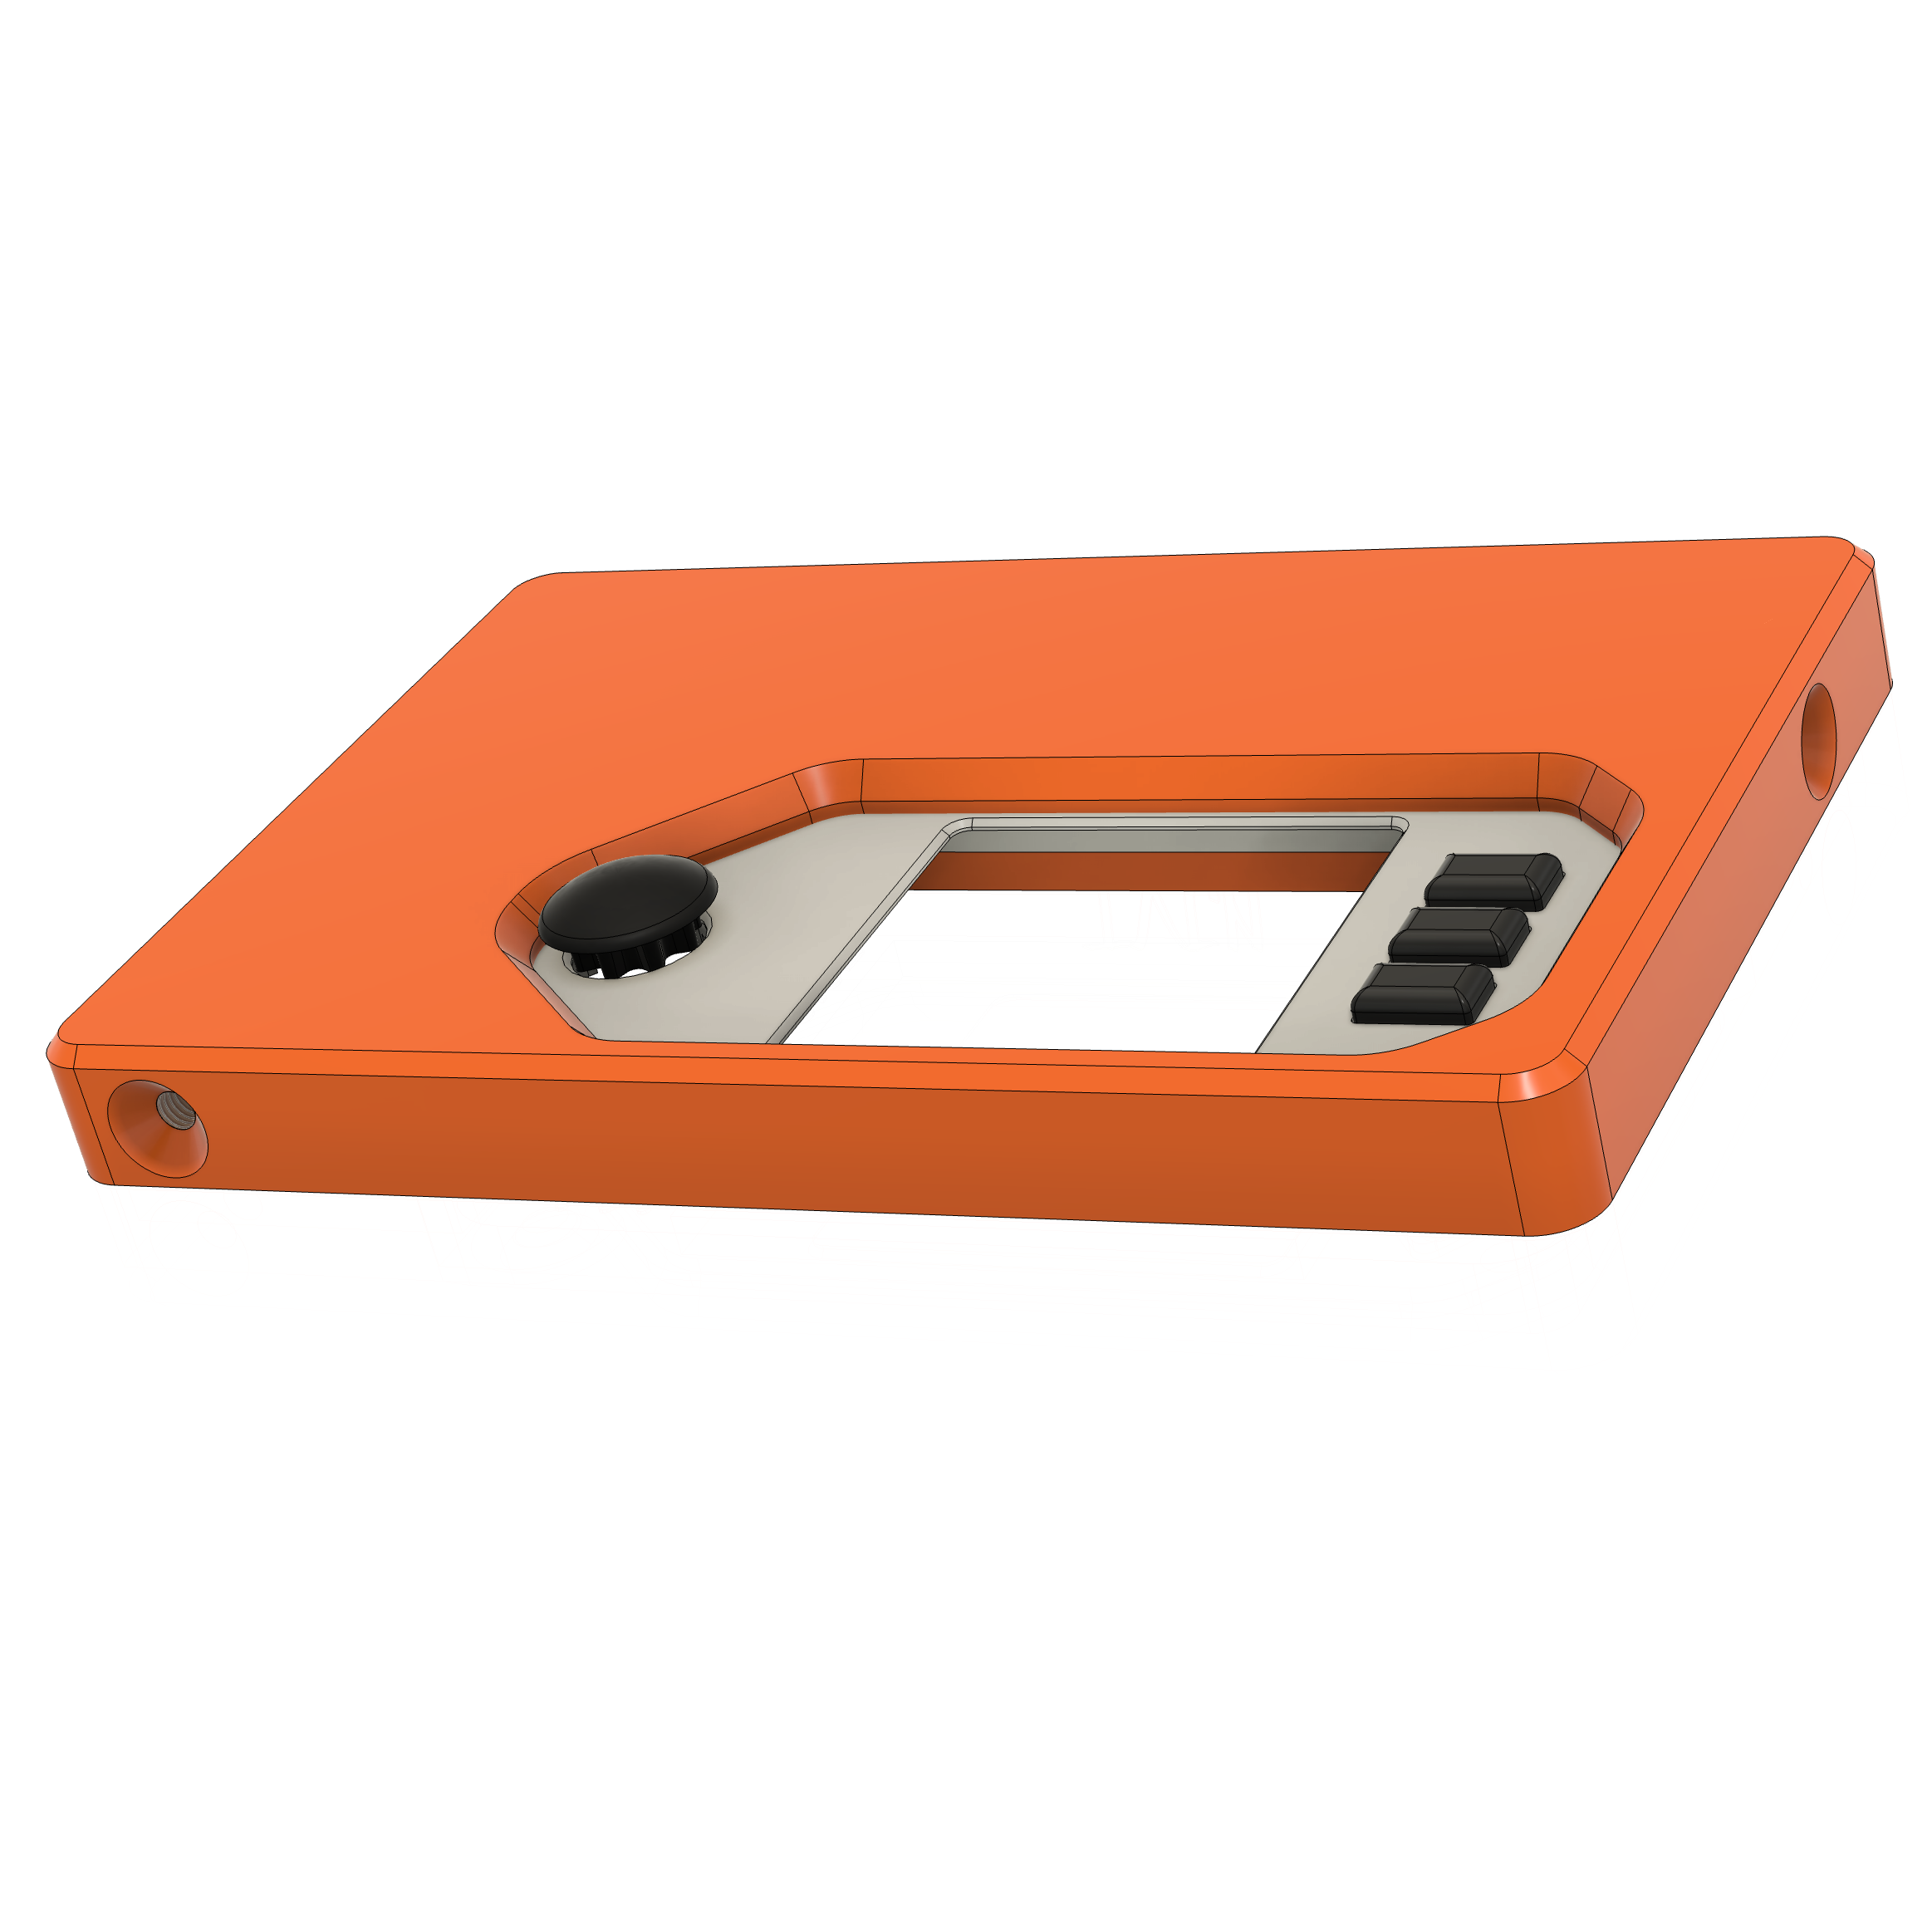
WLAN Pi R4
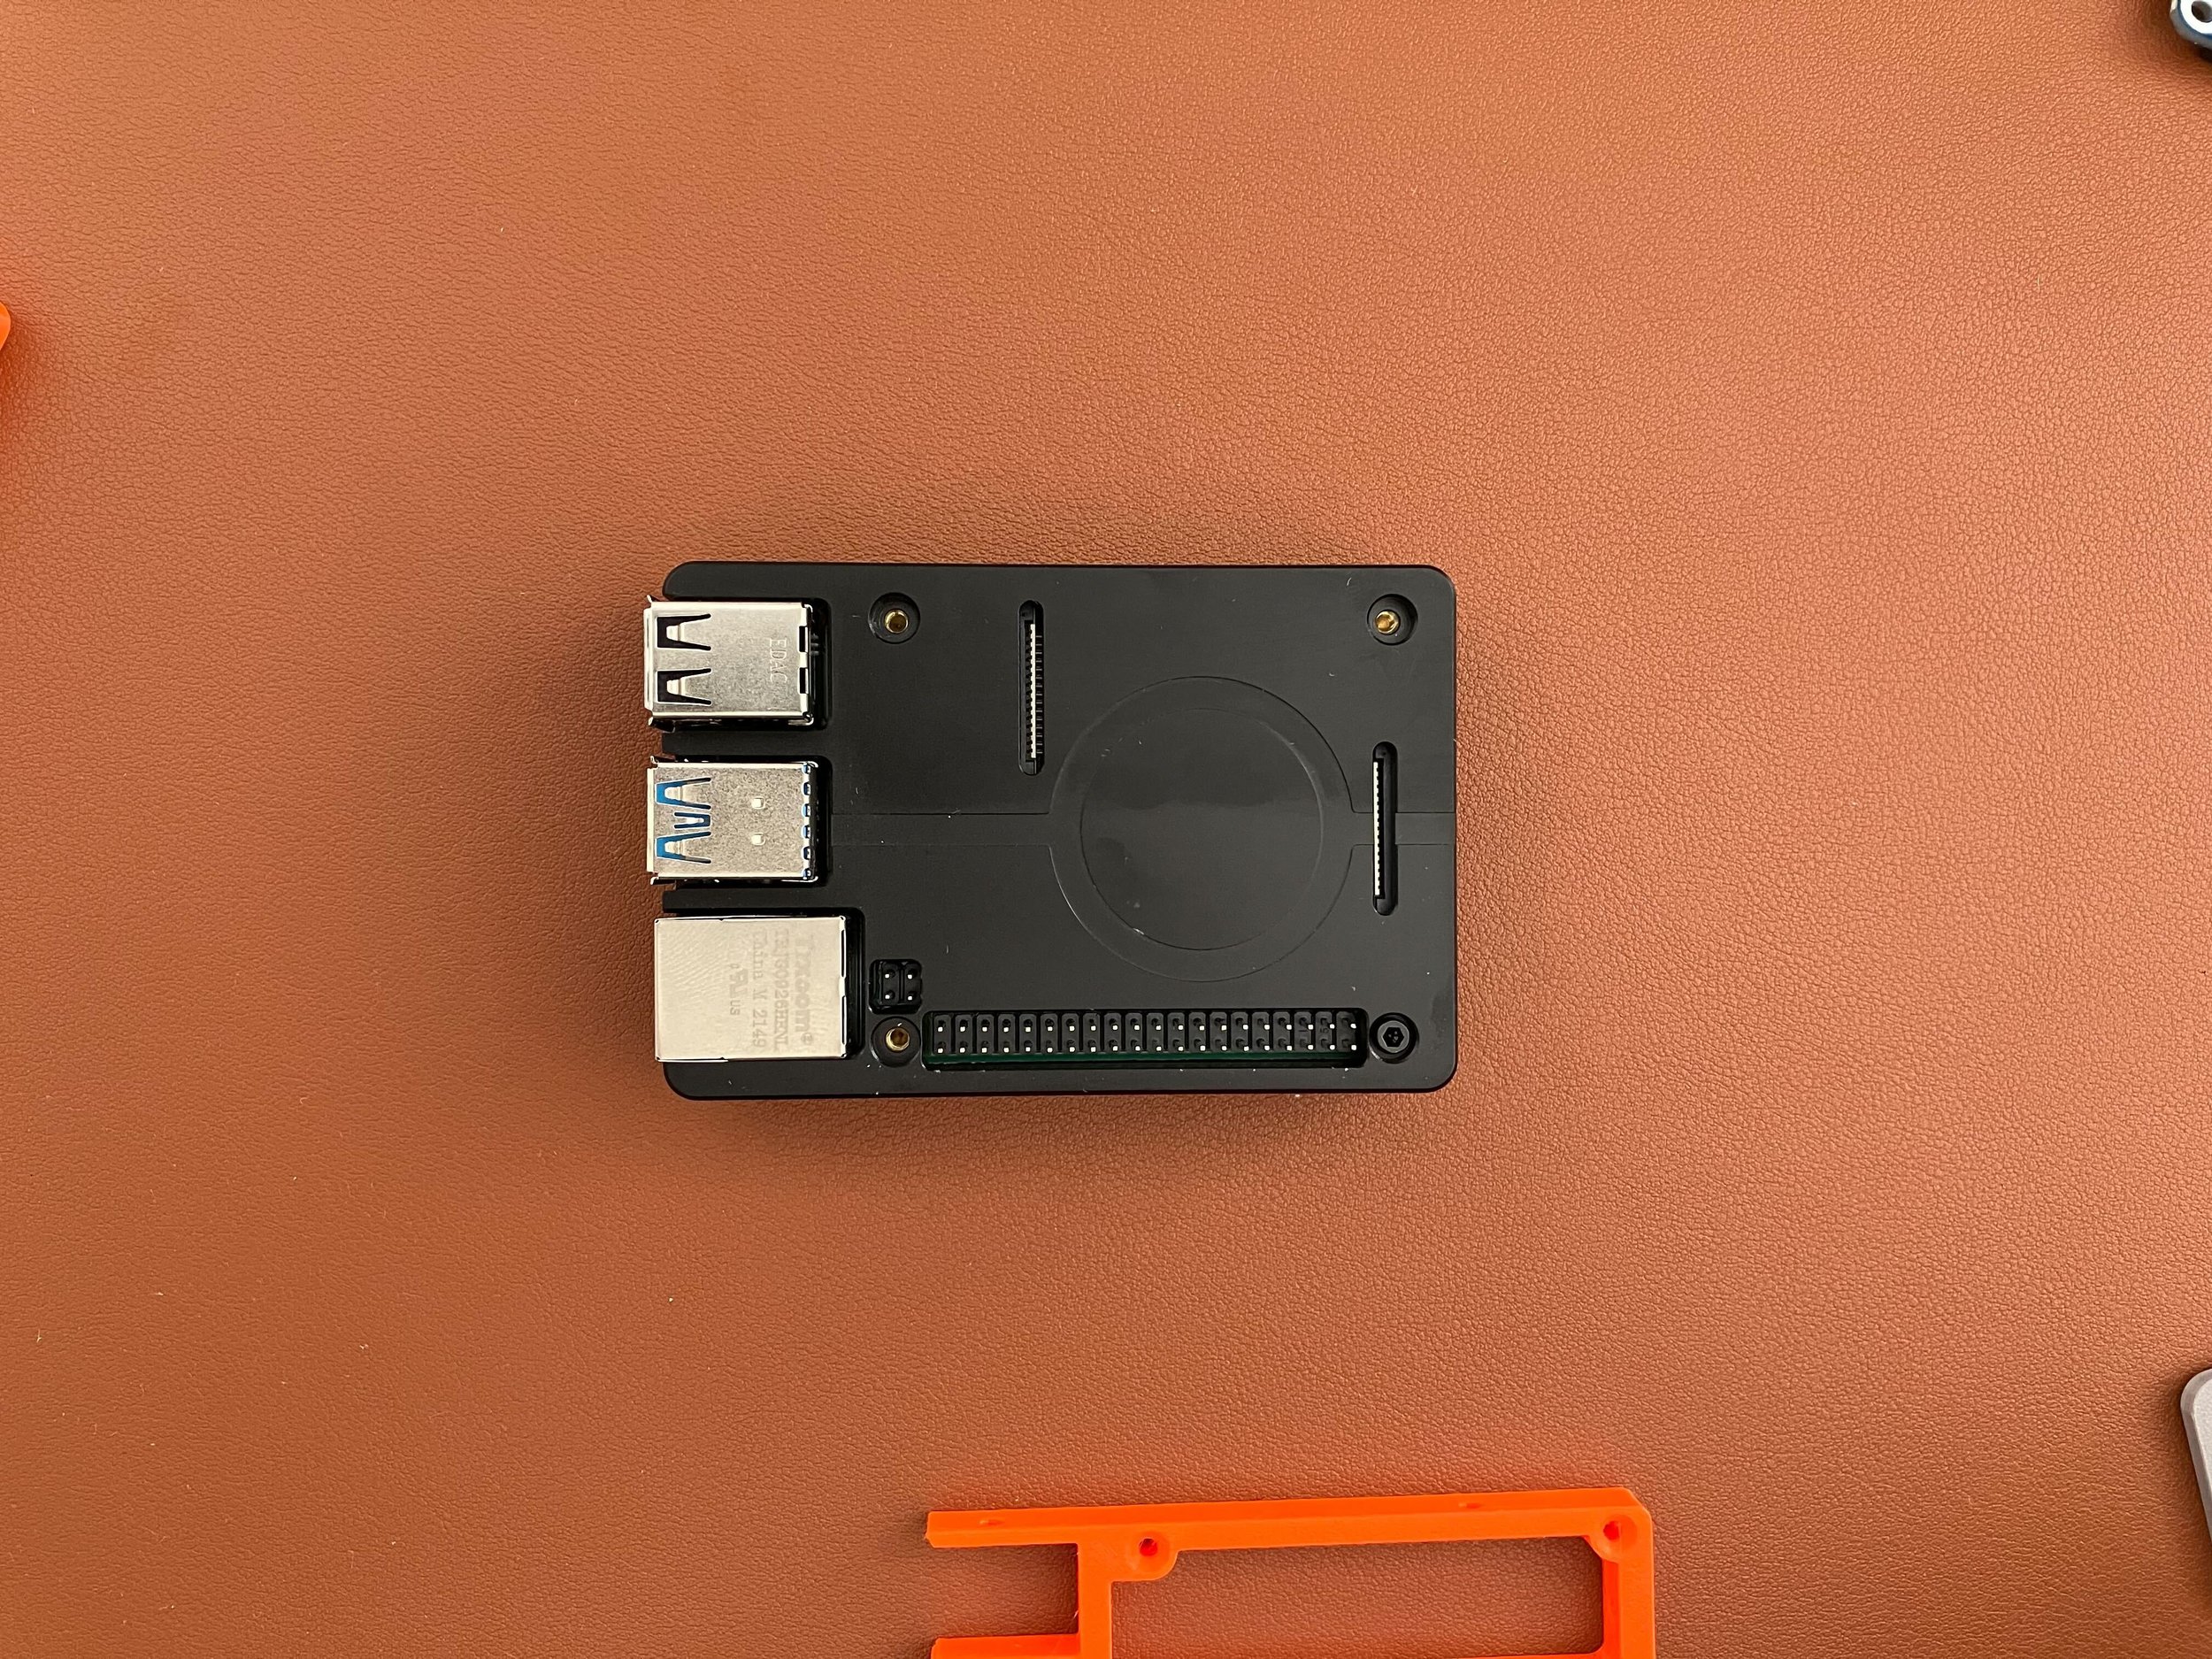
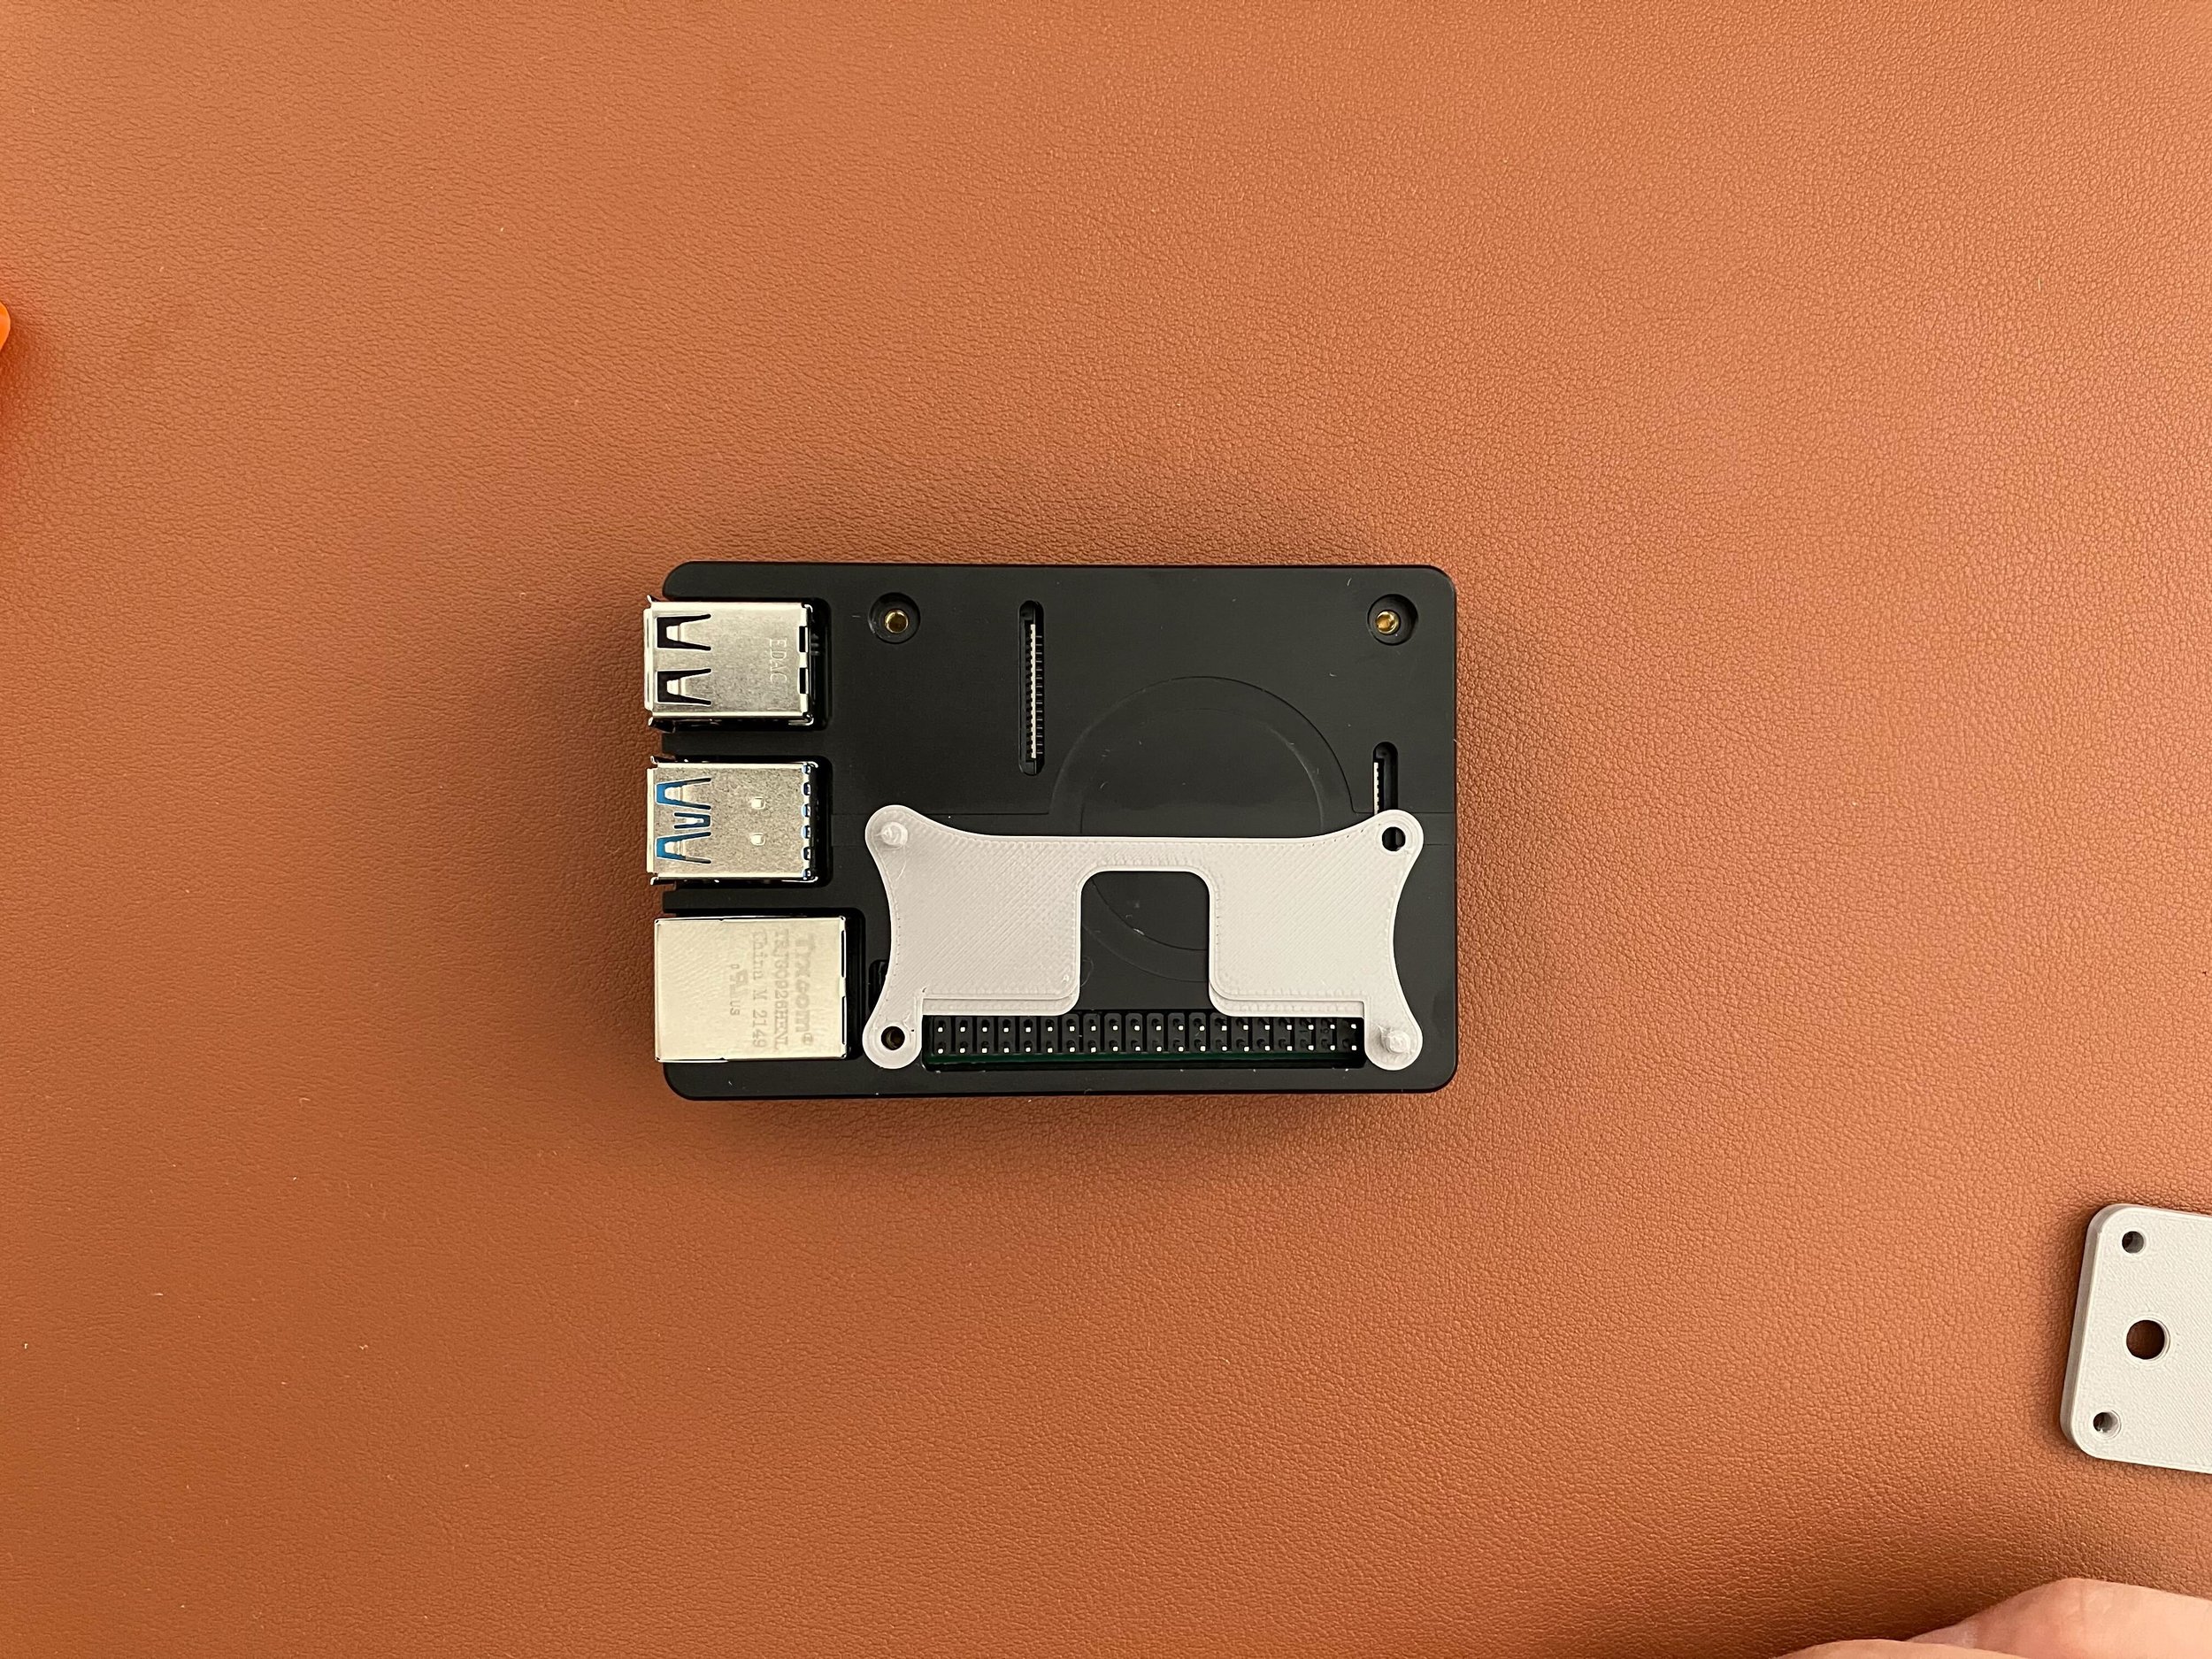
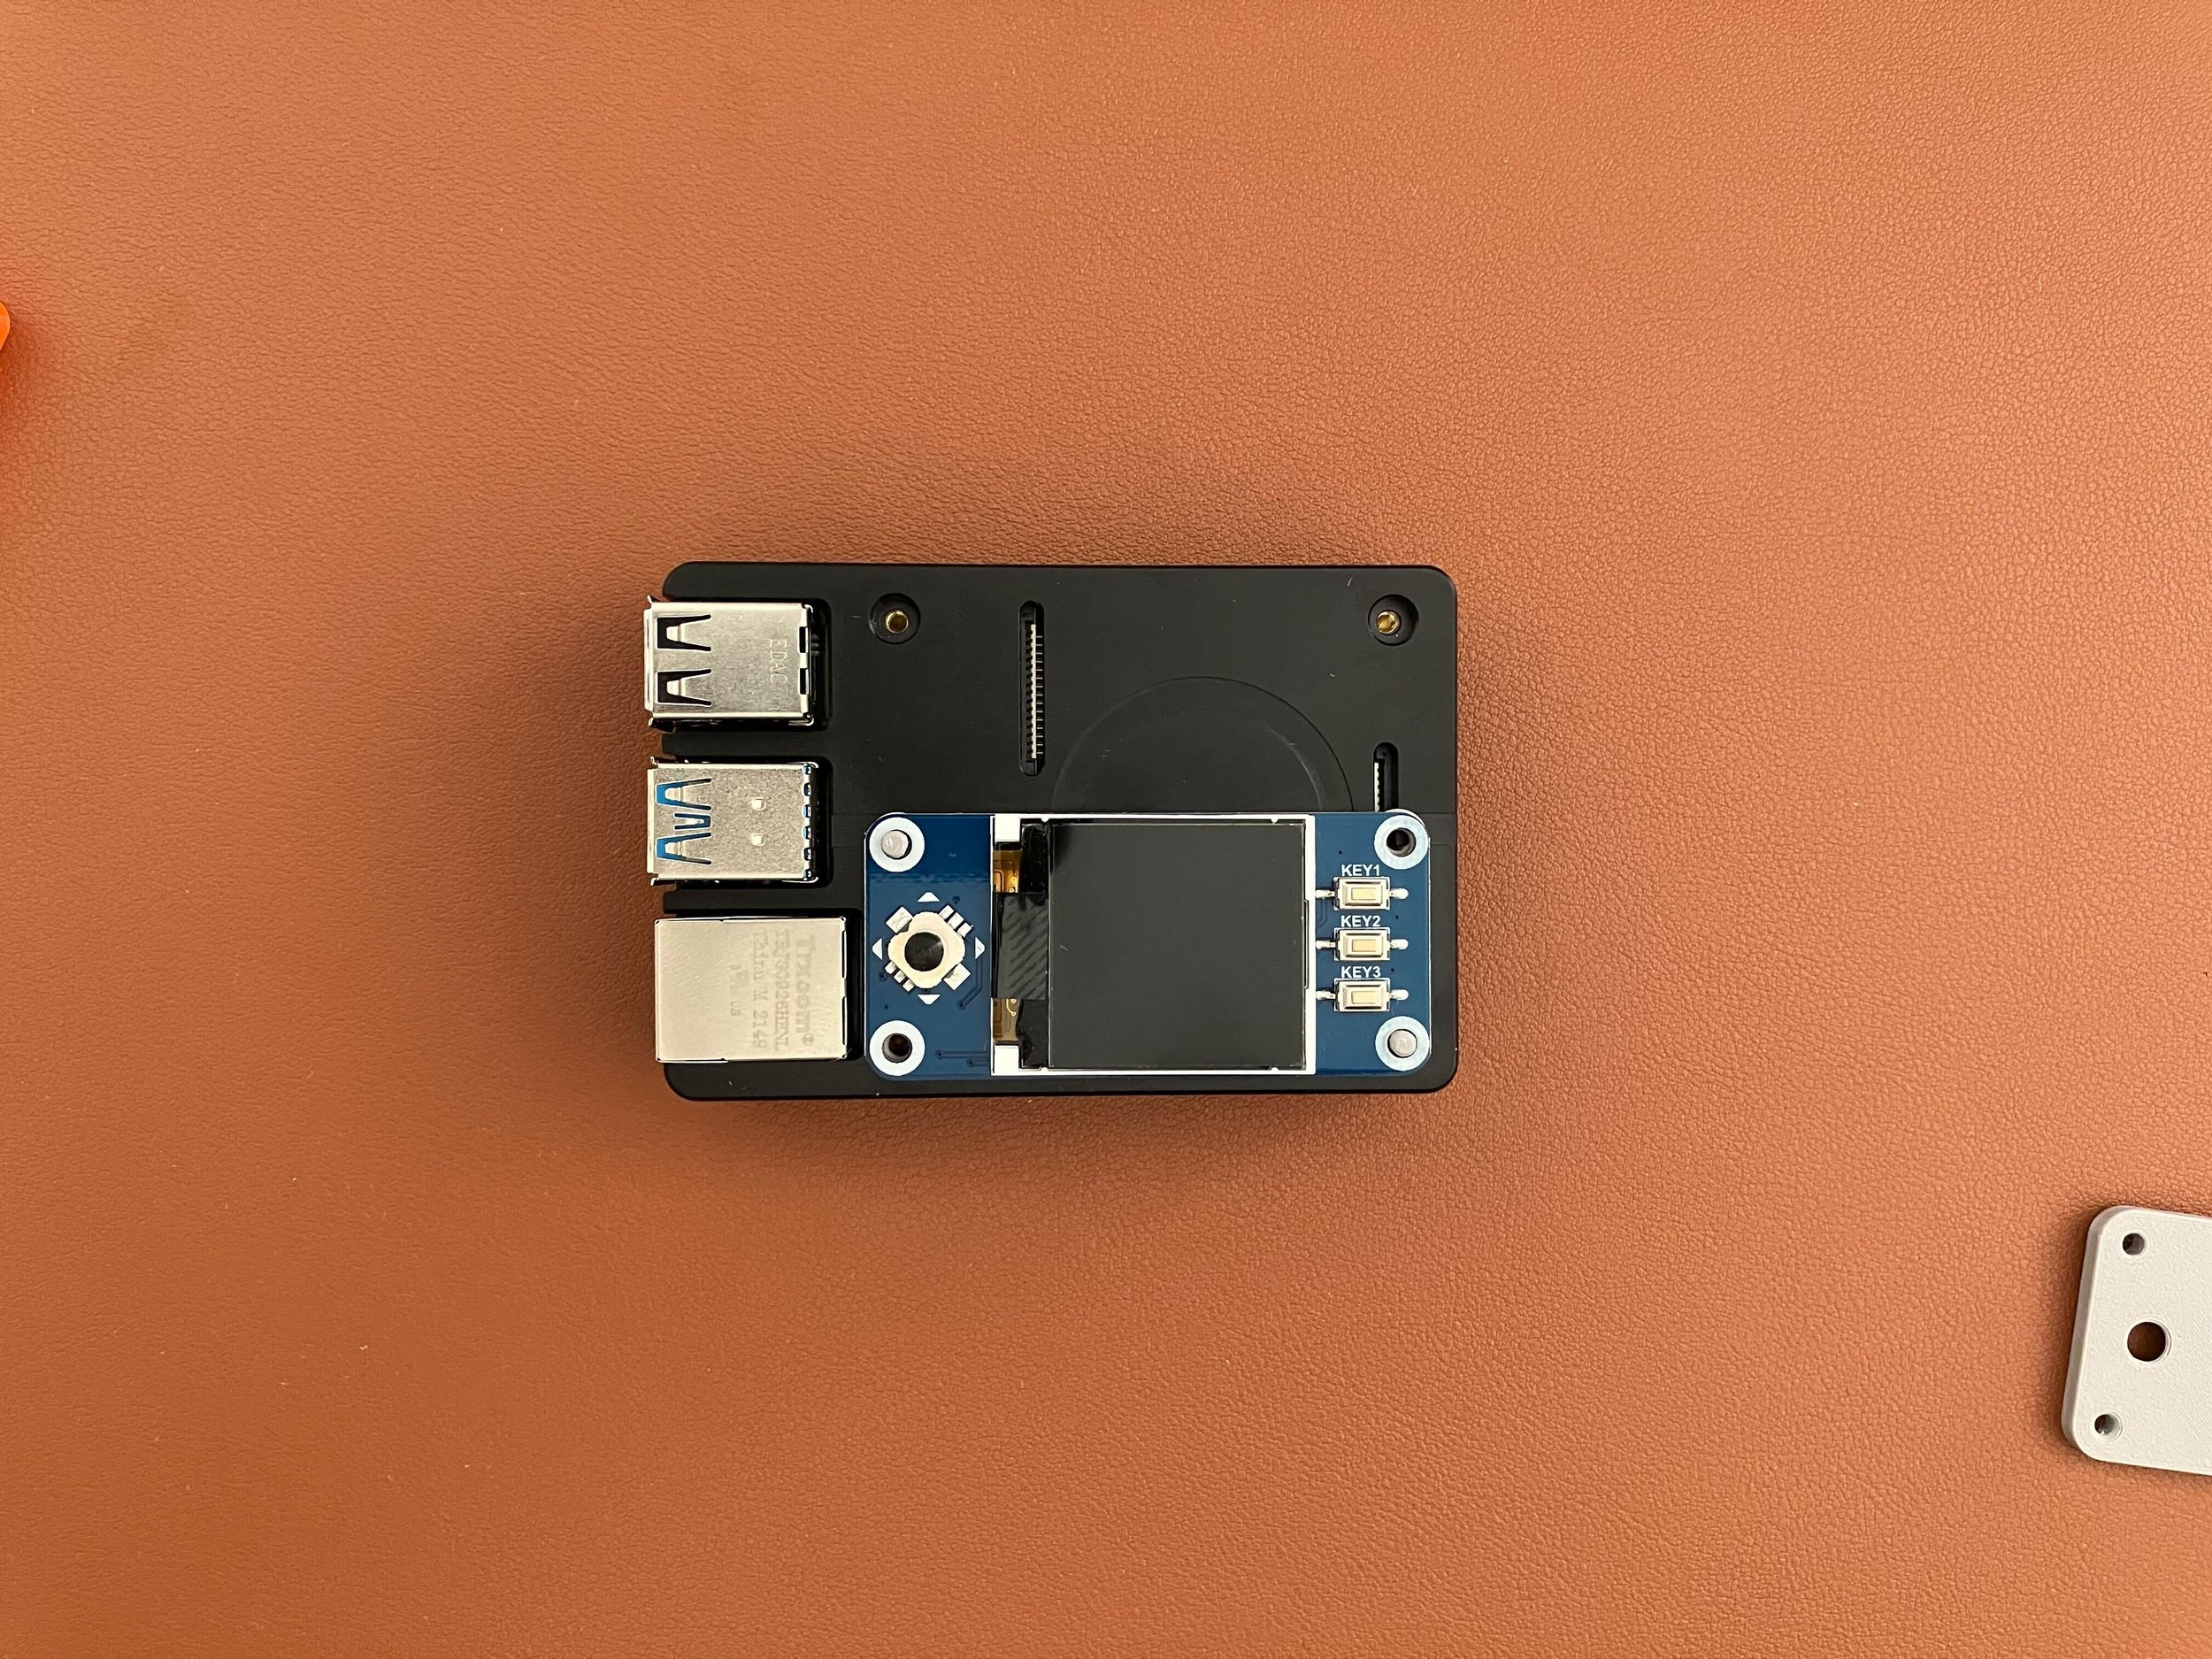
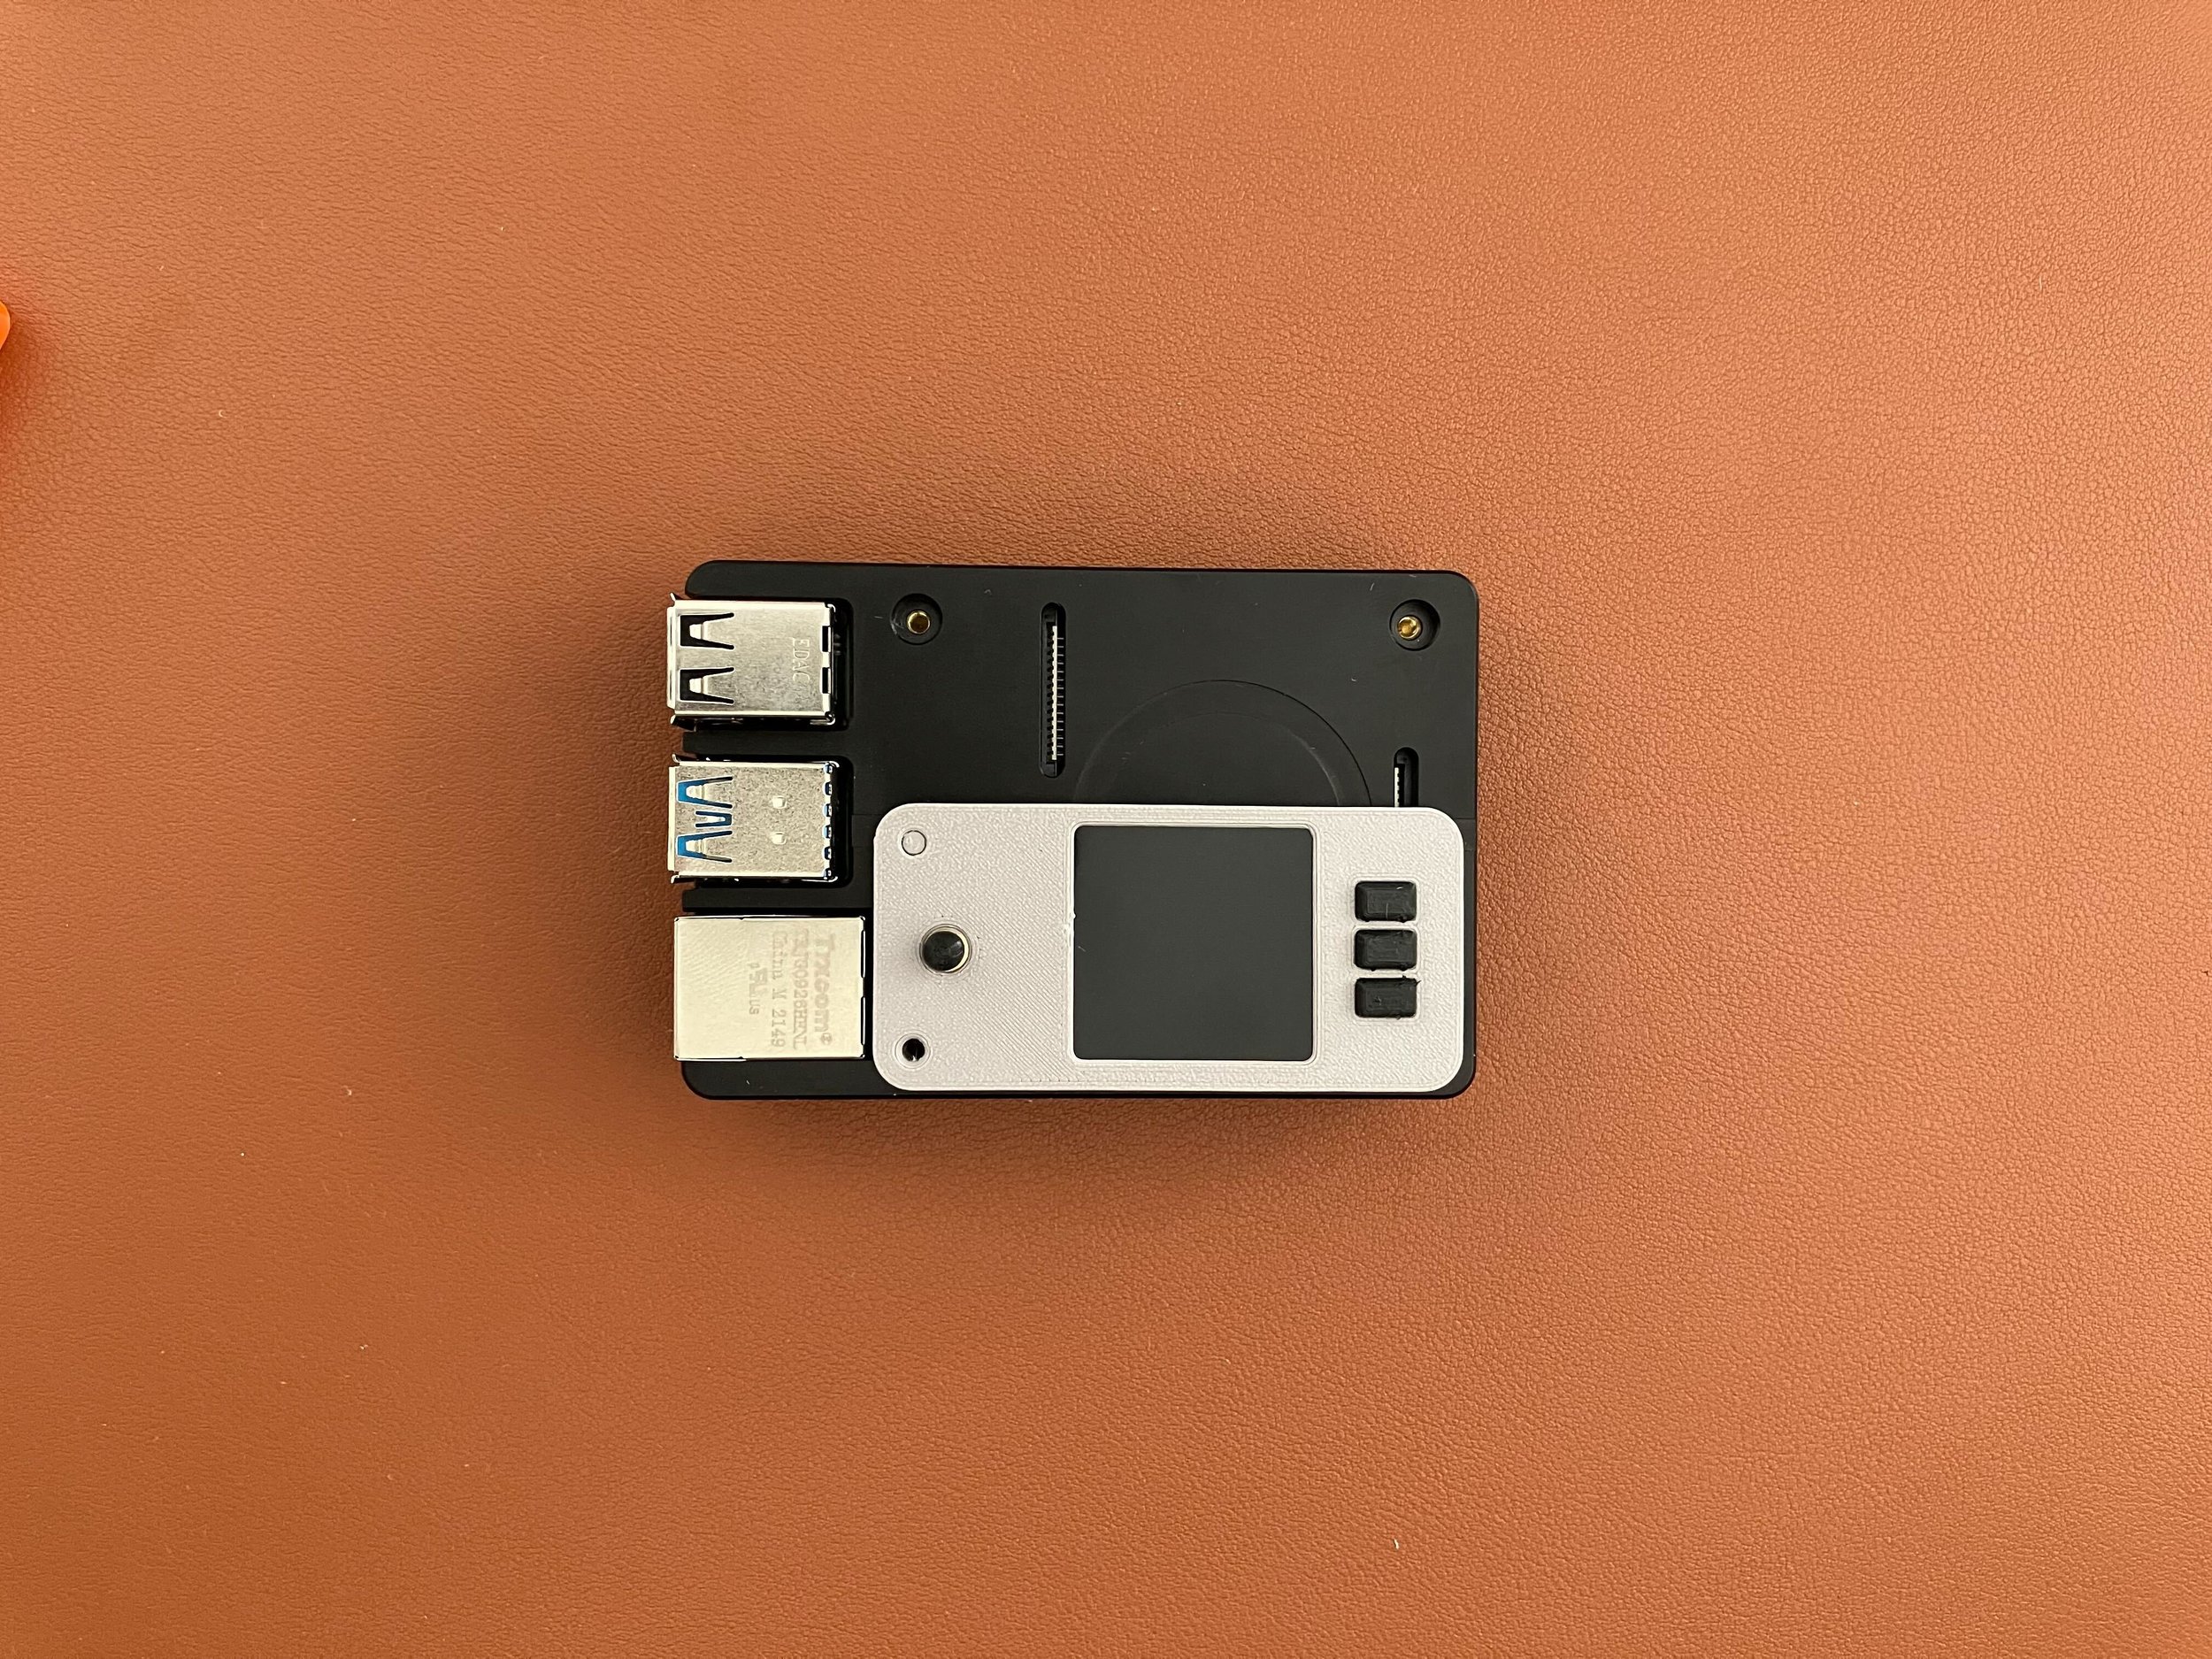
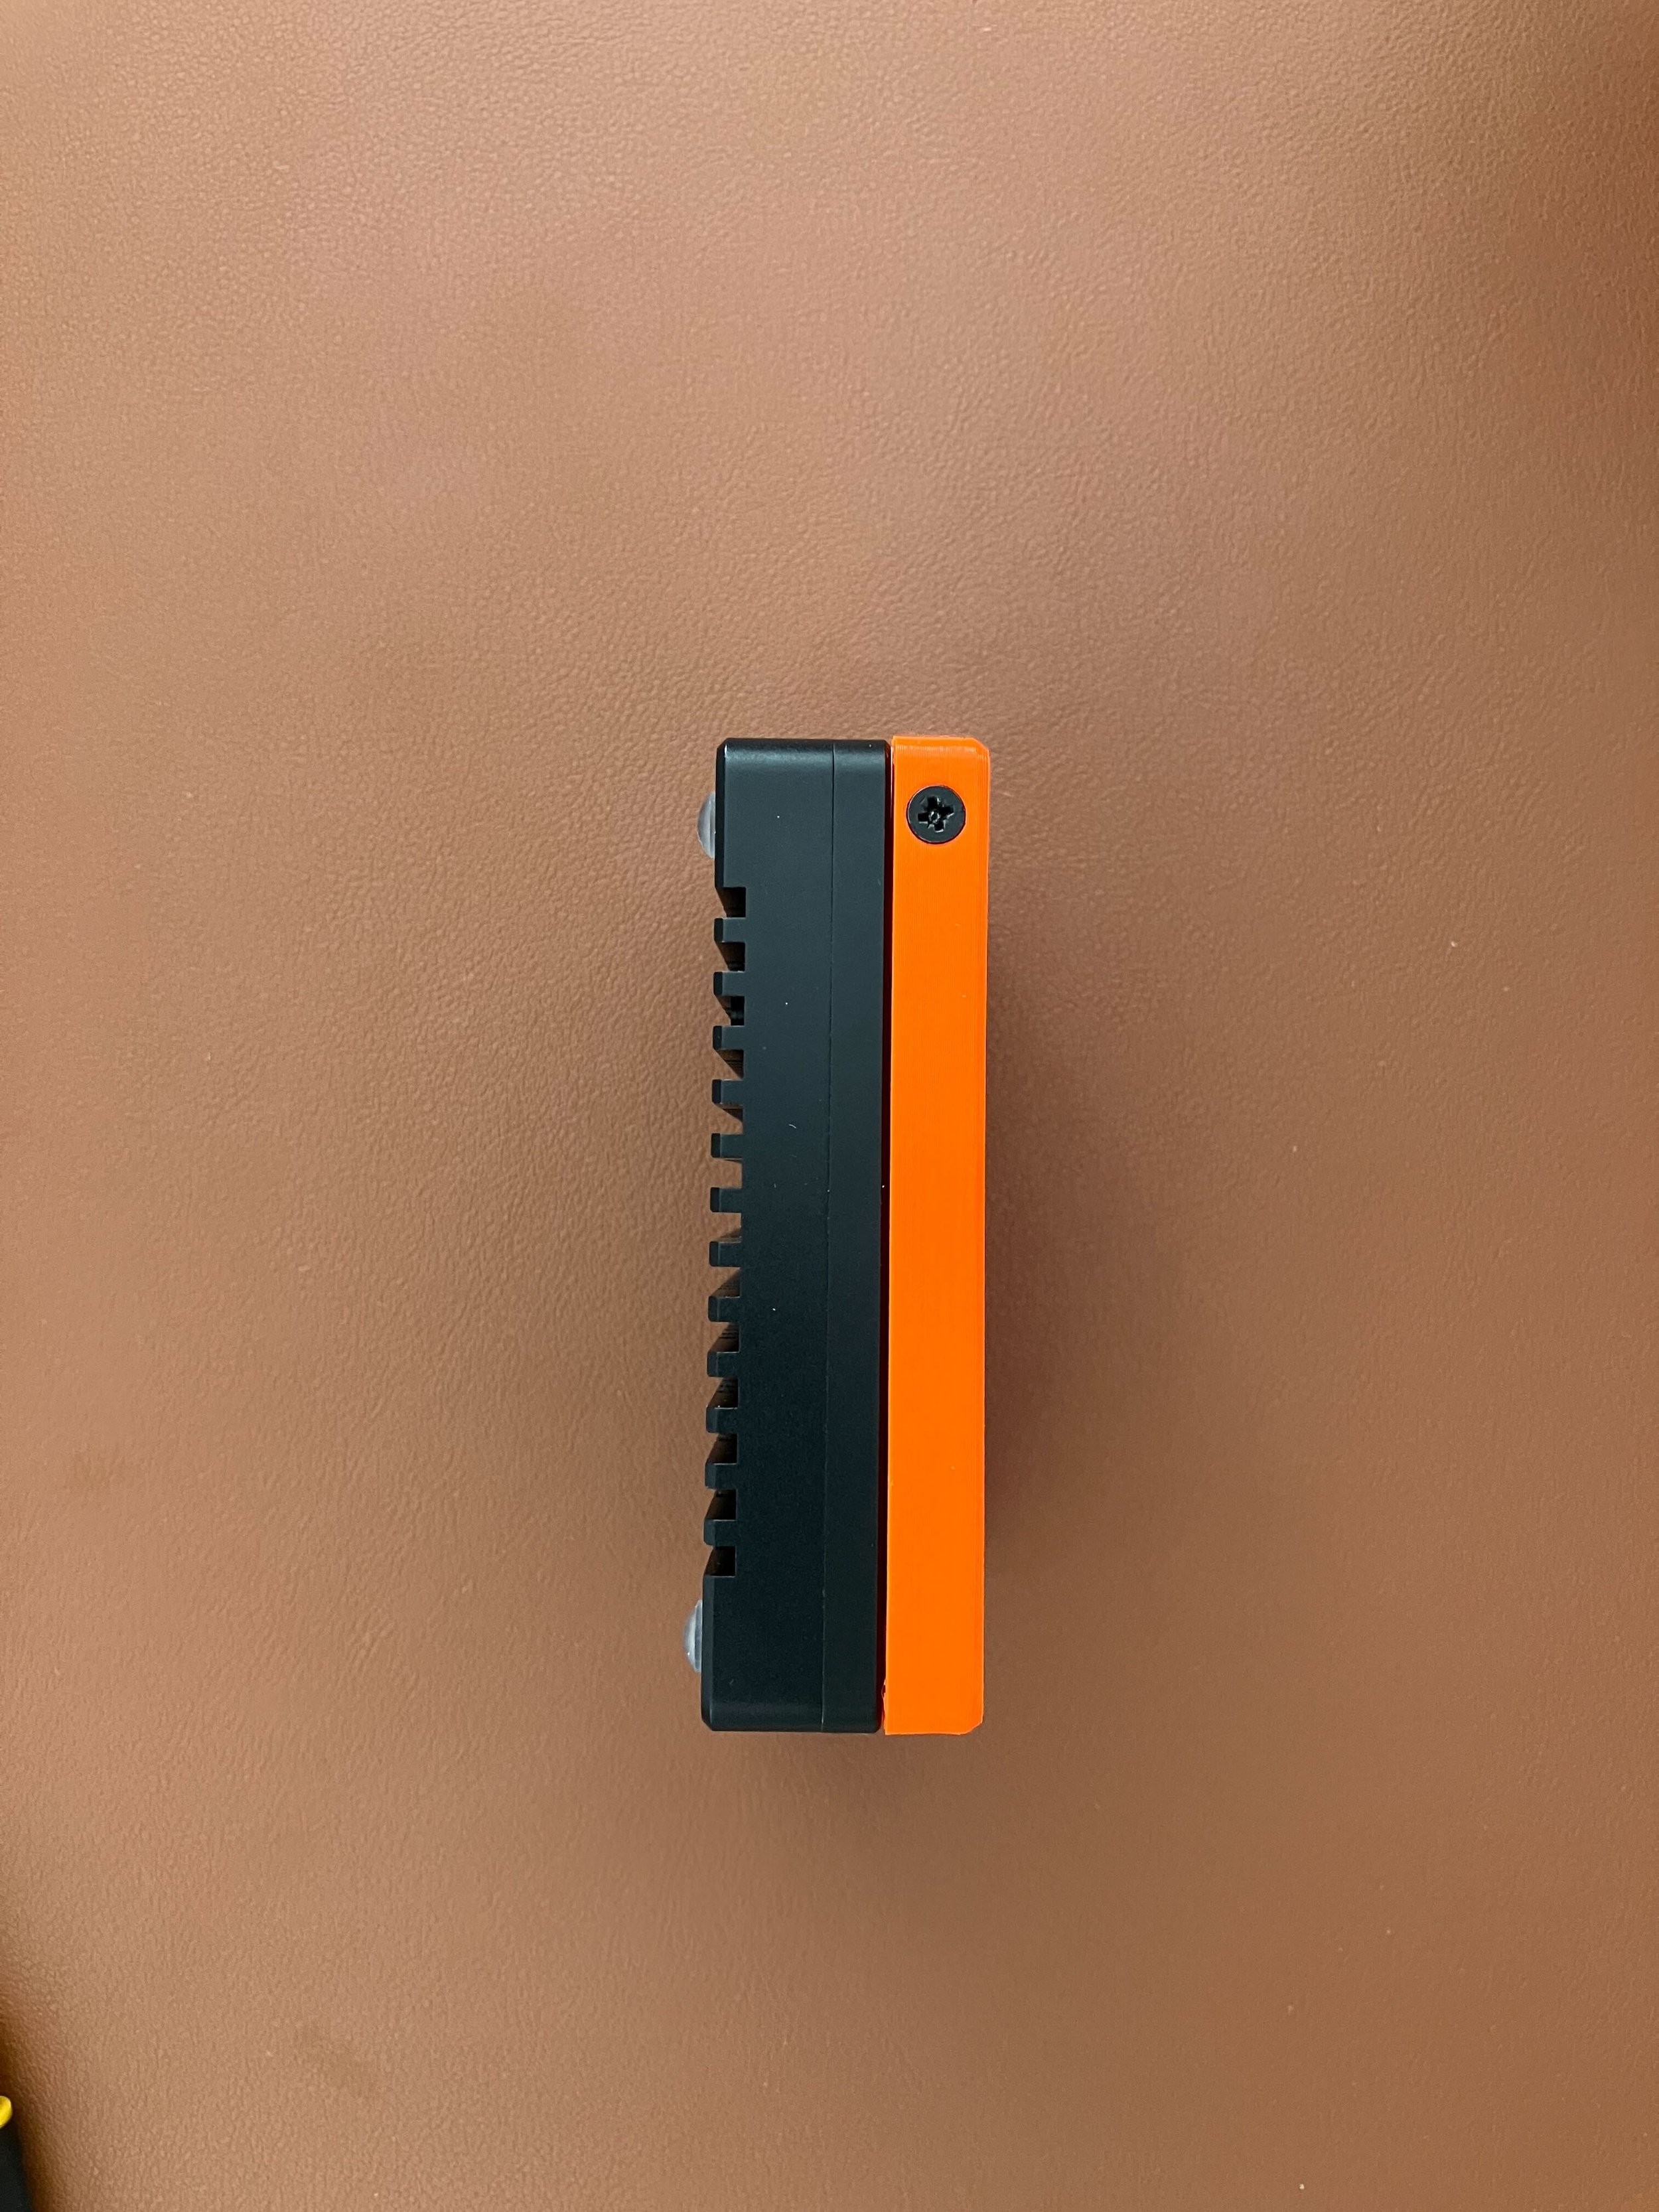
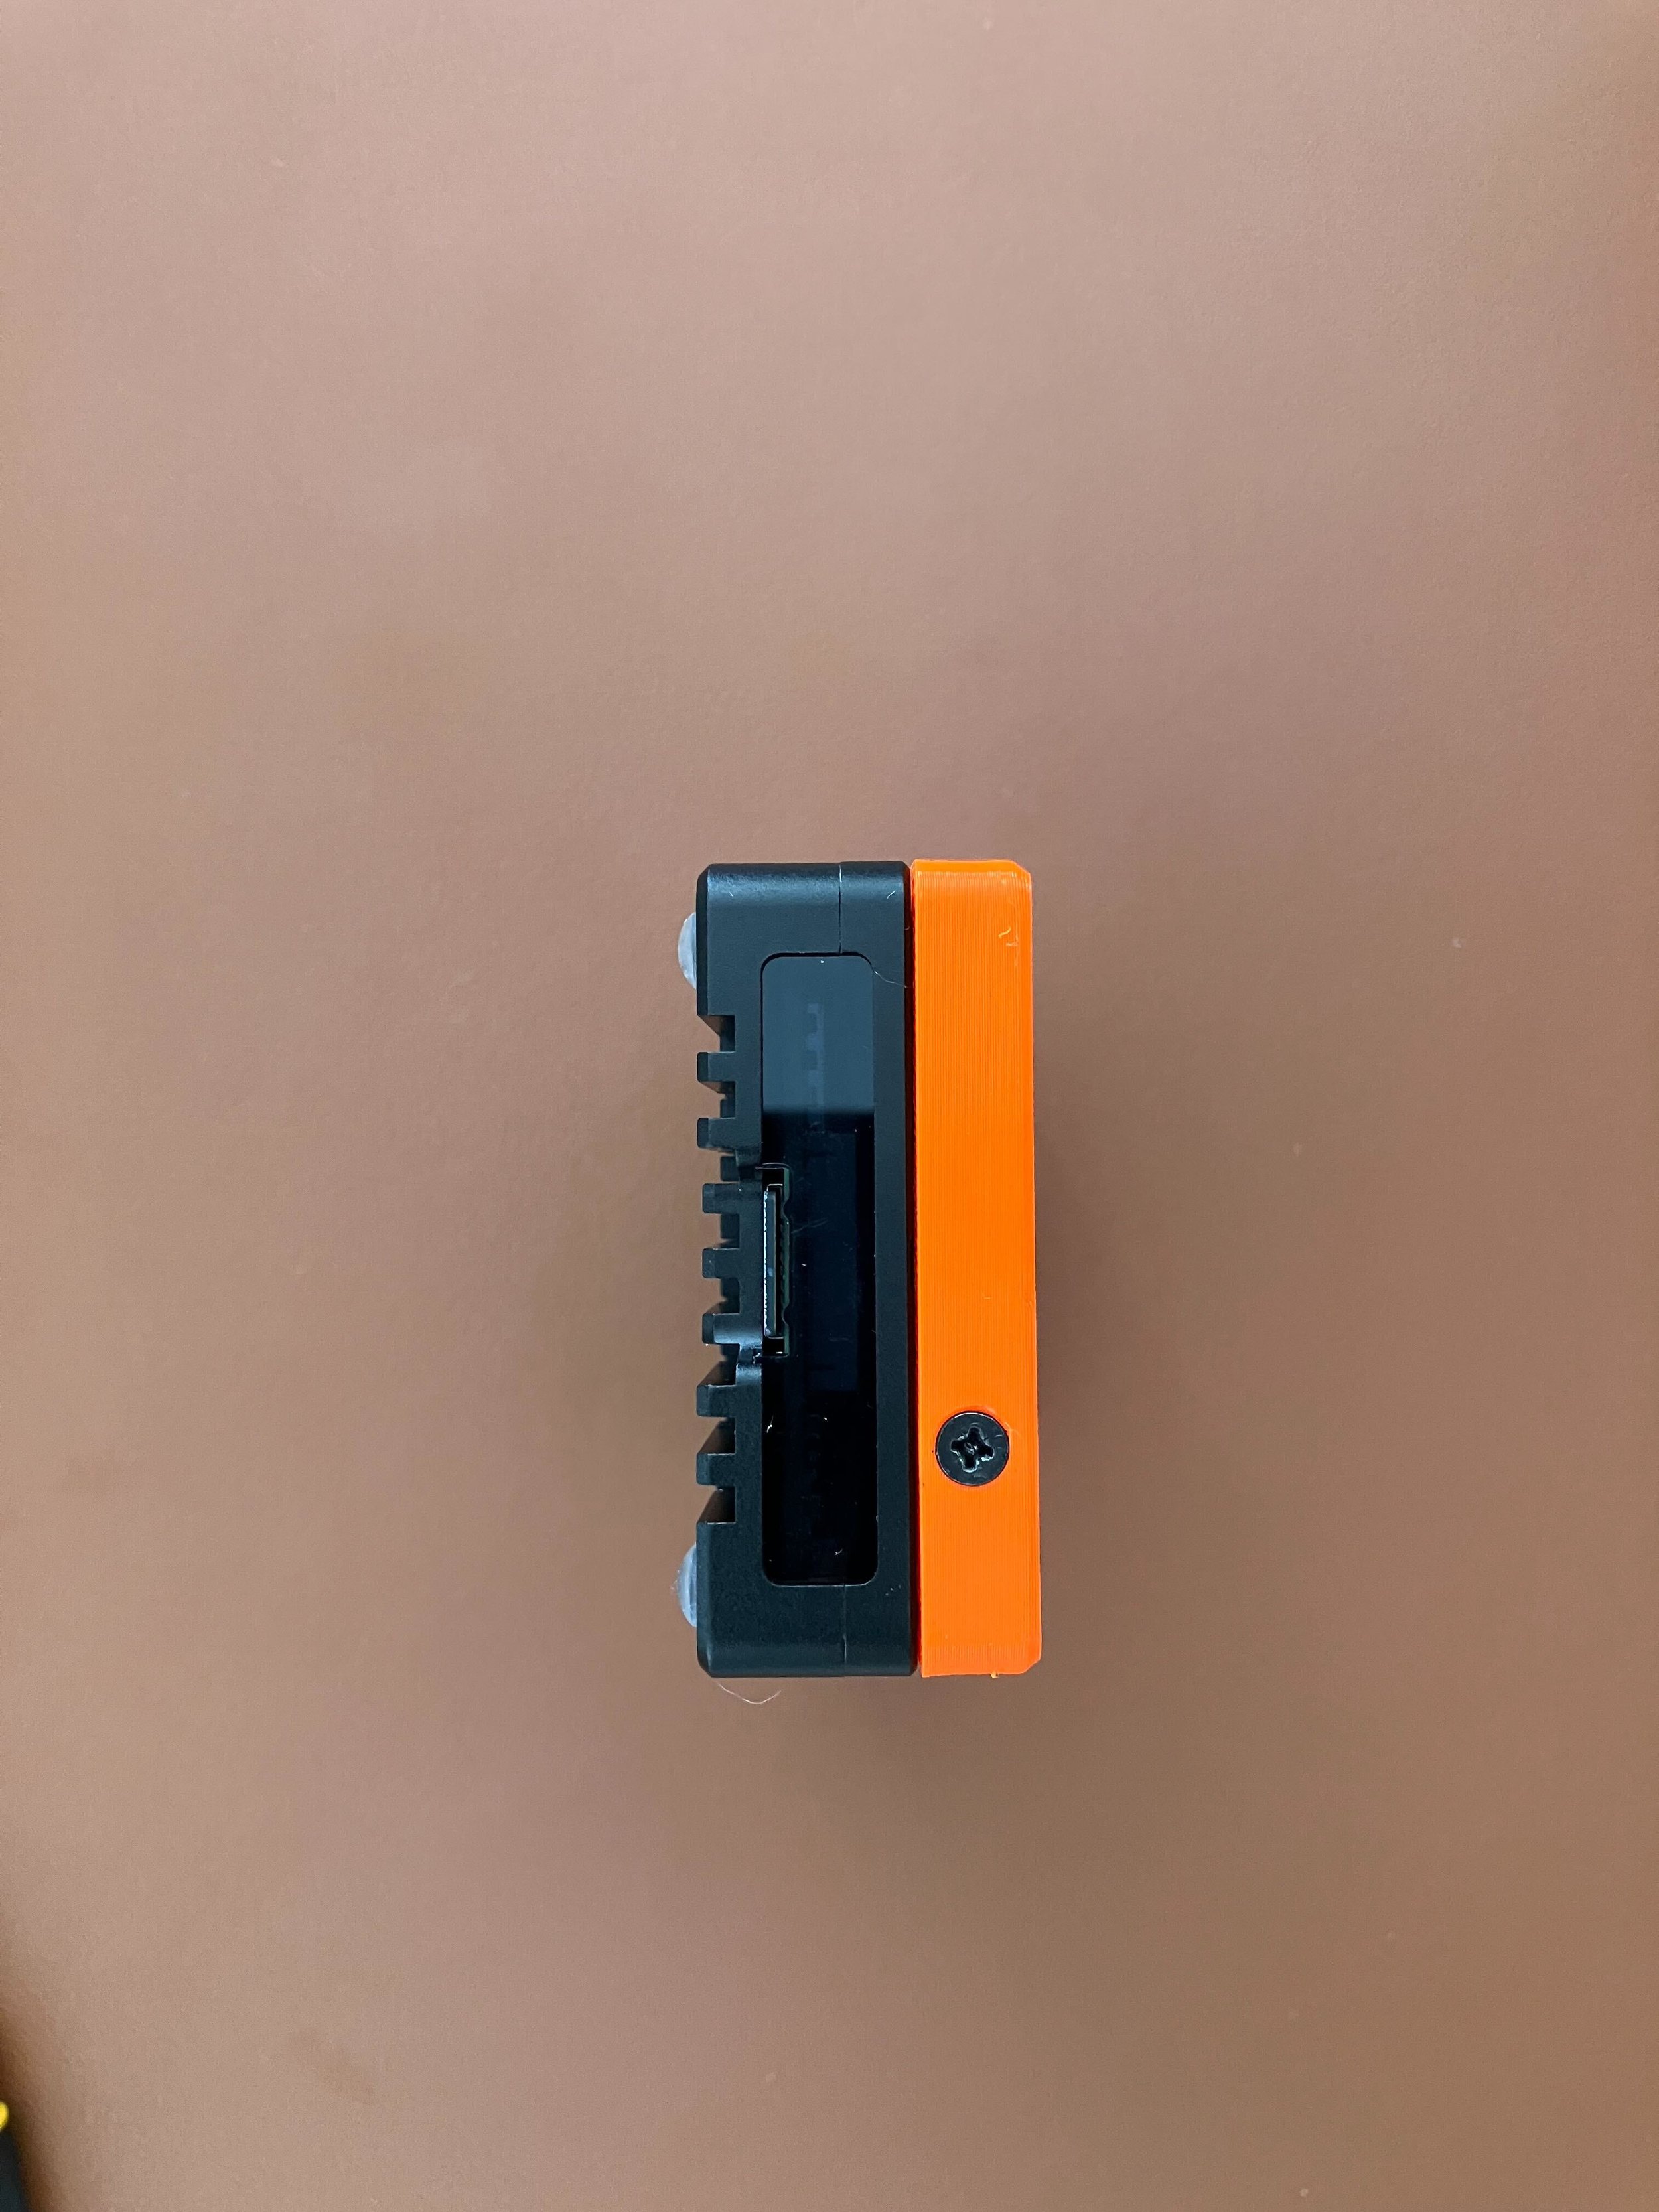
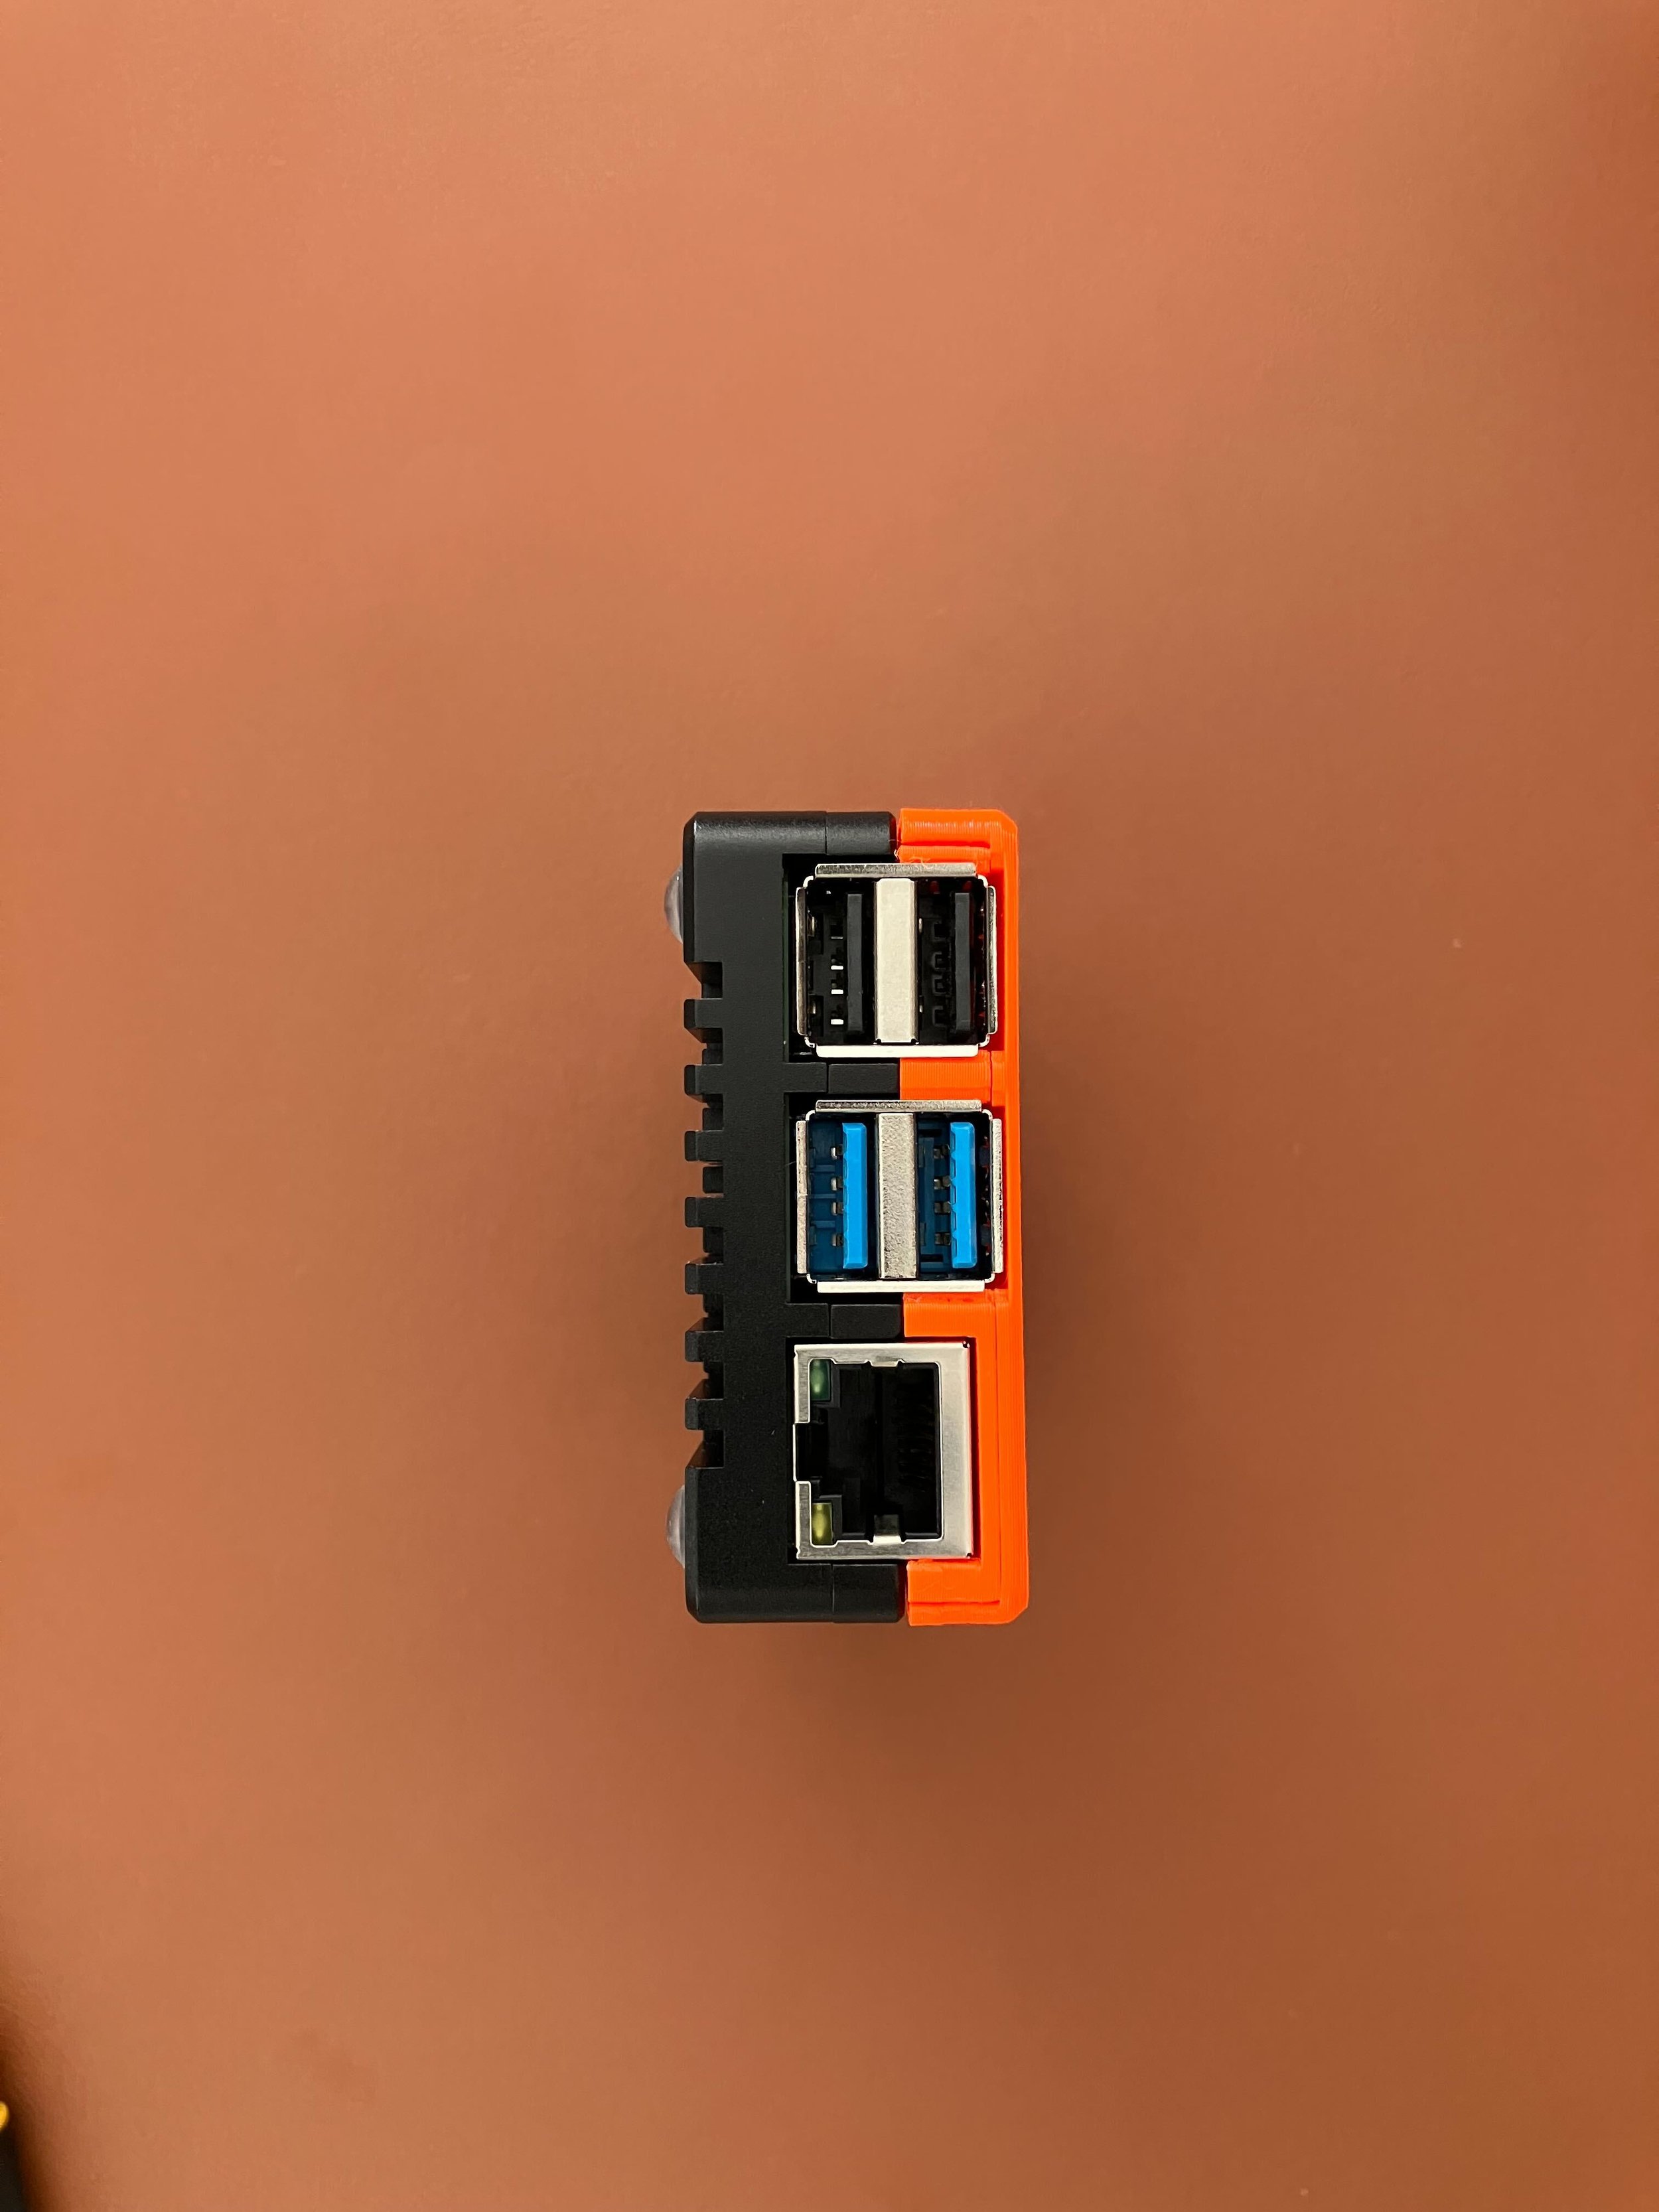
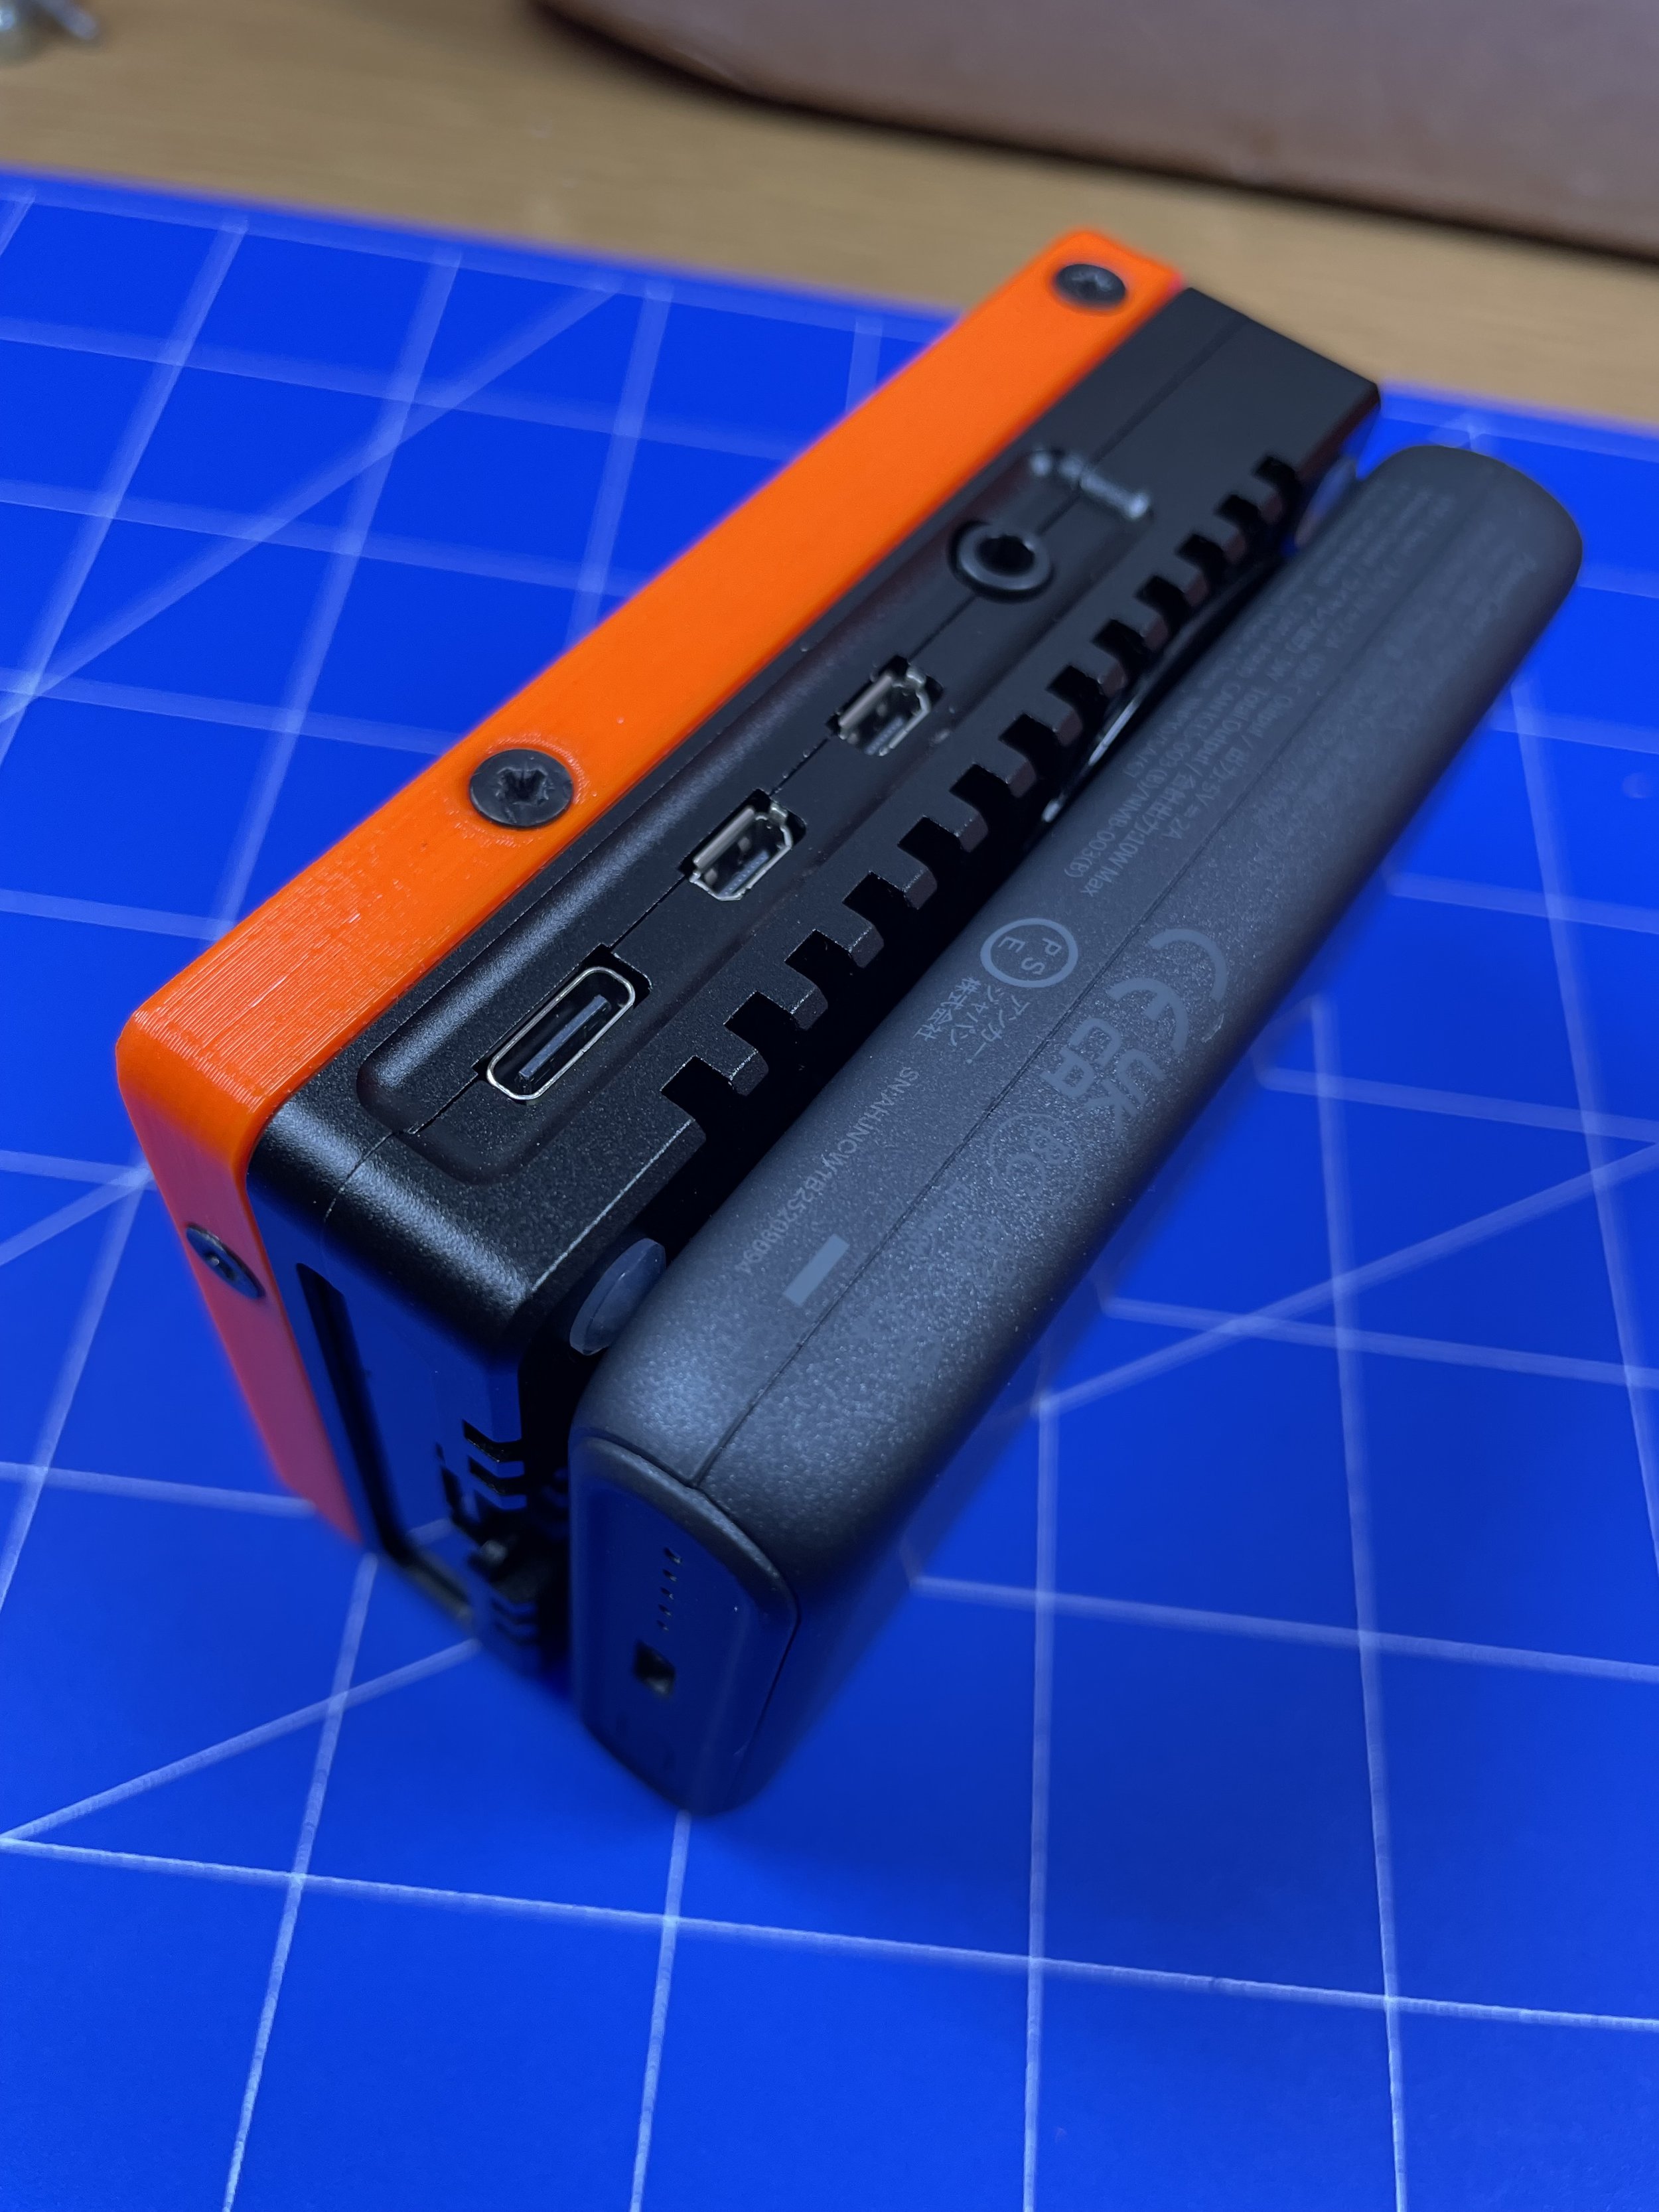
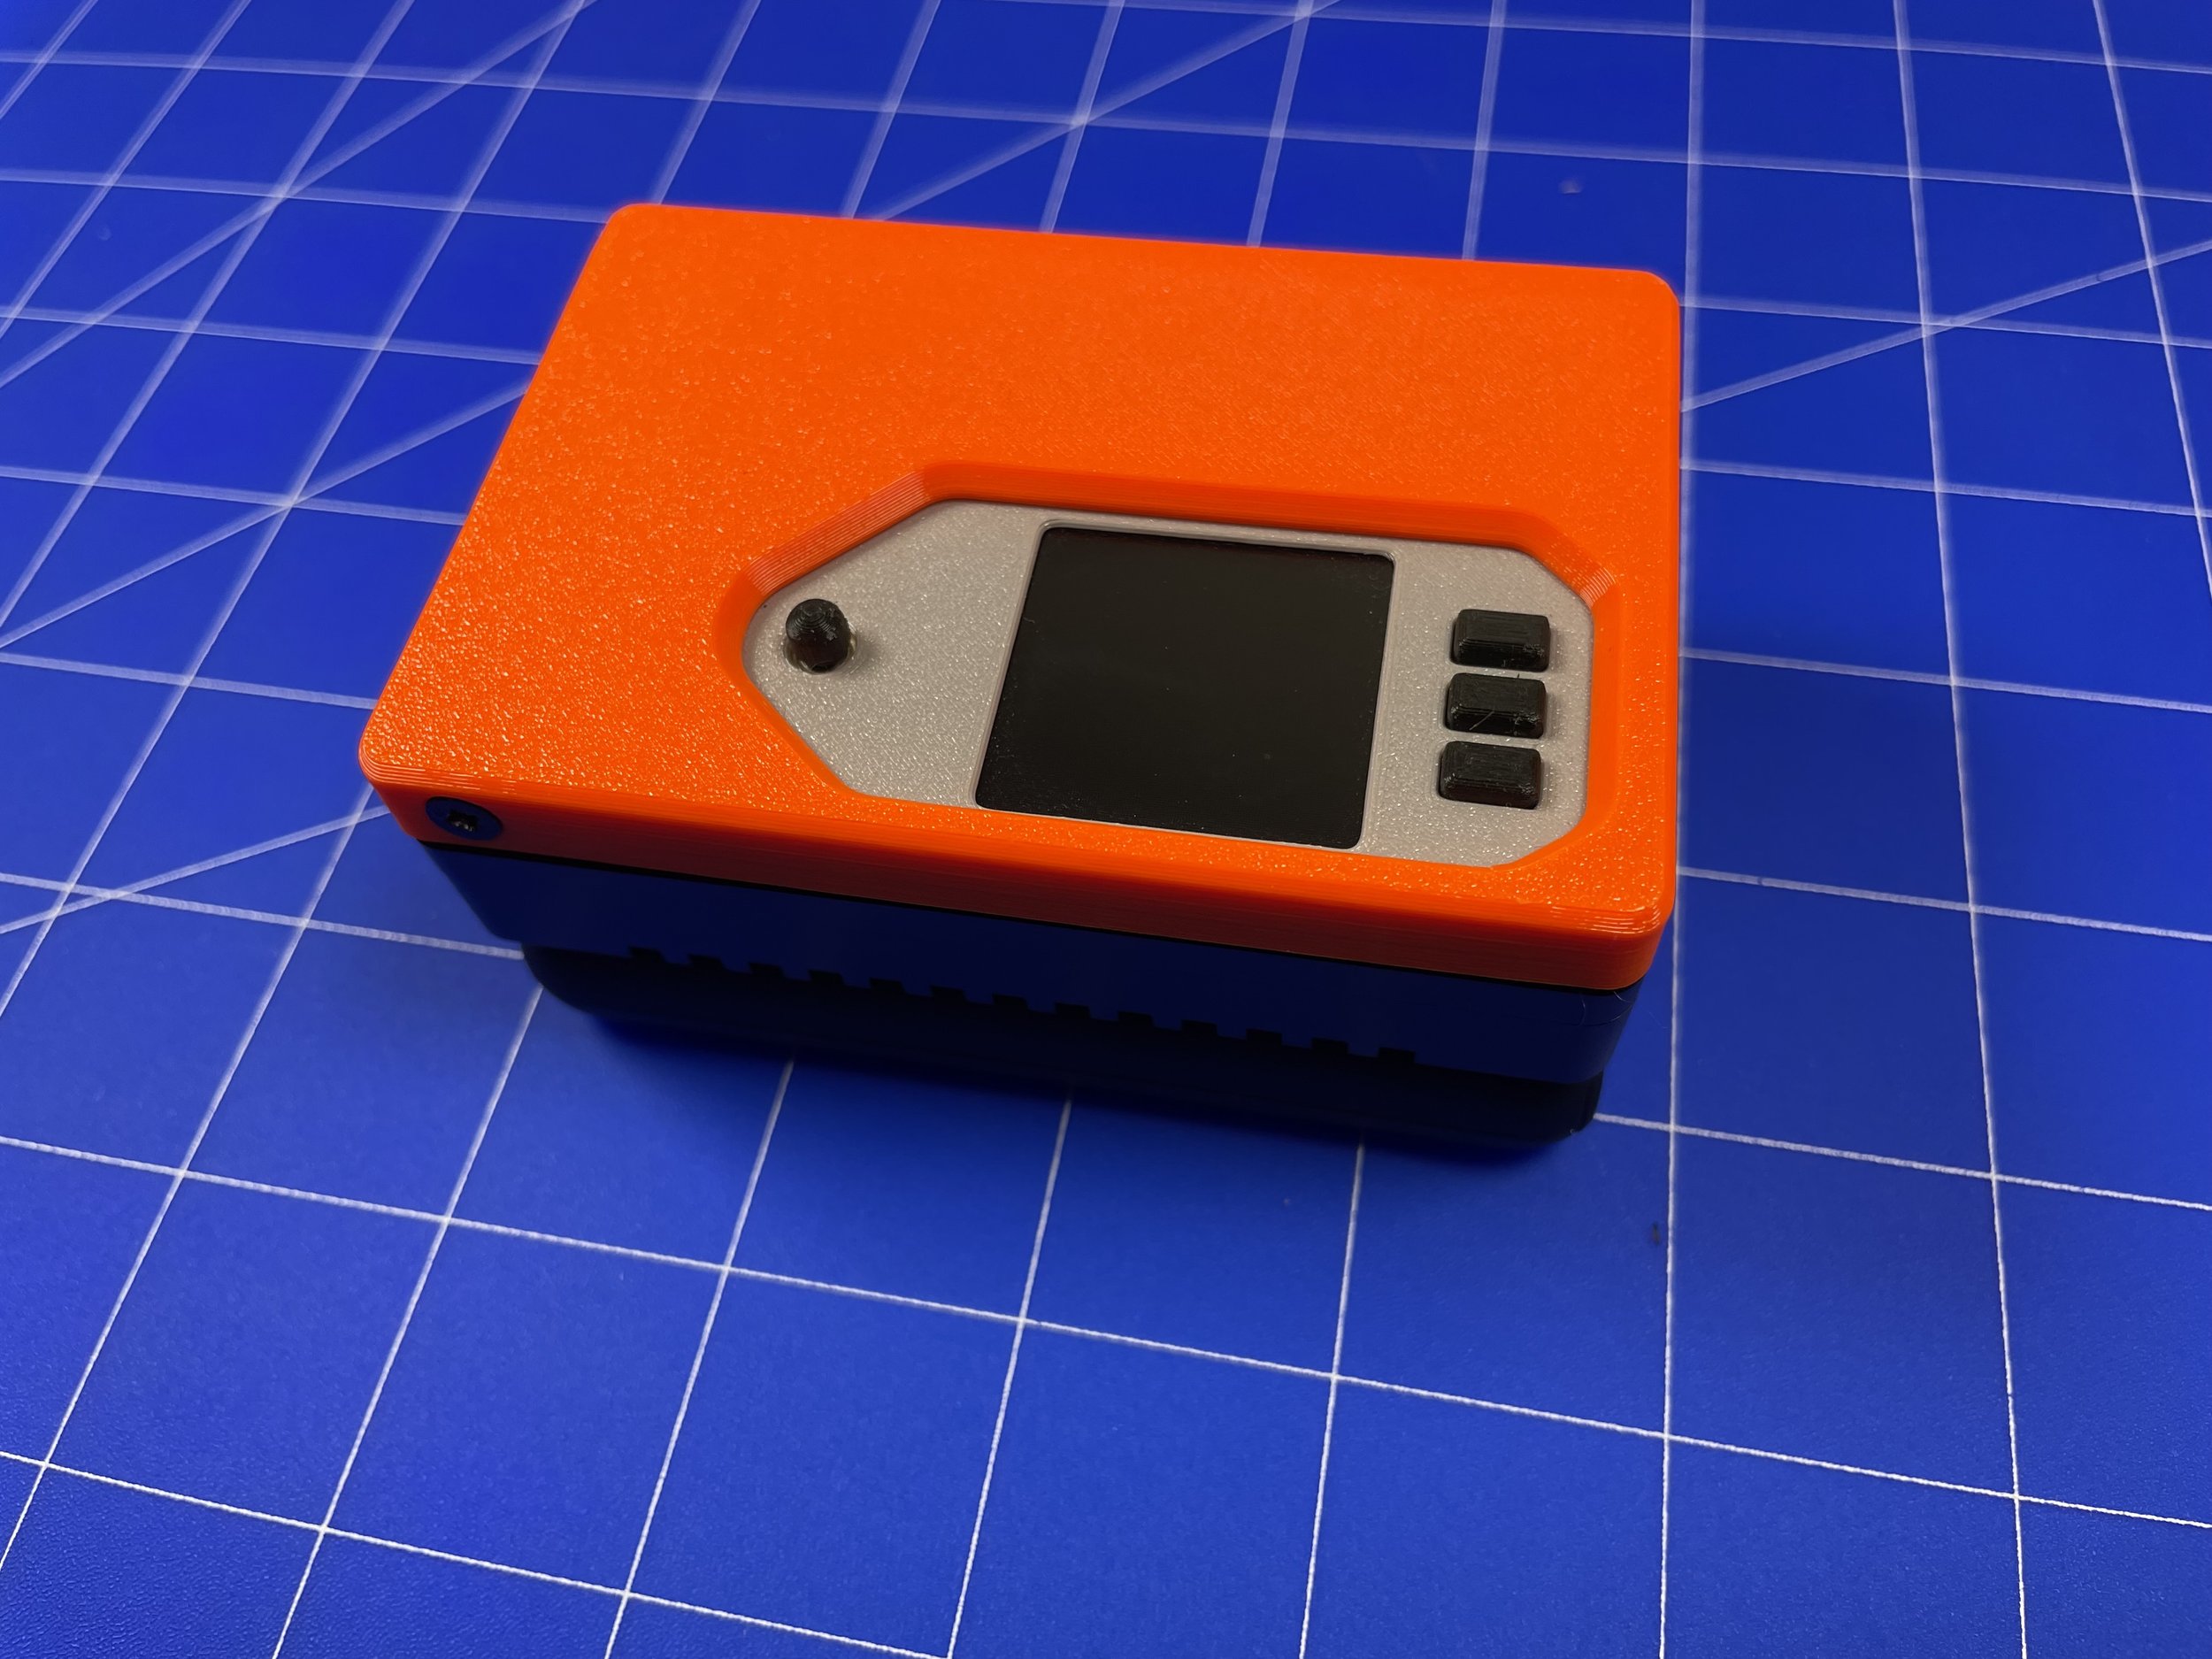
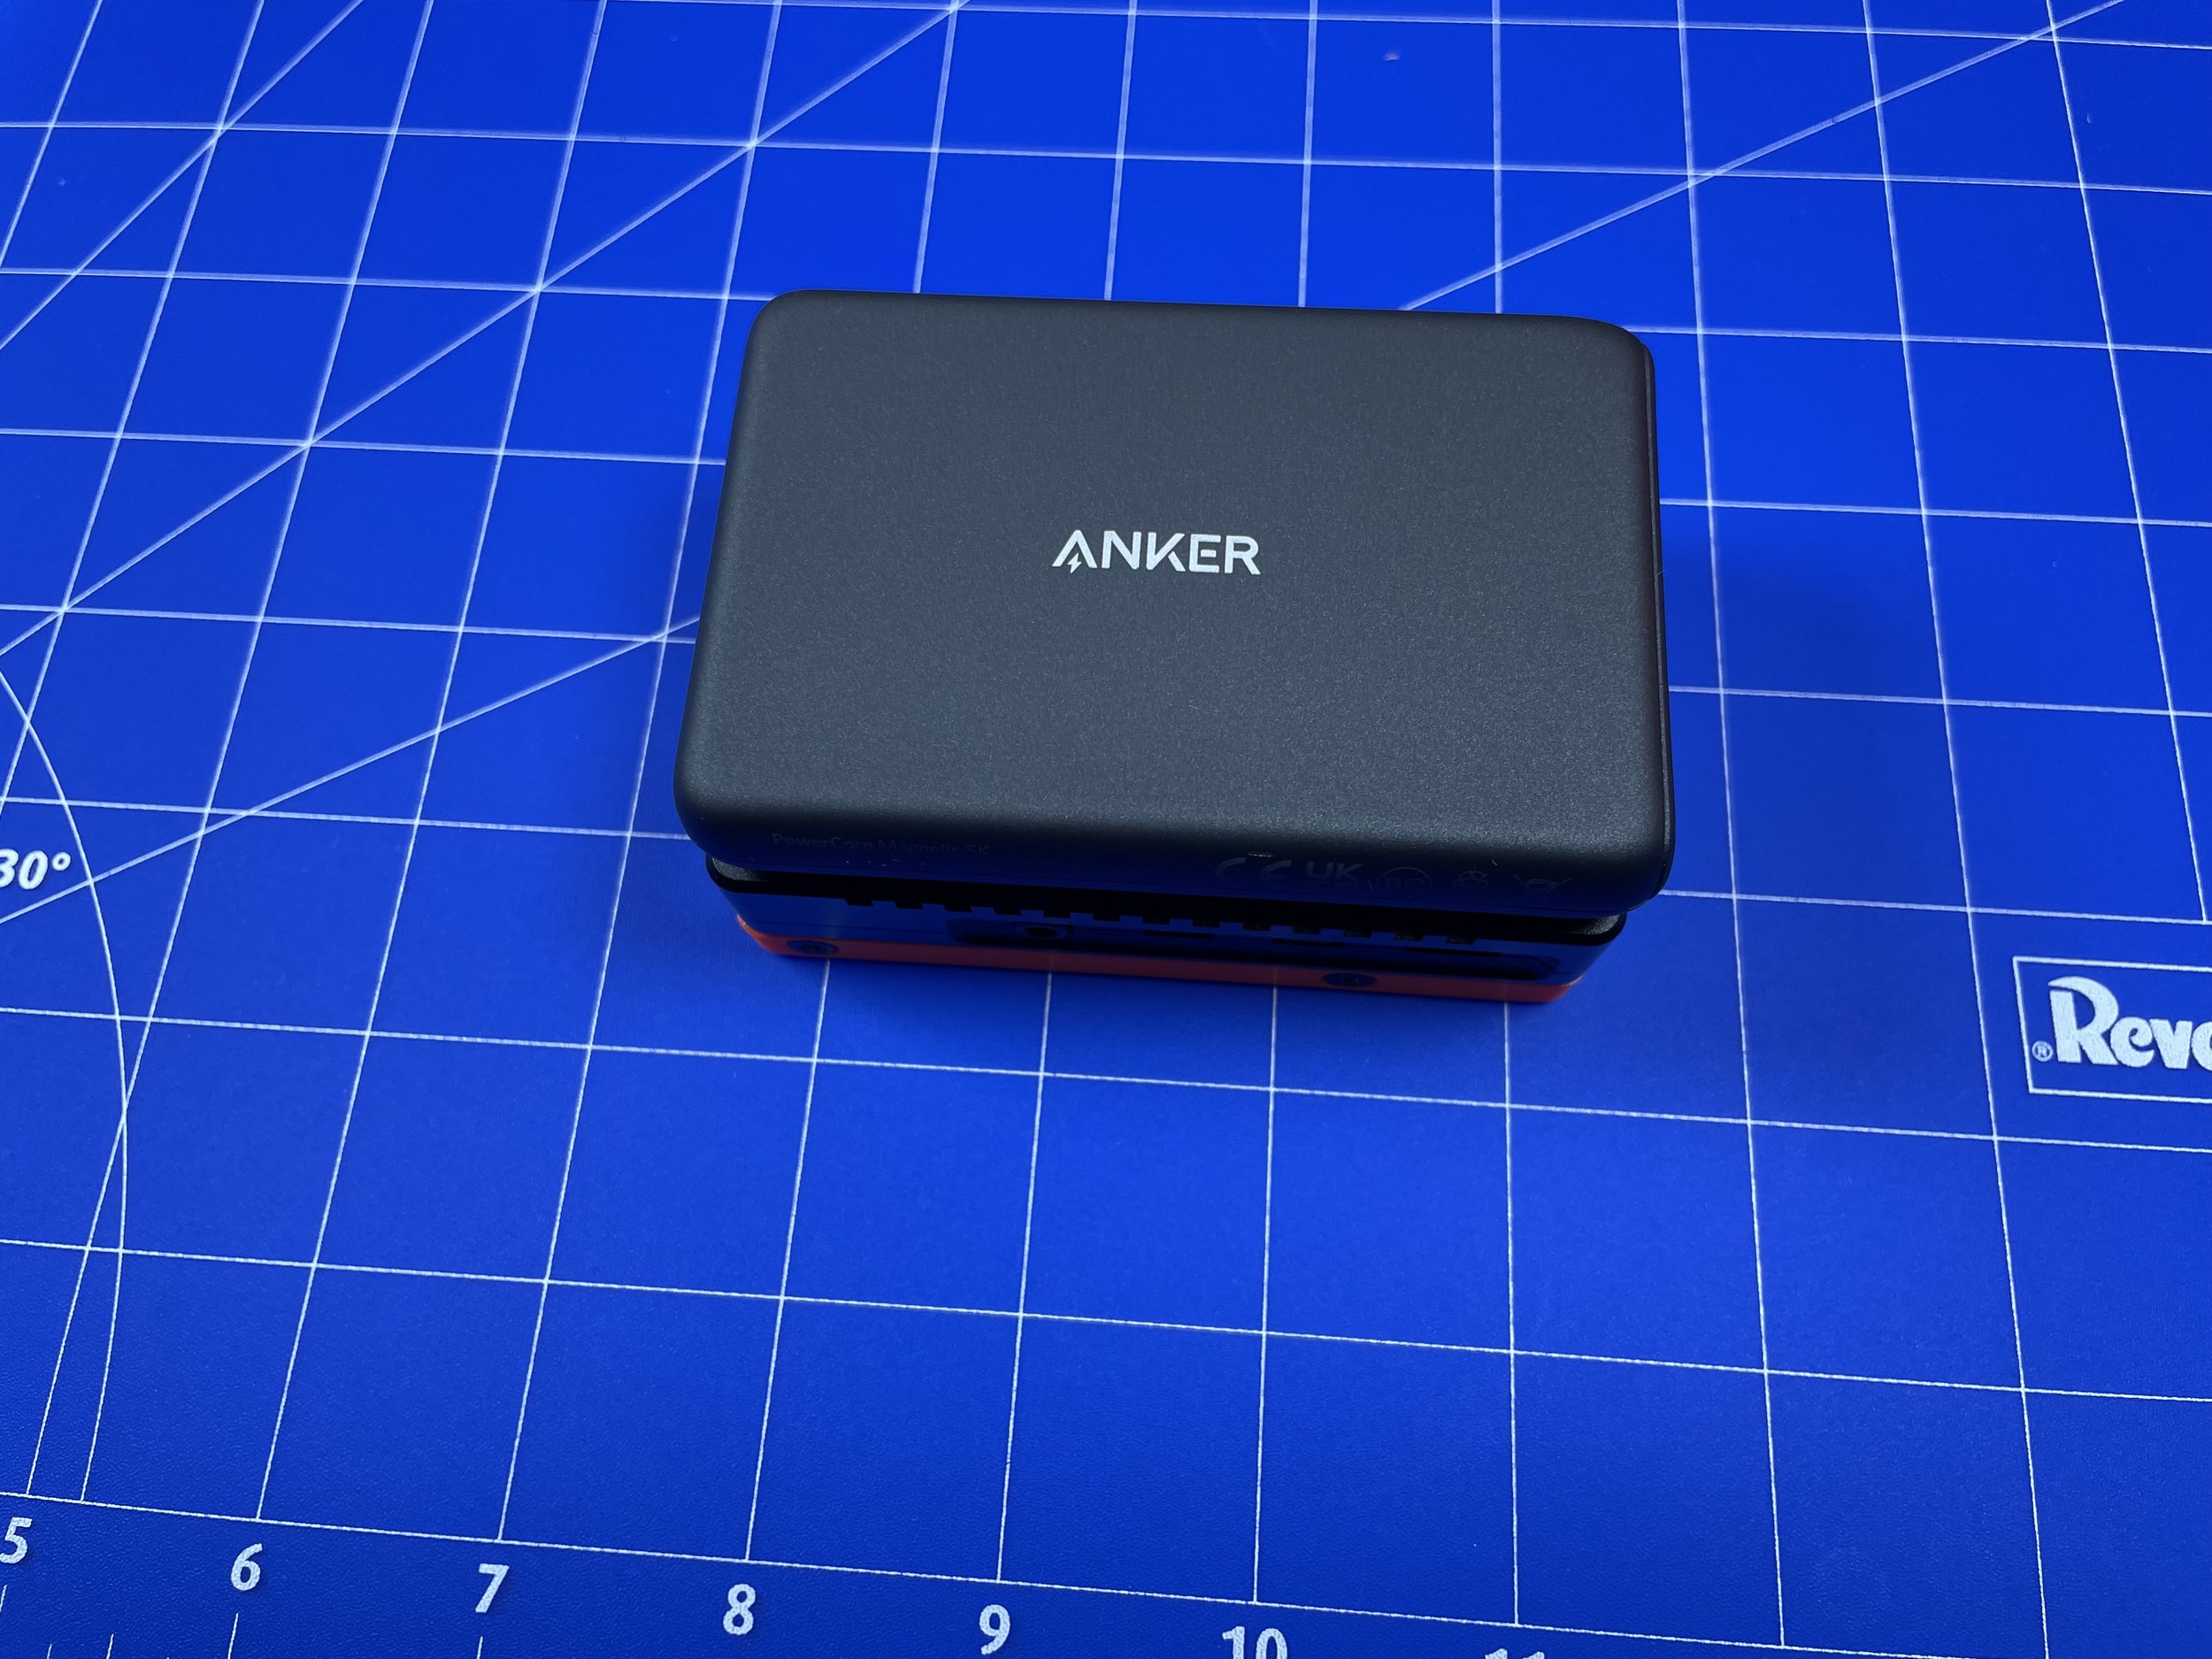
The WLAN Pi R4 is built upon the Raspberry Pi 4, sandwiched within a Waveshare Lightweight Aluminium Alloy Case / heatsink and finished off with the 3D-printed PETG fascia.
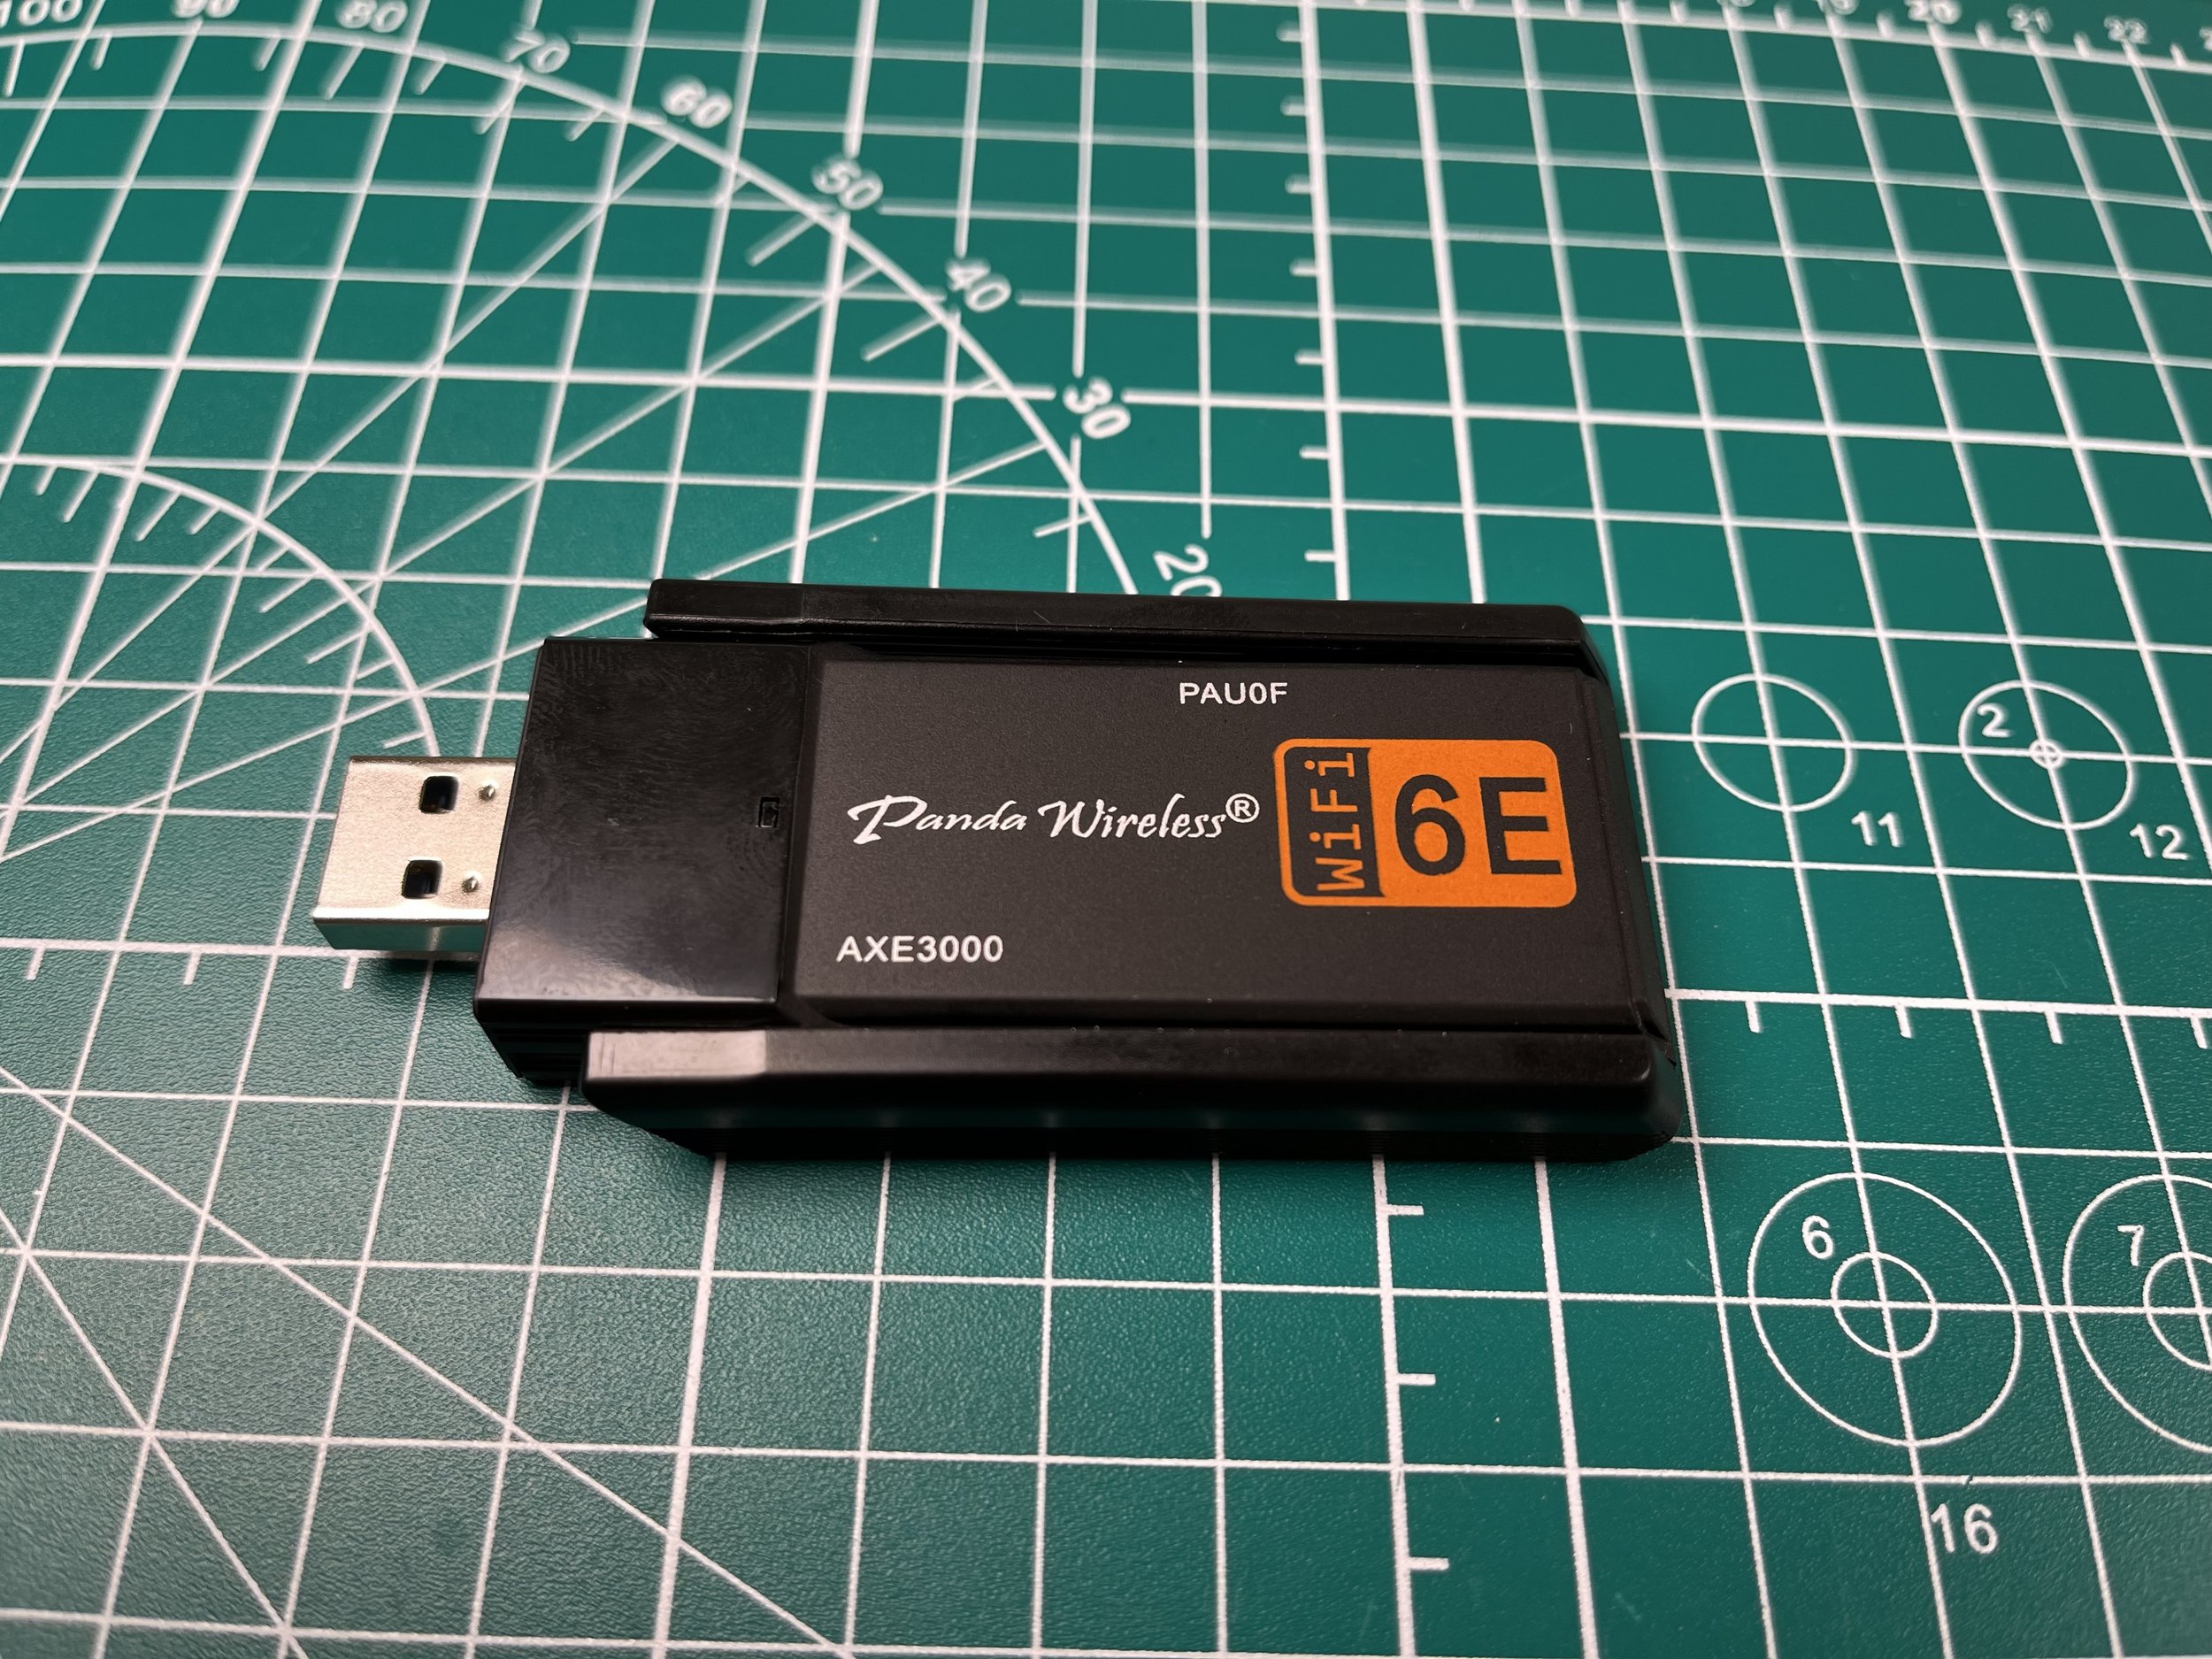
WLAN Pi
Built by Wi-Fi professionals for Wi-Fi professionals!
This new generation of WLAN Pi is built upon the Raspberry Pi platform and runs WLAN Pi OS (a custom ‘Wi-Fi-focused’ fork of Raspberry Pi OS).
The WLAN Pi can perform a variety of wireless networking tasks:
Operate as an iPerf2, iPerf3 throughput testing endpoint
LibreSpeed test server, browser based http speed test utility
WLAN Pi Profiler, used to discover the true capabilities of Wi-Fi clients
Remote Sensor
for scanning with WiFi Explorer Pro
for packet capture using Airtool 2
Wi-Fi Analysis
Kismet
TCPDUMP
Aircrack-ng
Wireless Console, un-tethered access to your equipment console port
Chat-Bot, remotely interact with your WLAN Pi via Telegram
CDP/LLDP neighbour detection
Internet Service Reachability
For a comprehensive (and up to date) list of features check out the WLAN Pi User Guide.
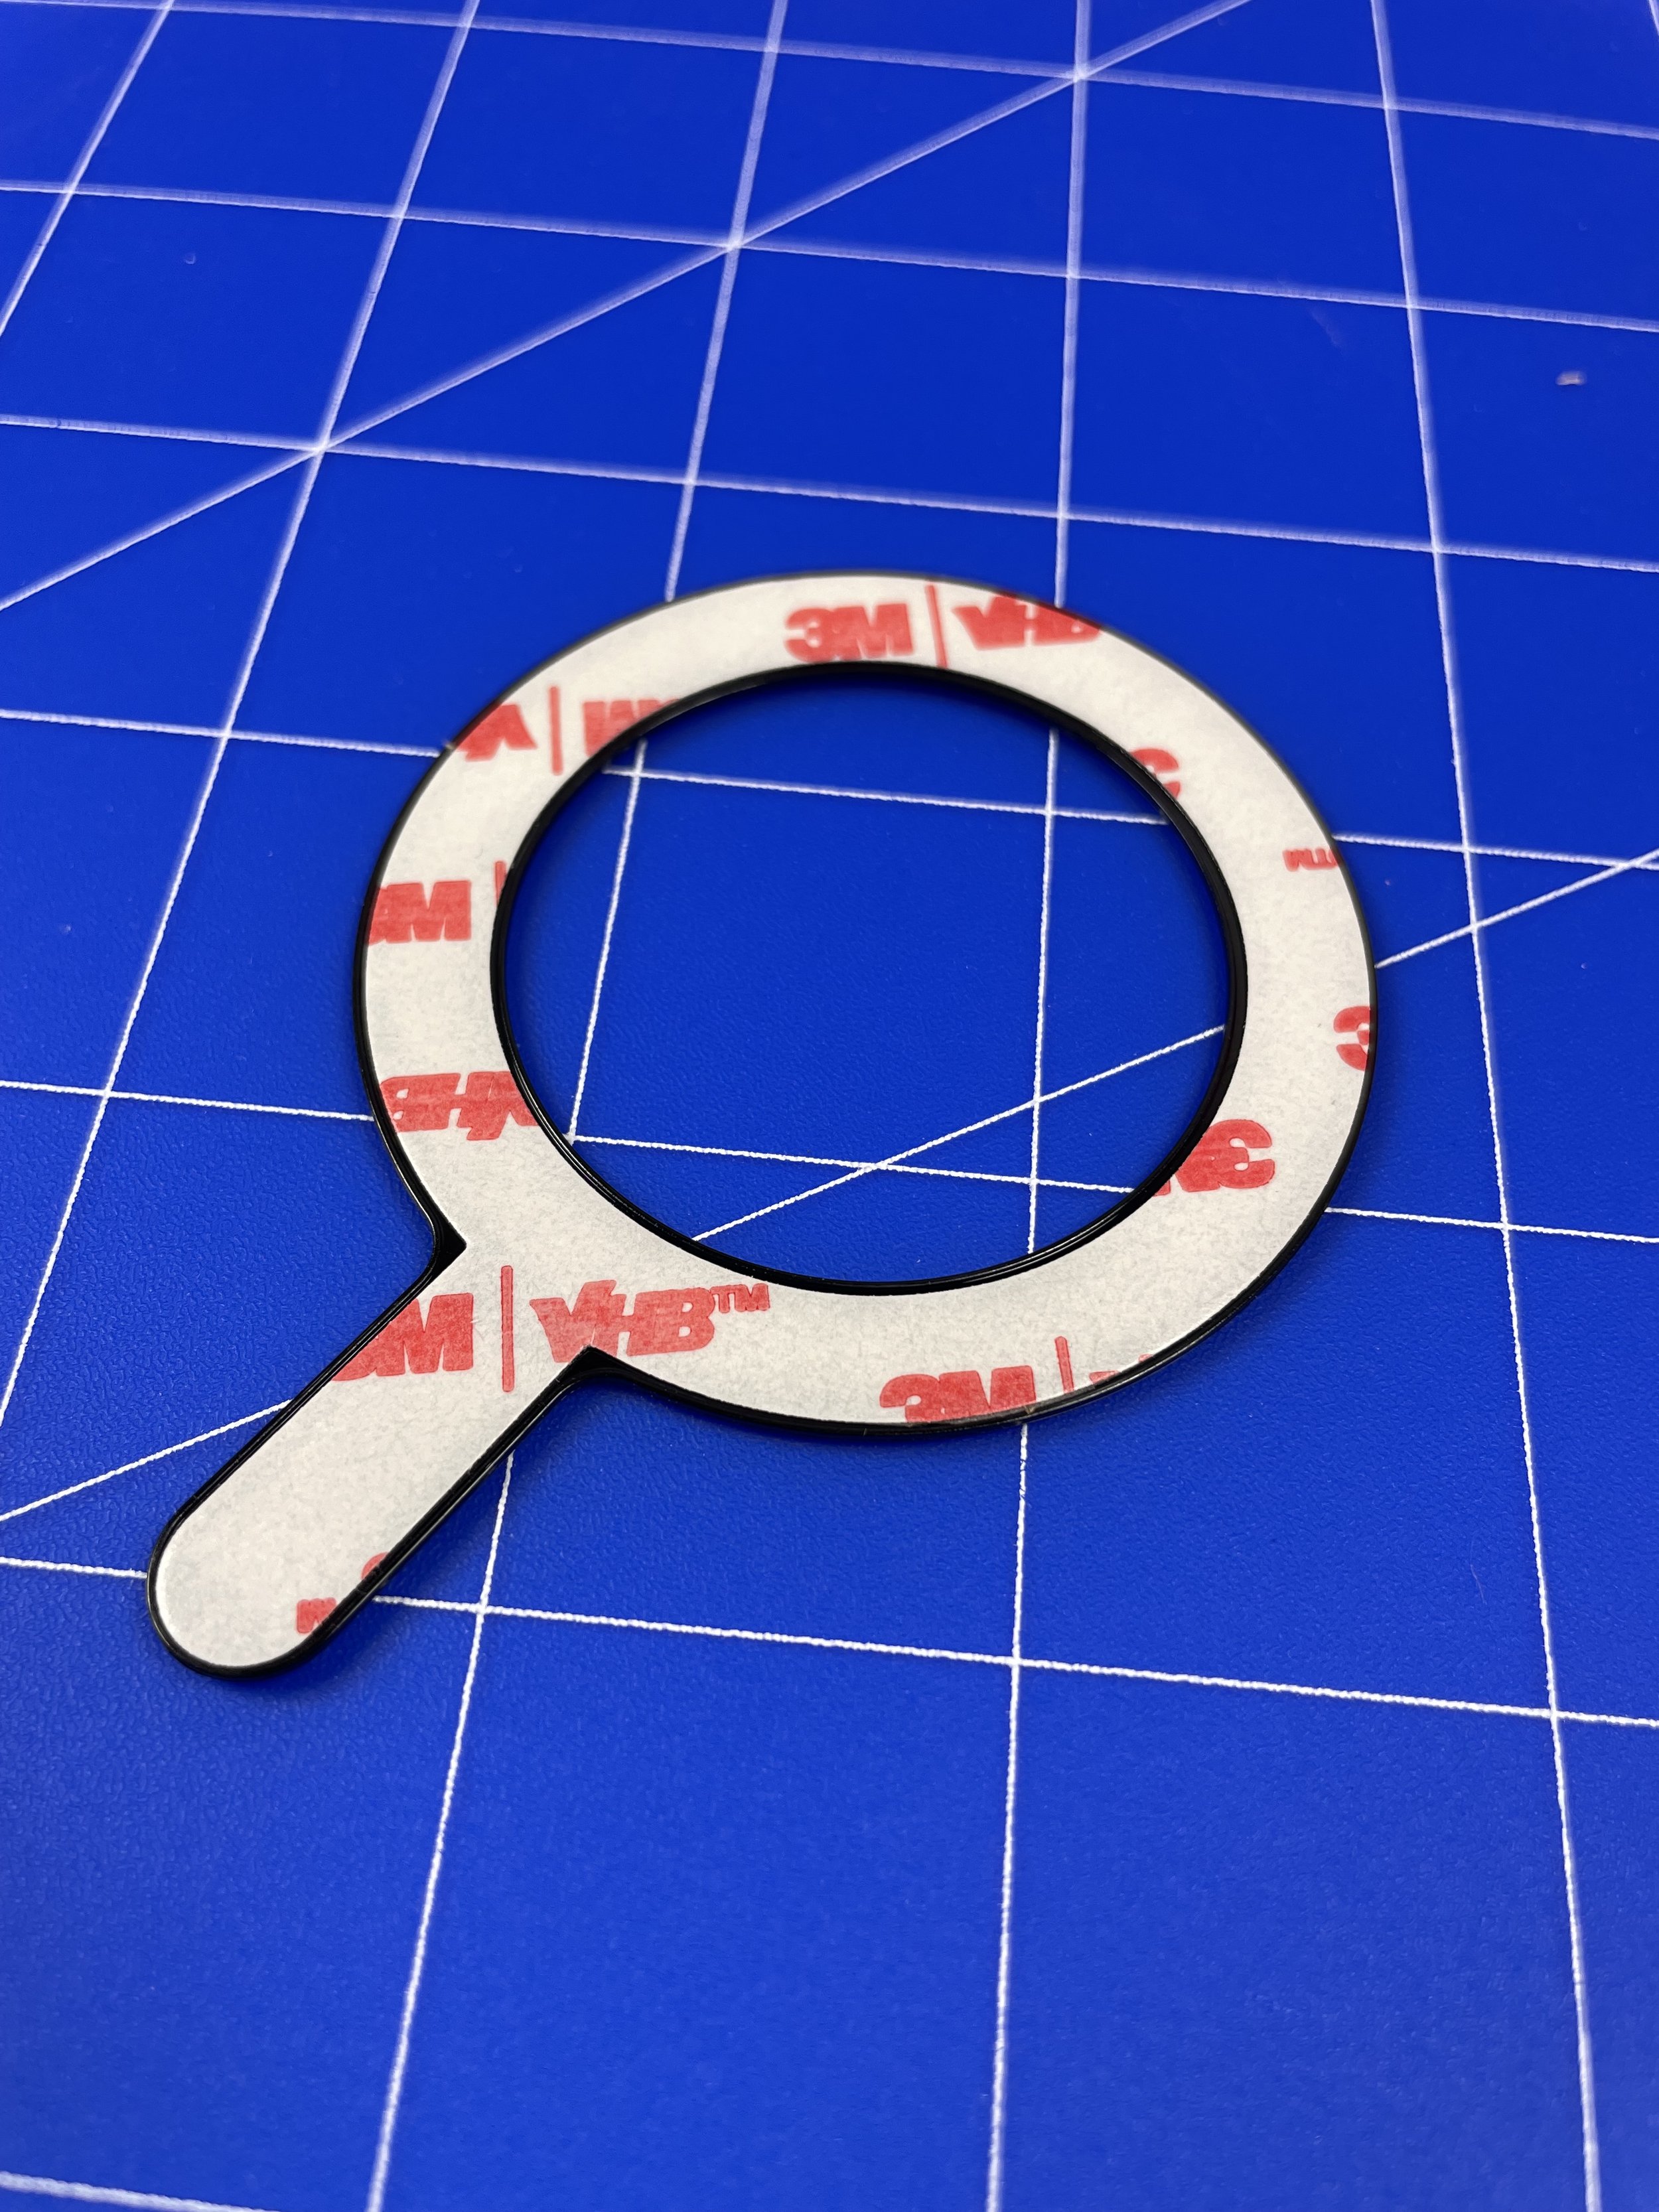
Assembly Guide
Simple Fascia Assembly Guide